[EN] English - K0449 Prepare the instrument 2-1
Chapter 2: Prepare the instrument
2.1 Introduction
This chapter gives a description of these items:
• the initial checks and procedures
• the available power options
• the battery and related procedures (install and charge)
• the start up procedures
• the menu structure and options
• the Process and Automation options available for the
measure and source ( )functions
2.2 Initial checks
Before you use the instrument for the first time:
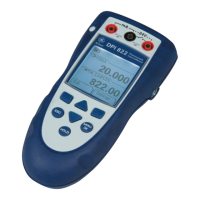
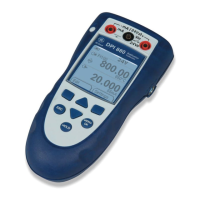
• Make sure that there is no damage to the instrument, and
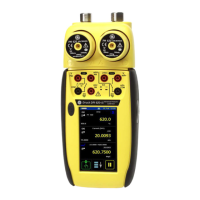
that there are no missing items; see Figure 1-7.
• Remove the plastic film that protects the display. Use the tag
(◗ ) in the top right-hand corner.
2.3 Initial procedures
Before you use the instrument for the first time, complete these
procedures:
• Install the battery (Section 2.5.2). Then re-attach the cover.
• To make sure that the calibration schedule works correctly,
set the date and time; see Section 2.10 (Menu sequence).
• Charge the battery (Section 2.5.3)
2.4 Power options
There are three power options:
Lithium-Polymer battery (Section 2.5): All the instrument
functions are available with a charged battery.
5 V DC power supply (Section 2.6): All the instrument
functions are available with or without the battery. It supplies
power to the instrument and charges the battery at the same
time. It charges the battery when the instrument is on or off.
USB mini Type B connection (Section 2.7): This charges the
battery when the instrument is off and increases the battery life
when the instrument is on.
 Loading...