Issue 1
2-4 Prepare the instrument K0449 - [EN] English
If there is a battery, internal safety circuits control the charge
cycle. If you are using the instrument, this increases the time to
charge the battery.
2.7 The USB power
supply
You can use the optional mini Type B cable to supply power to
the instrument.
This charges the battery when the instrument is off and
increases the battery life when the instrument is on.
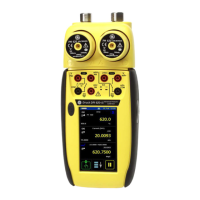
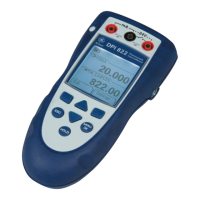
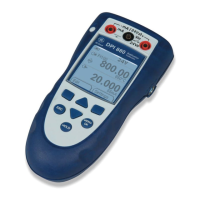
2.8 Power on or off
To set the instrument power on, press and hold this button
down until the display comes on (| 2 seconds). During the
power on sequence, the instrument shows a timer and then
shows the applicable data.
To set the instrument power off, press and release this button
again. When the power is off, the last set of configuration
options stays in memory.
1
2
3
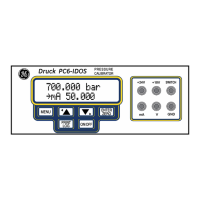
Step Procedure
1. Attach the applicable socket adaptor to the DC
power supply.
2. On the right-hand side of the instrument
(Figure 1-3), use the rubber recess to pull down
the cover for the connections.
3. Push the power supply connector into the 5 V DC
input socket and set the power on.
4
1
2
3
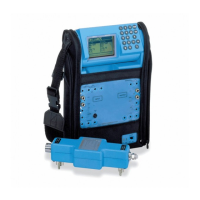
Step Procedure
1. Start the computer.
2. Push the Type A end of the USB cable into a USB
socket on your computer.
3. On the right-hand side of the instrument
(Figure 1-3), use the rubber recess to pull down
the cover for the connections.
4. Push the mini Type B end of the USB cable into
the USB socket on the instrument.
 Loading...