3. Configuring the Heska Element COAG
™
Analyzer
3.
From the Screen Saver Settings page, touch to the right of the Load pictures
entry (this opens the Screen Saver Pictures page, see Figure 3.20).
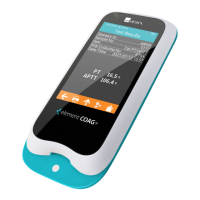
4.
Insert a USB stick with the desired pictures in the USB port on the back of the
Analyzer, see Figure 2.1 for the location of the USB port.
i
The pictures must be in JPEG format with extension “.jpg” and be smaller
than 1 MB.
5.
Touch the to the right of the desired picture number. This will open a list of
JPEG images located at the root of the USB stick. If no images are found an error
message will be displayed.
6. Select the image to load and touch Done.
7.
Repeat
item 5
and
item 6
for all pictures you want to appear when the screen saver
is running.
8.
When all images are loaded, touch
Done
to return to the Screen Saver Settings
menu, see Section 3.2.8 for options in this menu.
i
Touching
Done
in the Screen Saver Pictures menu returns to the Screen Saver
Settings menu.
36