2-6
2 Press Excitation adjustment. When the screen is switched, press
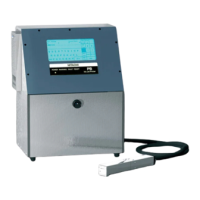
Automatic adjustment.
The excitation voltage is automatically adjusted inside the IJ printer.
During the automatic adjustment, the processing state is displayed to be “In
progress”. (At the adjustment, when the excitation voltage
is gradually increased up to 360±20 V
P-P
, the adjustment is completed.)
3When the automatic adjustment is not normally completed, the following
factors are considered. Confirm whether or not each part is normal.
●The connection of EZJ93 board and EZJ94 board / EZJ106 board is insufficient.
●The dip switch on the EZJ94 board / EZJ106 board is wrongly set.
(See “3.3.2 EZJ94 board
/ EZJ106 board”)
●The connection of a coaxial cable connector for excitation (EZJ94/EZJ106 CN5)
is insufficient.
●Replacement parts (boards of EZJ93 and 94/106 and 102, nozzle and head
cable) are out of order.
When failed in the automatic adjustment, the Manual adjustment button is
displayed.
When the Manual adjustment button is pressed, a numerical value is manually put
into the excitation voltage adjusted value and the Apply button is pressed,
the excitation voltage value is increased and decreased.
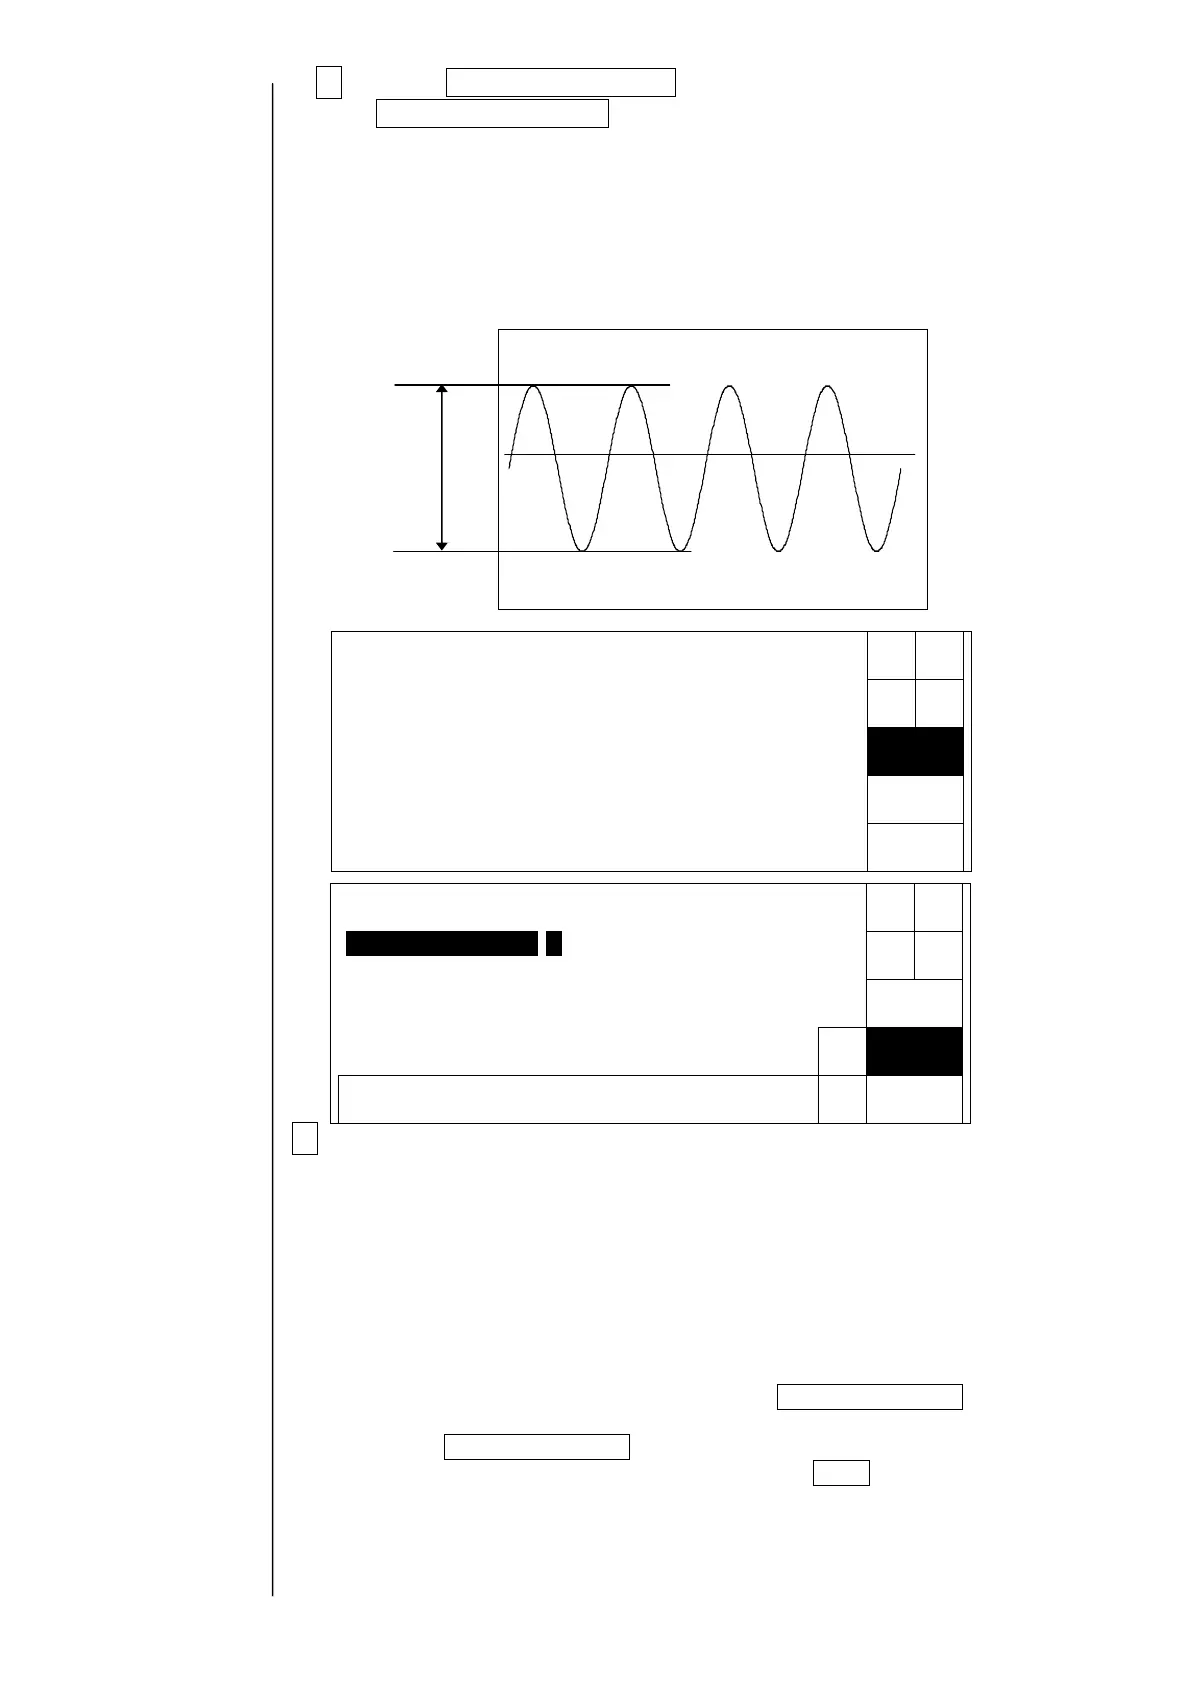
Confirm a waveform of TP14 (excitation voltage) of the EZJ94 board EZJ106 board
by an oscilloscope.
The manual drive adjustment is for emergencies. Be sure to perform component
replacement, etc. for recovery.
When failed in
the automatic
adjustment, the
“manual
adjustment” is
displayed.
With respect to positions of
the board and the test pin,
refer to "3.3.2 EZJ94 board /
EZJ106 board".
Vp-p
【W
aveform of excitation volta
e】
Back
Excitationadjustment
Excitationvoltagevalue[1023](0〜1023)
Automatic
adjustment
Manual
adjustment
Failed
Status:XXXXX
Decre-
ment
Back
0987654321
Excitationadjustment
Incre-
ment
Excitationvoltagevalue[1023](0〜1023)
Apply
← →
Status:XXXXX