4-20
5 Remove the removed tube from the fixing clamp.
6 Perform “4.1.3 Approach to the parts on the rear side of the equipment”
and open the unit door.
7 Remove the wires removed in 3 from the fixing clamps.
8 Pull out the tube removed in 4 from the rear side of the equipment.
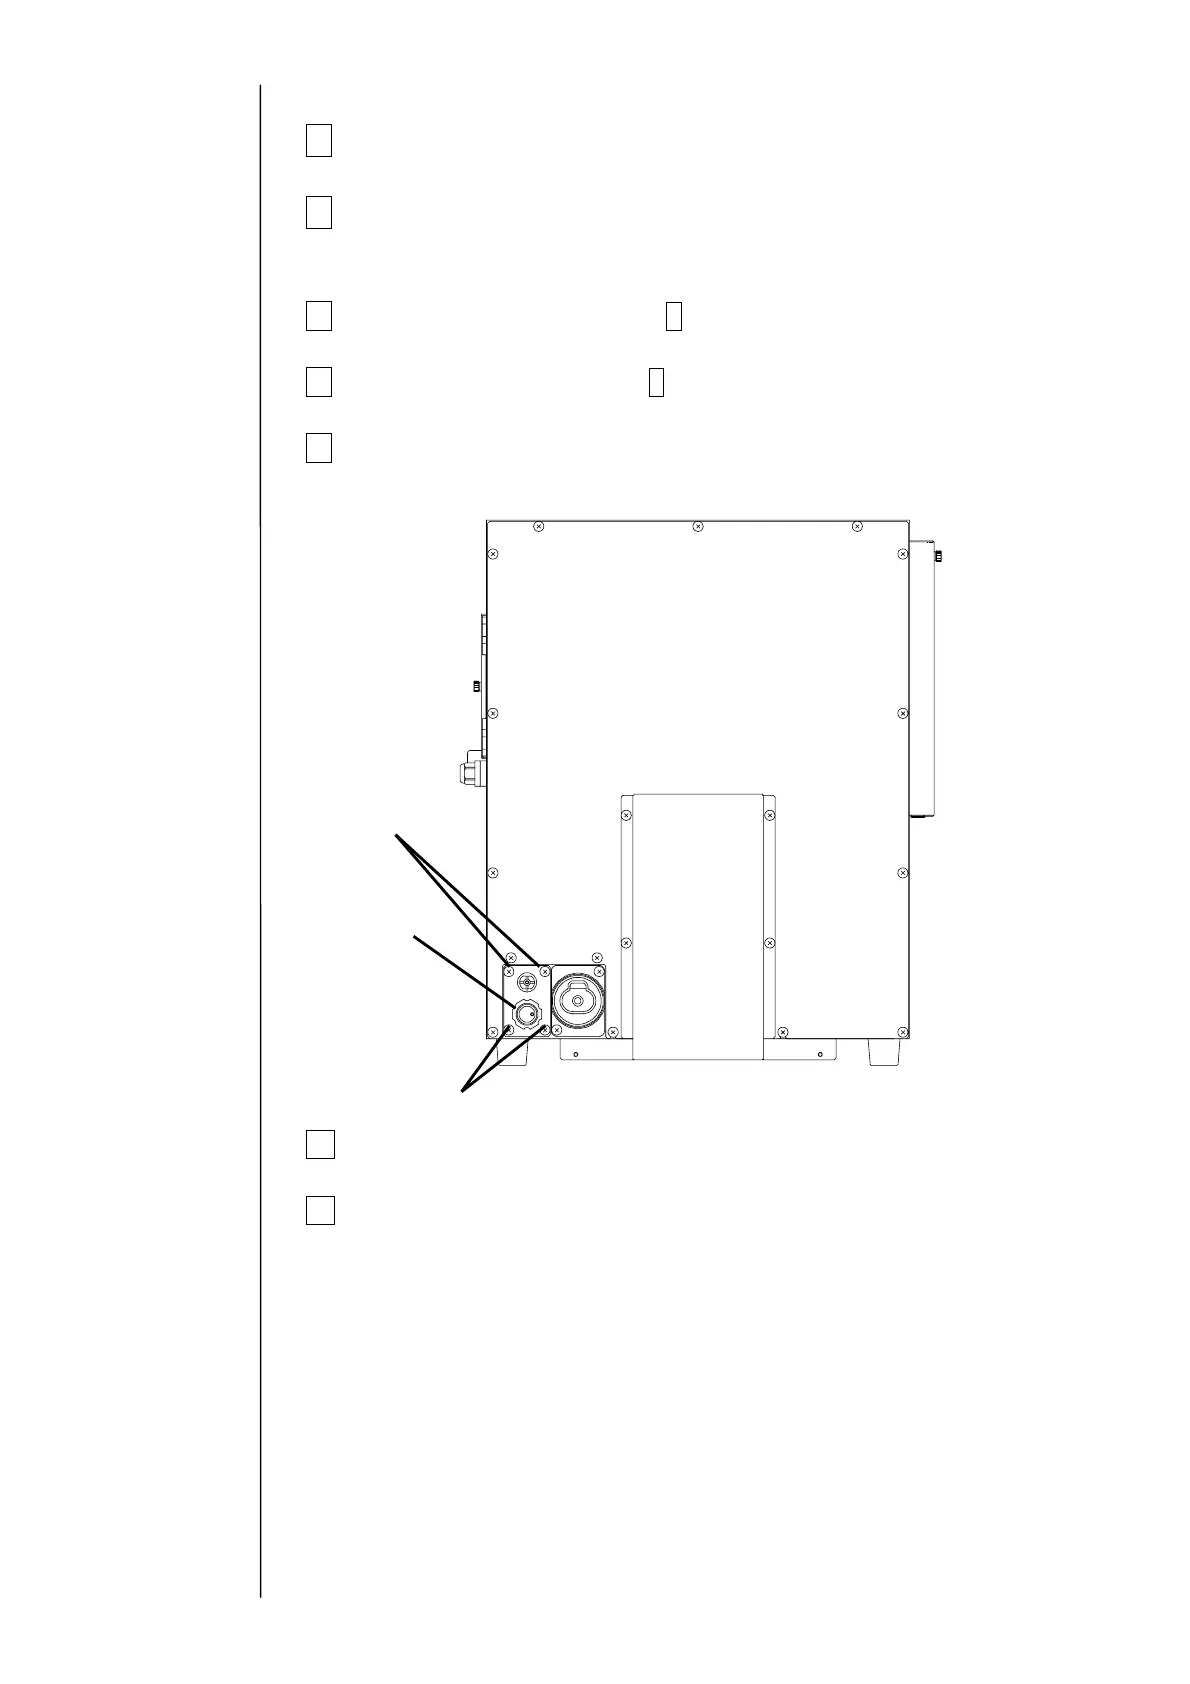
9 Remove the fixing screws (4 positions) of the print head on the rear side of
the equipment. The print head can be removed from the equipment.
10 Perform “Ink Replenishment” and make sure that there is no ink leak.
11 Perform “Ink Replenishment” and adjust the pressure.
Make sure that there is no ink leak.
Fixing screw
Fixing screw
Print head