6Ć74 Removal and Replacement
C3187Ć90000
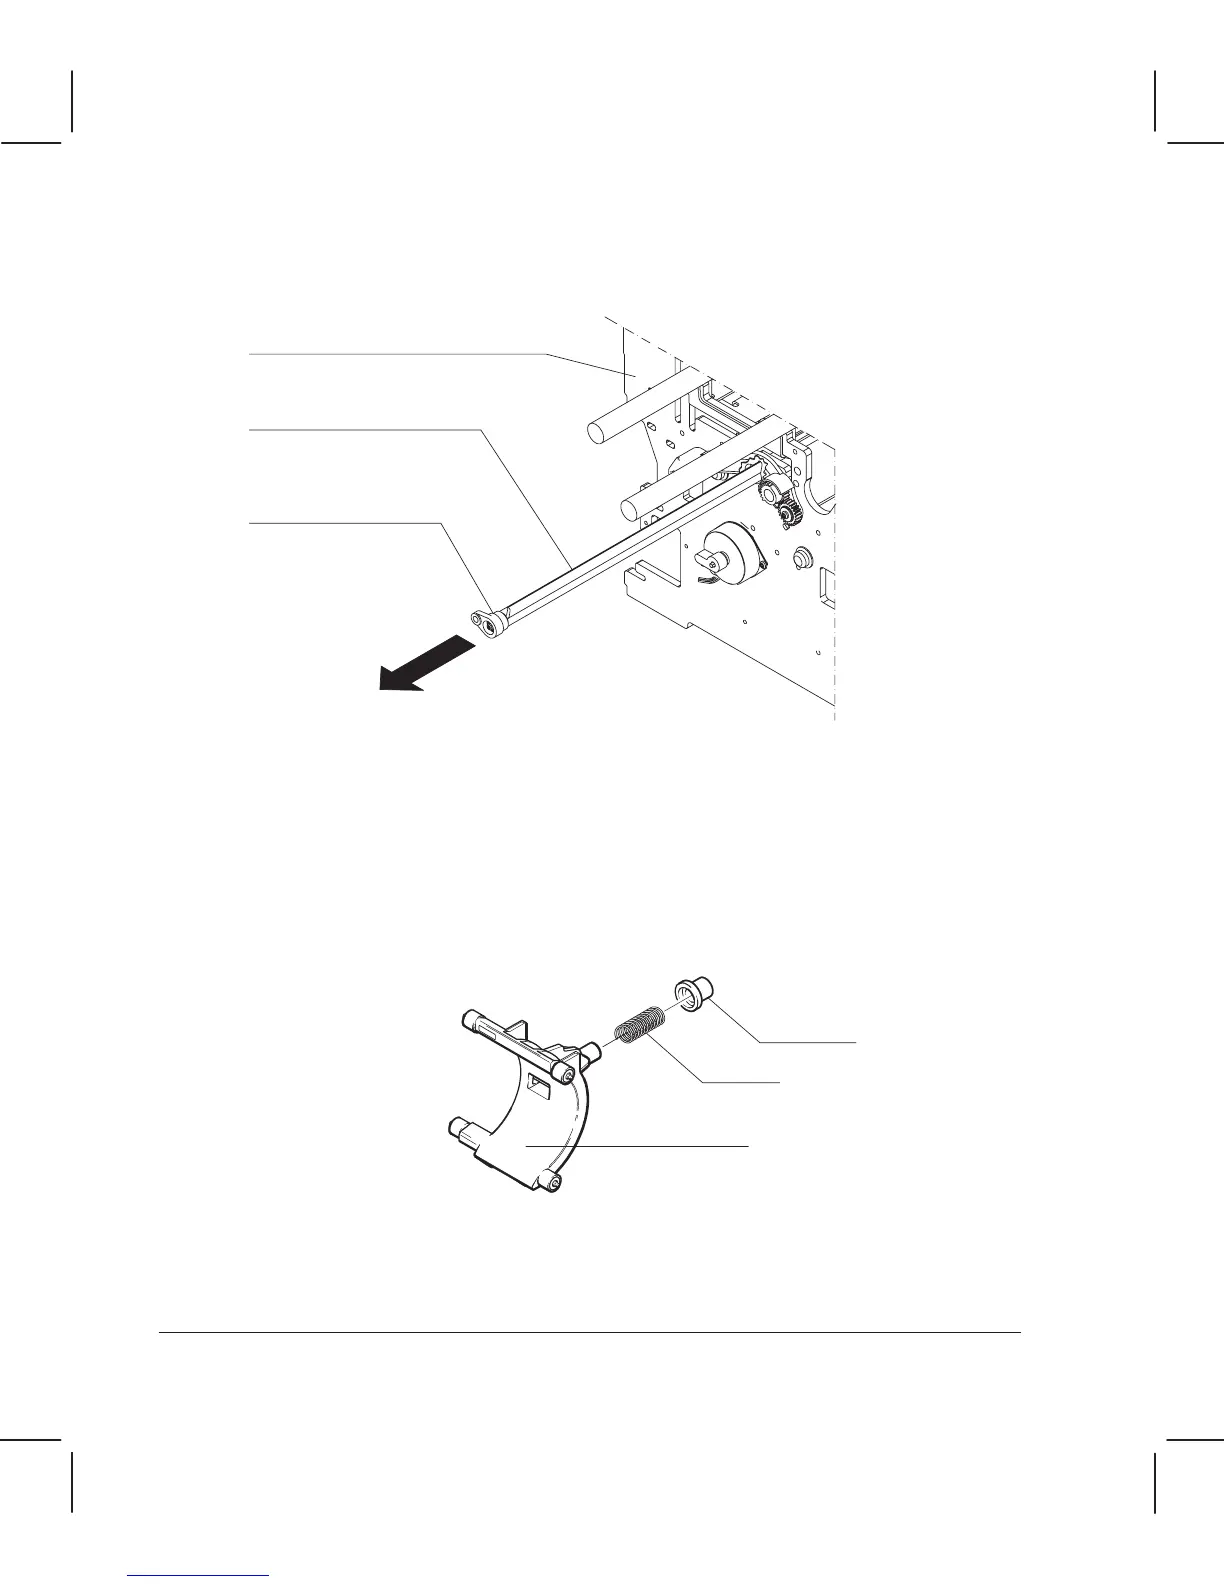
Grasp the cam journal on the left side of the plotter with your left hand.
Reach around to the front of the plotter and push the top of the bar cam slightly towards
the rear of the plotter, simultaneously pulling the cam journal to the left, so that the bar
cam can begin to slide out of the left sideplate.
Cam journal
Bar cam
Left sideplate
While pressing the rightĆmost pinchĆarm assembly towards the rear of the plotter against
its spring tension, slide the bar cam left until it clears that pinchĆarm assembly.
Remove the pinchĆarm assembly and spring from the chassis.
Pinch arm
Spring
Bushing
PinchĆarm assembly
Repeat the previous two steps until all of the pinchĆarm assemblies have been removed or
until you have removed the pinchĆarm assembly that is to be replaced.