10-36 Chapter 10
Removal and Replacement Procedures
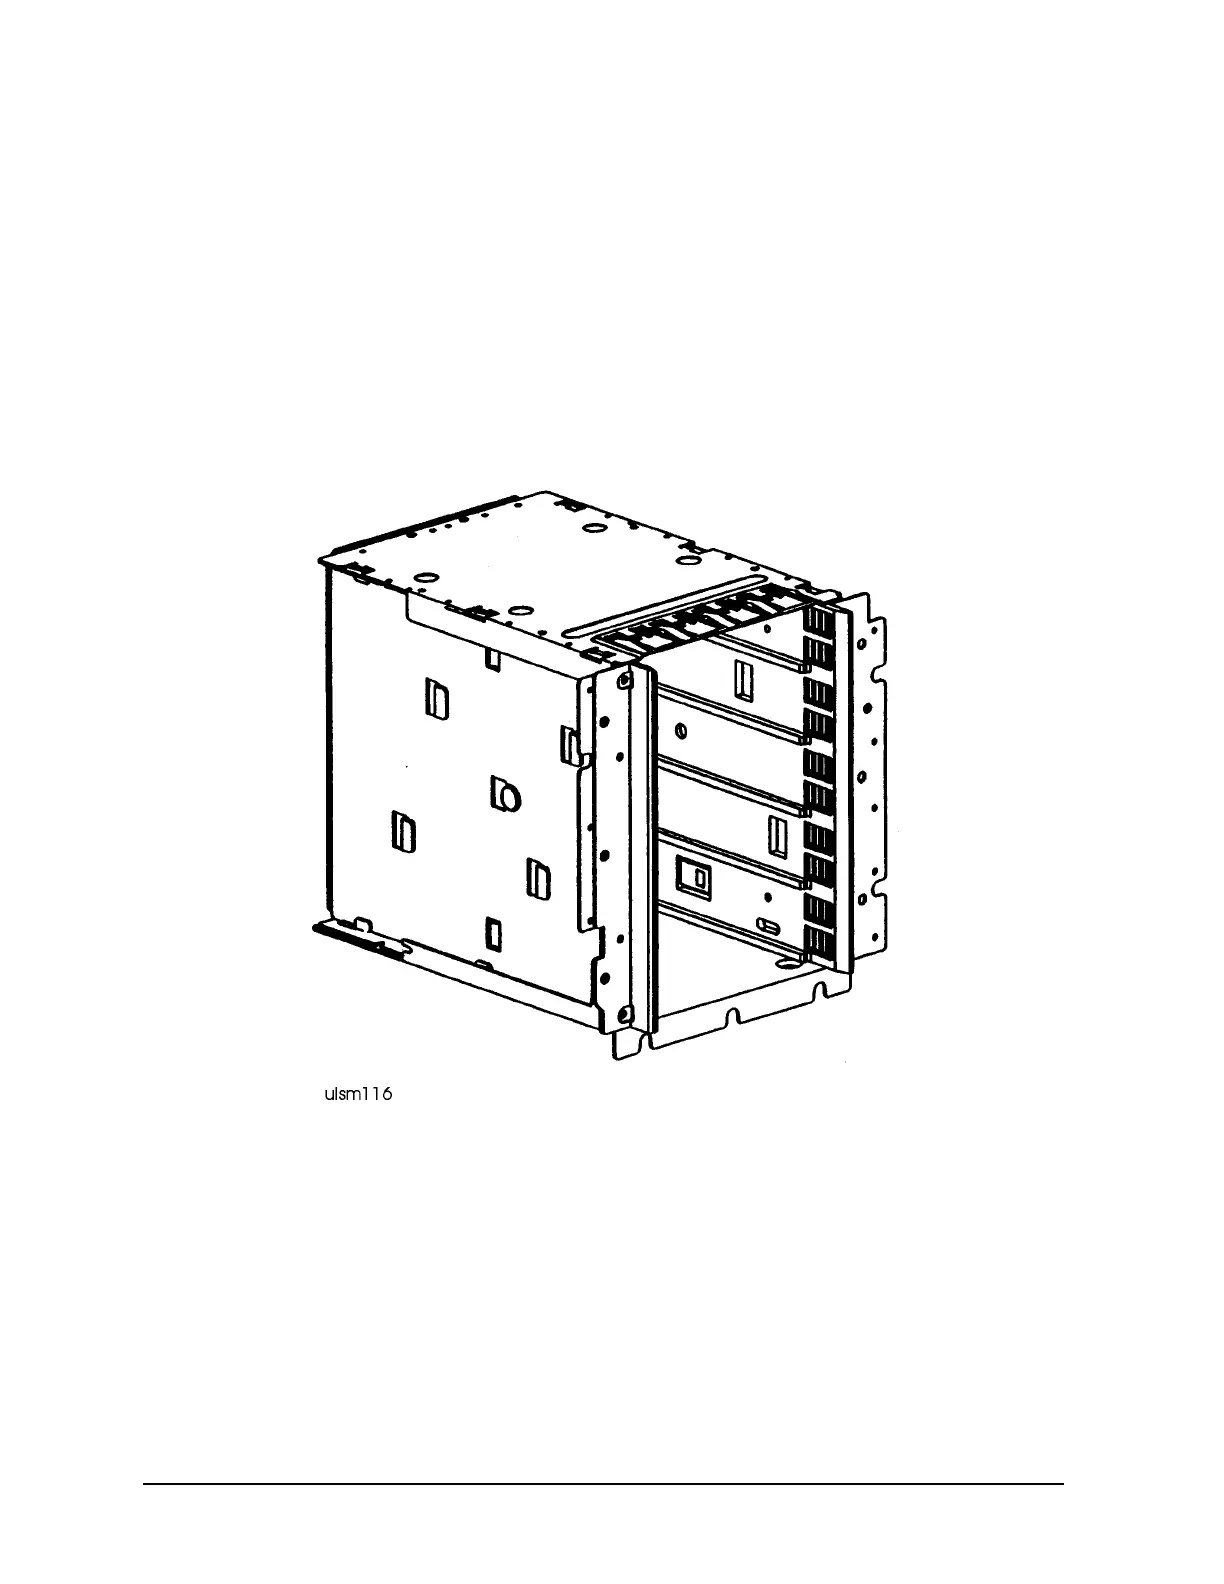
Remove the Hot-Swap Bay (D Class only)
Refer to Figure 10-24.
1. Remove the power and SCSI ribbon cables from the hot-swap backplane.
2. Remove the hotswap present cable from the System/Core I/O board.
3. Remove six screws in the front of the chassis.
4. Slide the hot-swap bay out through the front of the chassis.
Figure 10-24 Hot Swap Disk Bay
Replace the Hot-Swap Disk Bay (D Class only)
Refer to Figure 10-24.
1. Check the label for proper vertical positioning.
2. Slide the disk bay into the chassis along the tray guides.
3. Secure the hot-swap bay with six screws in the front of the chassis.
4. Reconnect the power and SCSI ribbon cables to the hot-swap backplane.

 Loading...


