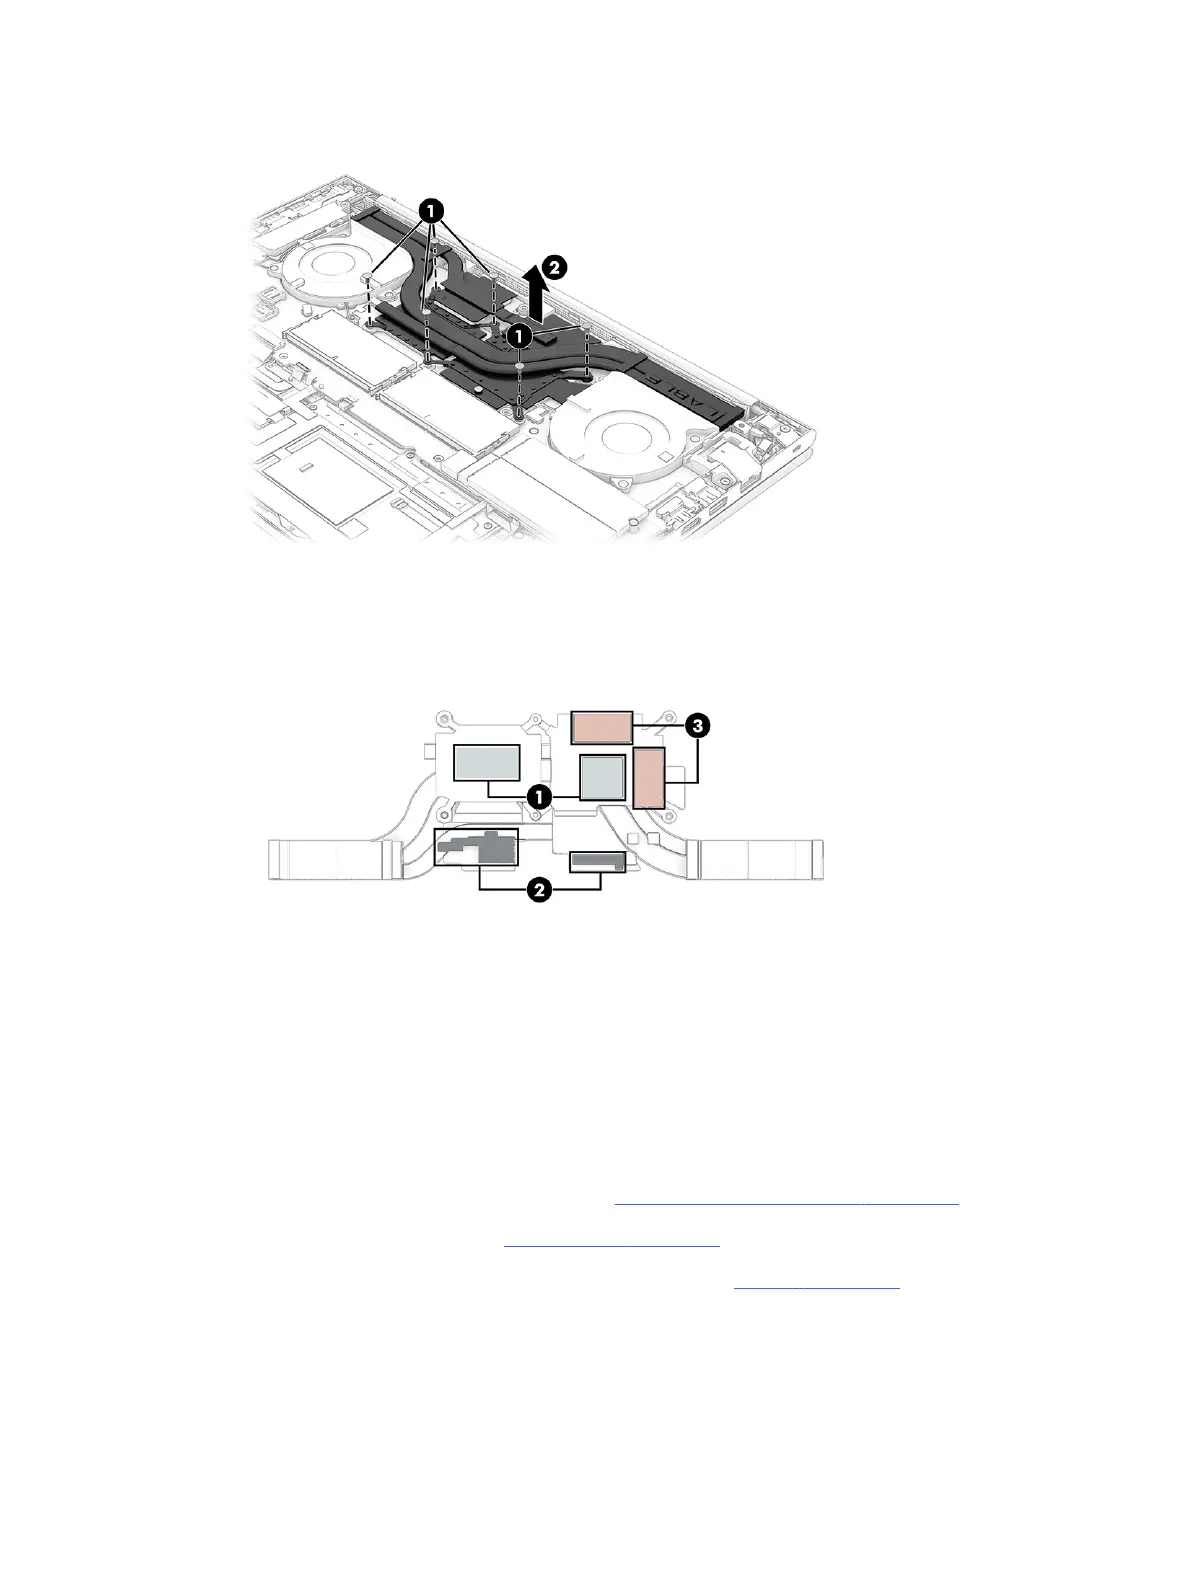
2. Remove the heat sink (2).
3. Thoroughly clean and replace the thermal paste and gel from the surfaces on the system board
components each time the heat sink is removed. The thermal pads are reusable. Be sure that
thermal grease (1), thick thermal pads (2), and thin thermal pads (3) are installed on the heat sink as
shown in the following illustrations.
To install the heat sink, reverse this procedure.
Display assembly
To remove and disassemble the display assembly, use these procedures and illustrations.
Full hinge-up displays are not available as spare parts. Spare parts for displays are available only at the
subcomponent level.
Before removing the display panel, follow these steps:
1. Prepare the computer for disassembly (see Preparation for disassembly on page 37).
2. Remove the bottom cover (see Bottom cover on page 37).
3. Disconnect the battery cable from the system board (see Battery on page 39).
Remove the display assembly:
1. Disconnect the wireless antenna cables (1) from the WLAN module.
2. Release the wireless antenna cables from the routing channel (2) built into the left fan.
Display assembly
59
 Loading...