Working with Master/Slave 8-5
ICE Vulcan Service Manual
Master/Slave Basic and Advanced Configuration
The following section describes the modes of operation for a Master/Slave
group of LPAs.
•
Basic Configuration: This configuration is used if the group is to be
used as a 'standalone
group'.
•
Advanced Configuration: This configuration is used if the group is to
be connected to a
wider area network.
•
Multiple Machine Mode: This configuration is used if the group is to
be connected to a
wider area network.
Note: If a LPA has previously been configured to Advanced Configuration
mode, this setting is
saved as the standard default configuration for the LPA.
Basic Configuration - Configuring the Slave LPAs
To configure the slave LPA proceed as follows:
1
Establish communications between CLARiTY Configuration Manager
and the first Slave LPA
(“How to Connect the CLARiTY
Configuration Manager to the LPA using an RS232 connection”
on
page 5-8).
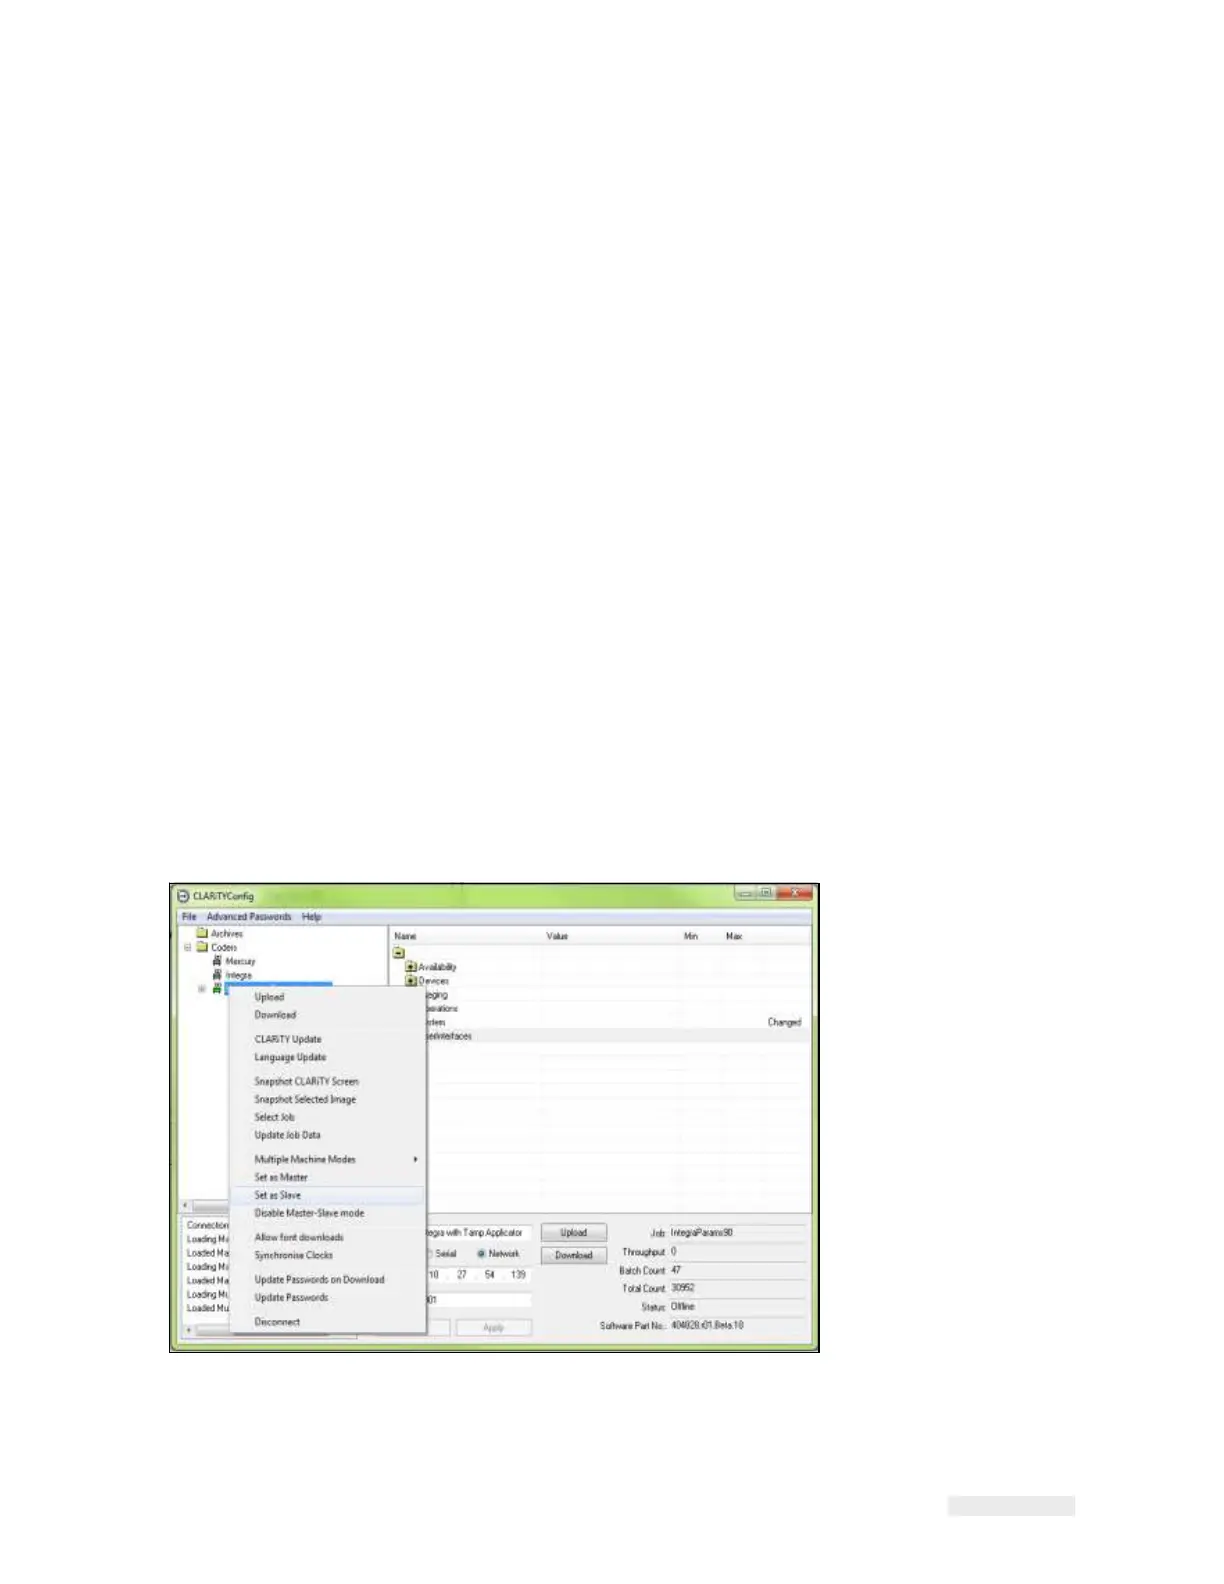
2
Right click on the 'New Printer' icon when the icon turns 'green' and
Select 'Set as Slave',
from the list as shown in Figure 8-2.
Figure 8-2: CLARiTY Config - Slave Setup