5
GPS OPERATION
5-34
The GPS Logger function enables you to save the
position data from a GPS receiver into a microSD card
as a log.
The GPS Logger saves Latitude, Longitude, Altitude,
Positioning state, Course, Speed and Date.
If you use this GPS Logger while driving, you can
check your driving history on a mapping software.
D GPS Logger operating outline
To use GPS Logger function, perform following
operations.
1. Insert a microSD card*.
*User supplied
2. Check whether or not the GPS receiver is
receiving your position data. (p. 5-2)
3. Turn ON the GPS Logger function.
Completed! The GPS Logger function starts.
NOTE:
• The GPS logger function requires a microSD card
(User supplied).
• Once the GPS logger function is turned ON, the
transceiver continuously saves the position data
from the GPS receiver, even if the transceiver is
turned OFF, then ON again. To cancel this function,
turn OFF the function. While this function is ON,
and when the transceiver is turned OFF, the log le
will be closed. Then the transceiver is turned ON
and Positioning is carried out by the GPS receiver,
a new log le will be created.
• When the microSD card is full, this function will be
automatically paused.
D GPS Logger operation
Select whether or not save your route as a log.
When the GPS Logger function is ON, the transceiver
saves the position data from GPS receiver into
microSD card in a specied time interval.
The saved GPS sentences are GGA, RMC, GSA and
VTG.
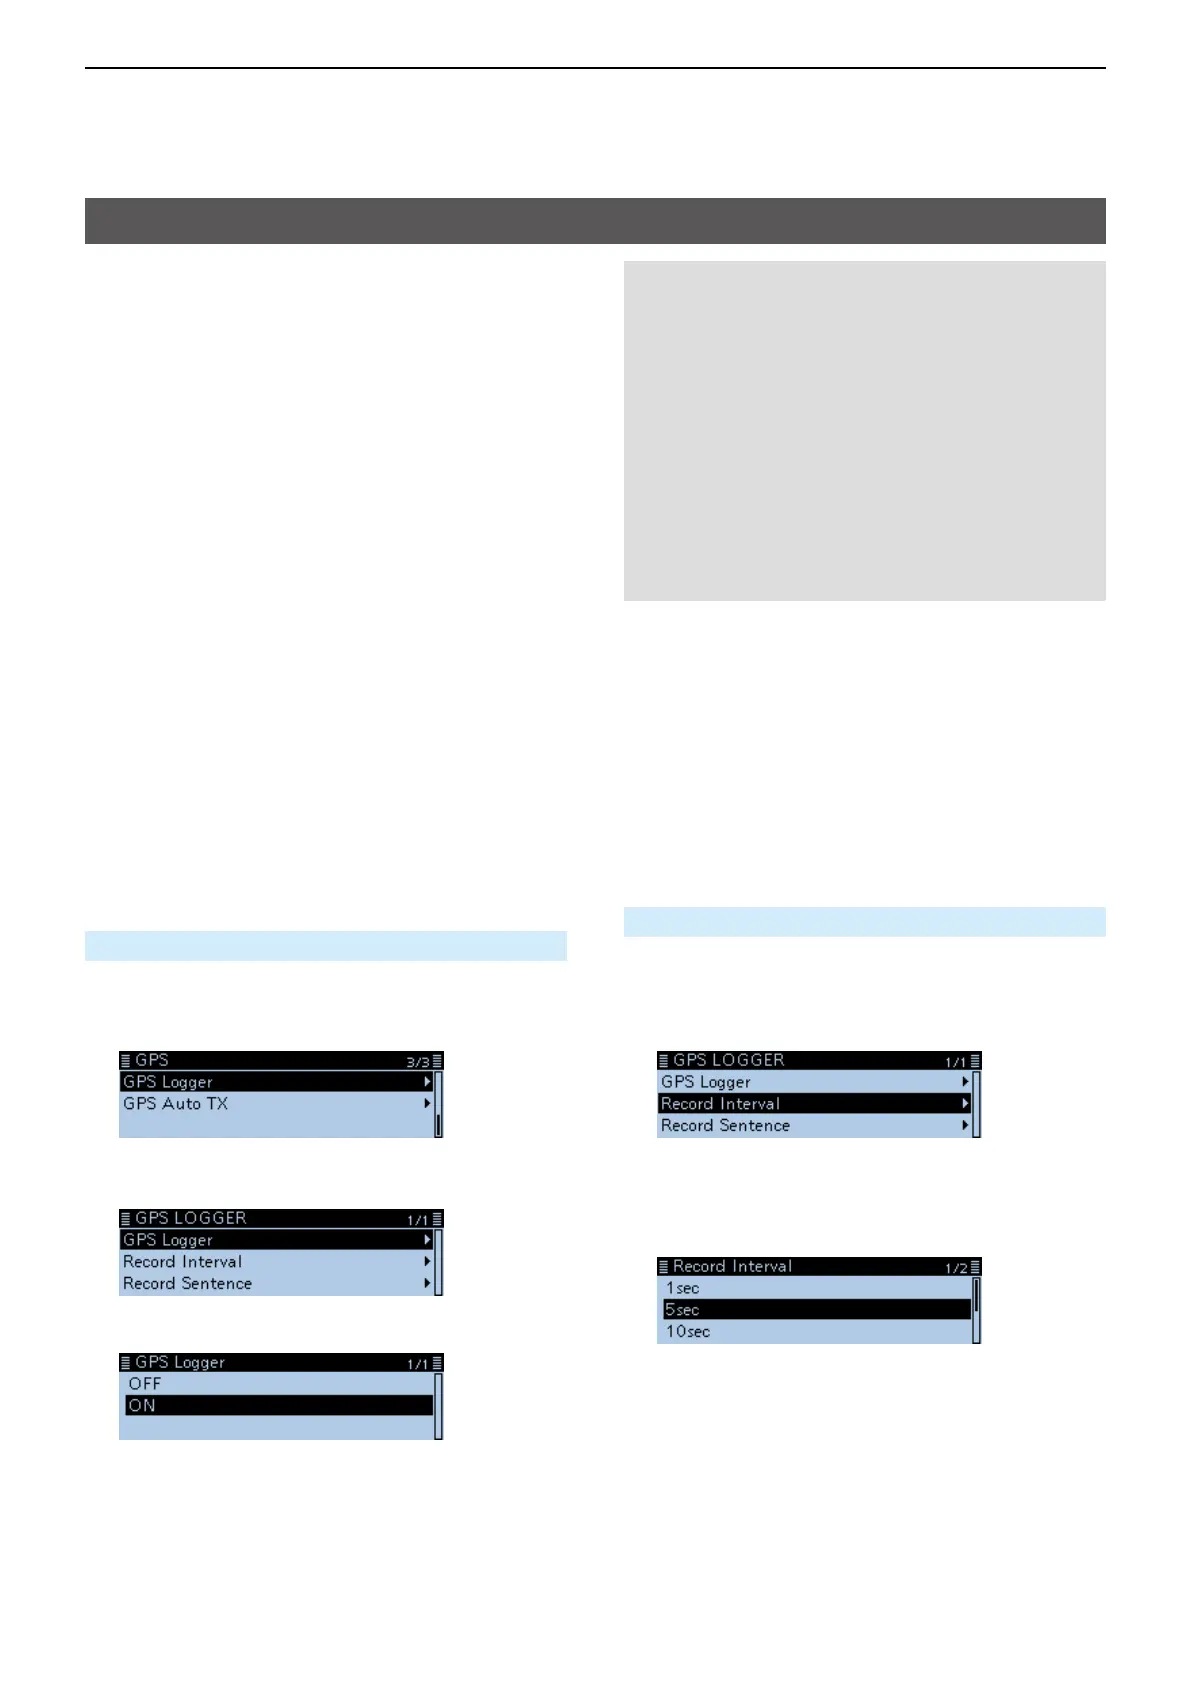
GPS > GPS Logger > GPS Logger
1. Push [MENU].
2. Rotate [DIAL] to select “GPS,” then push [ï].
3. Select “GPS Logger,” then push [ï].
• Displays the GPS LOGGER screen.
4. Select “GPS Logger,” then push [ï].
5. Select “ON,” then push [ï].
6. Push [MENU].
• Returns to the standby screen, and the GPS Logger
function starts.
D Setting the GPS record interval
For example, when you are walking and if the time
interval is set to “1sec,” a lot of position data is saved
at near place. Select the GPS Logger function record
interval to suit your travel speed.
(Default: 5sec)
GPS > GPS Logger > Record Interval
1. Push [MENU].
2. Rotate [DIAL] to select “GPS,” then push [ï].
3. Select “GPS Logger,” then push [ï].
4. Select “Record Interval,” then push [ï].
• Displays the “Record Interval” screen.
5. Select a record interval.
• Options: Set to between 1, 5, 10, 30 and 60
seconds.
6. Push [MENU].
• Returns to the standby screen.
GPS Logger function