not necessary to remove the mounting bracket from
the rear cover.
(f) Orient the new Strain Conditioner printed circuit card
so that the four mounting holes in the card align with
four plastic posts protruding from the back of the
main printed circuit board. The connector on the
Strain Conditioner card should align with the connec-
tor labeled X3 on the main board. Press the Strain
Conditioner card onto the posts; when pressed firmly,
the card will “snap” into place – no other mounting
hardware is required. Ensure the connectors mate
fully.
(g) Replace the rear cover of the console, using the six
M4 socket head screws removed in Step (e).
(h) Remount the console on the load frame and recon-
nect all cables removed in Step (b).
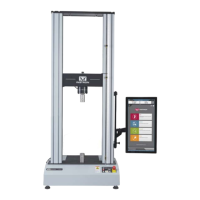
Operation
There are no specific operating instructions for the
AC/DC Strain Conditioner, since it is operated in the
same manner as a normal Strain channel. There are a
few operating notes, however:
• When using a DC Extensometer, it must be
connected to the Model 4400 Console with the
special cable supplied with the conditioner (Catalog
Number 2210-864). This cable has a BNC connector
on one end that connects to the extensometer. There
is a 25-pin D connector on the other end that
connects to the STRAIN connector on the rear of the
Model 4400 Console. The 25-pin D connector
AC/DC Strain Conditioner M10-94400-1
6-32
 Loading...