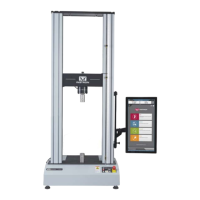
Opening the Console
Under normal conditions, it should not be necessary to
open the console. There are no user-serviceable compo-
nents or adjustments inside the console case, but if it
should become necessary to check for loose internal con-
nections or wiring, or to install an option board, you can
open the console as follows (also see Figure 3-3):
Warning
Do not remove covers from the con-
sole without first shutting off main
power and disconnecting the a.c.
power cable at the load frame.
(a) Disconnect all cables to the rear of the console. Label all
cables before removing them for identification, if neces-
sary.
(b) Remove the console from its mounting bracket by remov-
ing the three screws in the rear cover of the console.
(c) To open the console, remove six screws located on
the rear panel of the console.
(d) Place the console face down on a work surface. Lift
the rear cover off of the console.
(e) The main printed circuit board is attached to the back
of the front panel with six screws. The keys and push-
buttons are part of three rubber stampings sandwiched
between the printed circuit board and the front panel. If
you are replacing a key or pushbutton, you must re-
place the entire rubber sheet containing that key.
Installation
Opening the Console
3-11
 Loading...