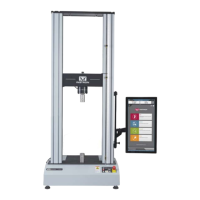
(b) After a successful Self Test, observe the following
actions (depending upon options installed):
(1) On the Main Panel:
a. The STOP switch is lit.
b. The display is blank, or it shows “LOSS” if the
operating units or the strain mode has been
changed before turning power on.
c. The AT G.L. LED is flashing.
d. An operating units status indicator is lit.
e. A TESTING AREA indicator is lit.
(2) On the Display Section of the panel:
a. A display mode selection key LED is lit.
b. If no prior values were stored, the displays
show:
LOAD, “——”; EXTENSION, “.000";
STRAIN, ”——".
(3) On the Limits Section of the panel, a Limits
Status LED may be lit.
The particular LEDs and indicators that are lit at the end
of a Self Test Routine vary depending upon the state of
the system. That is, variables and functions may not be
at the default state (refer to Table 4-5) due to a previous
test which would be stored in the nonvolatile memory.
If you enter the System Reset sequence as described on
page 5-7, the default state is restored.
Self Test Routine At Power Up M10-94400-1
5-6
 Loading...