Intermec EasyCoder 501 E – Installation & Operation Ed. 1120
Chapter 13 Adjustments
❑ Label (w gaps)
Put a piece of labels with liner between the two parts of the sensor.
The cursor should appear at the left side of the menu:
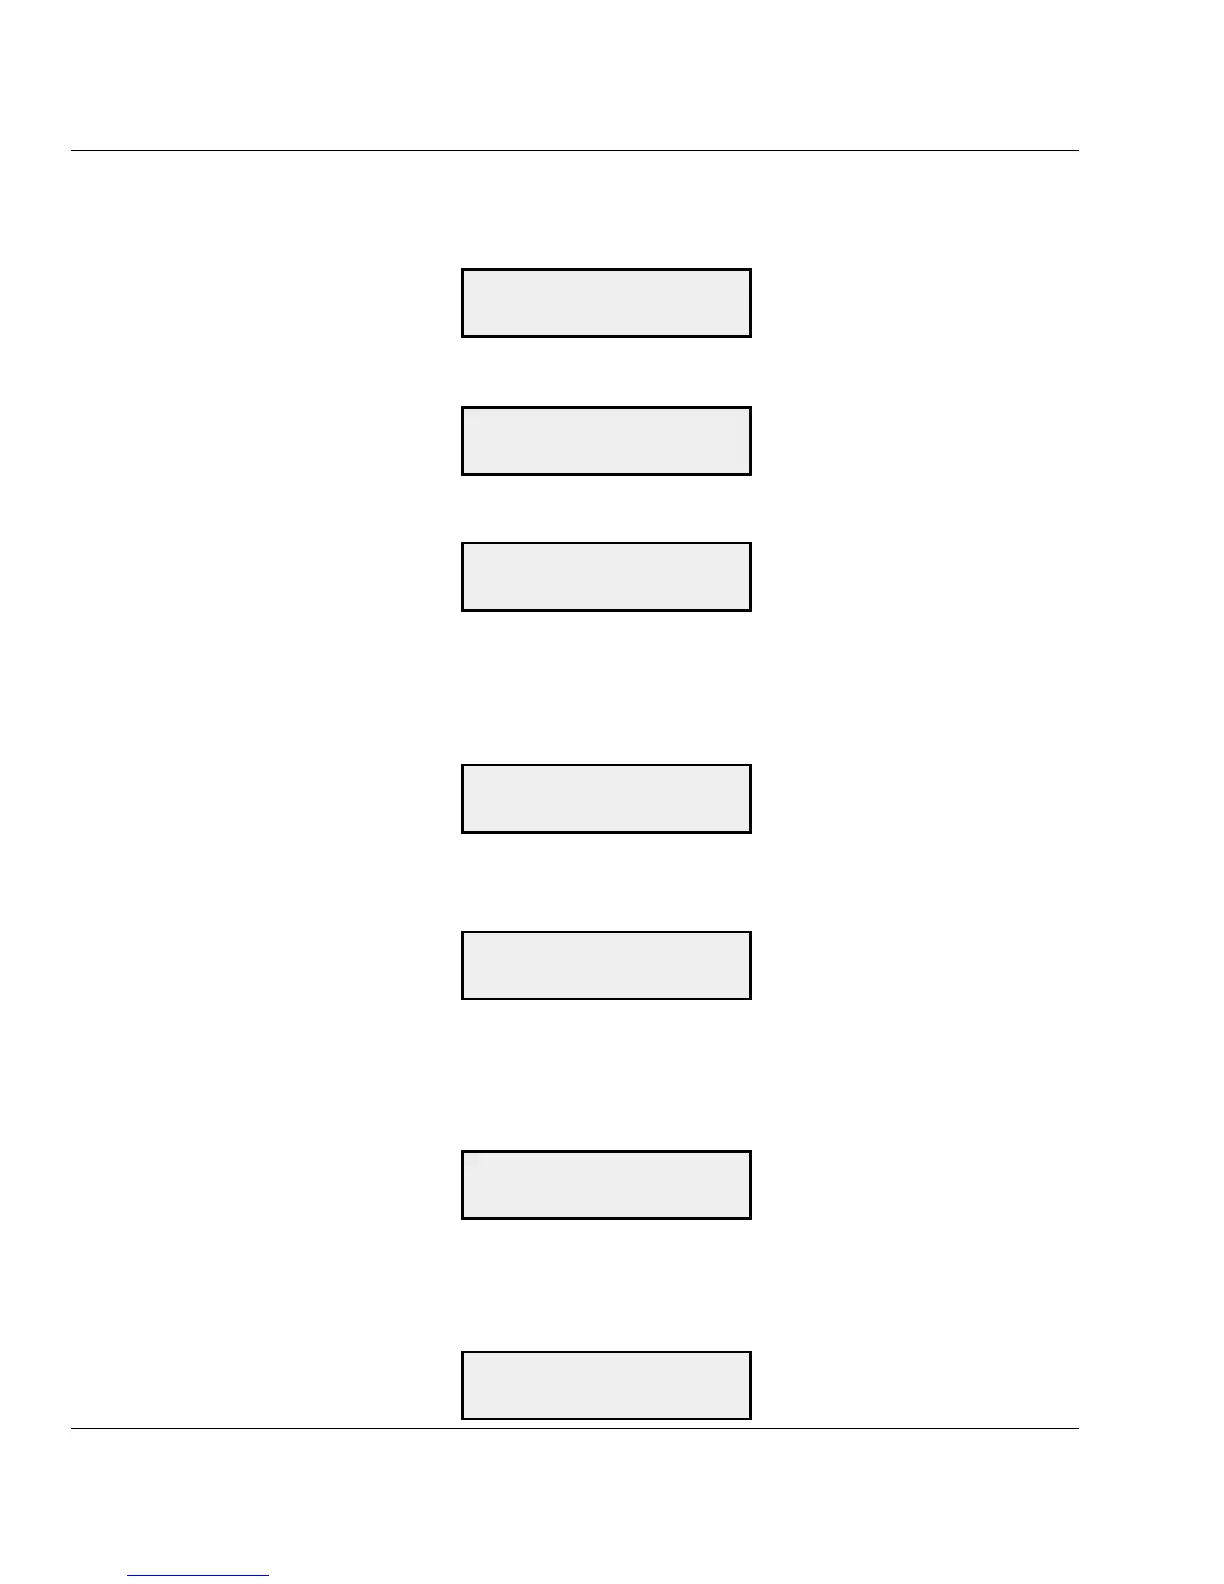
LABEL <103> GAP
■
Put a piece of liner without any label into the sensor. The cursor
should move to the center of the menu:
LABEL <103> GAP
■
Finally remove any from the sensor. The cursor should move to
the right side of the menu:
LABEL <103> GAP
■
❑ Ticket (w mark)
Put the media between the two parts of the sensor, making sure
there is no black mark close to the LSS. The cursor should appear
at the right side of the menu:
MARK <103>TICKET
■
Move the media so the black mark becomes situated above the
sensor. The cursor should move to the left side of the menu (the
same applies when no media is loaded):
MARK <103>TICKET
■
❑ Ticket (w gaps), Fix Length Strip, and Var. Length Strip
Put the media between the two parts of the sensor, making sure
there is no gap close to the LSS. The cursor should appear at
the left side of the menu:
LABEL <103> GAP
■
In case of tickets, move the media so the gap becomes situated above
the sensor. In case of strip, remove the media completely.
In both cases, the cursor should move to the left side of
the menu:
LABEL <103> GAP
■
Label Stop
Sensor, cont.