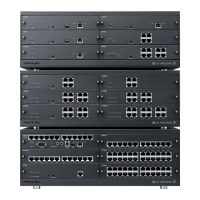
iPECS-MG
Hardware Description and Installation Manual Issue 1.1
49
CAUTION
For QSIG operation, check the mode setting and the pin assignments of RJ45 type
connector according to the mode of line, TE or NT.
NOTE
iPECS-MG does not support daisy chained clocking for digital lines. The clock priority
and synchronization is controlled by Admin. For details, refer to PGM 301 of the iPECS-
MG Admin Manual.
The default clock is assigned based on the board type, KSU, and slot as below.
− Board – PRIB > BRIB2/BRIB4 > Internal Clock
− KSU – 1’st KSU > 2’nd KSU > 3’rd KSU
− Slot – Slot 1 > Slot 2 >…> Slot 18
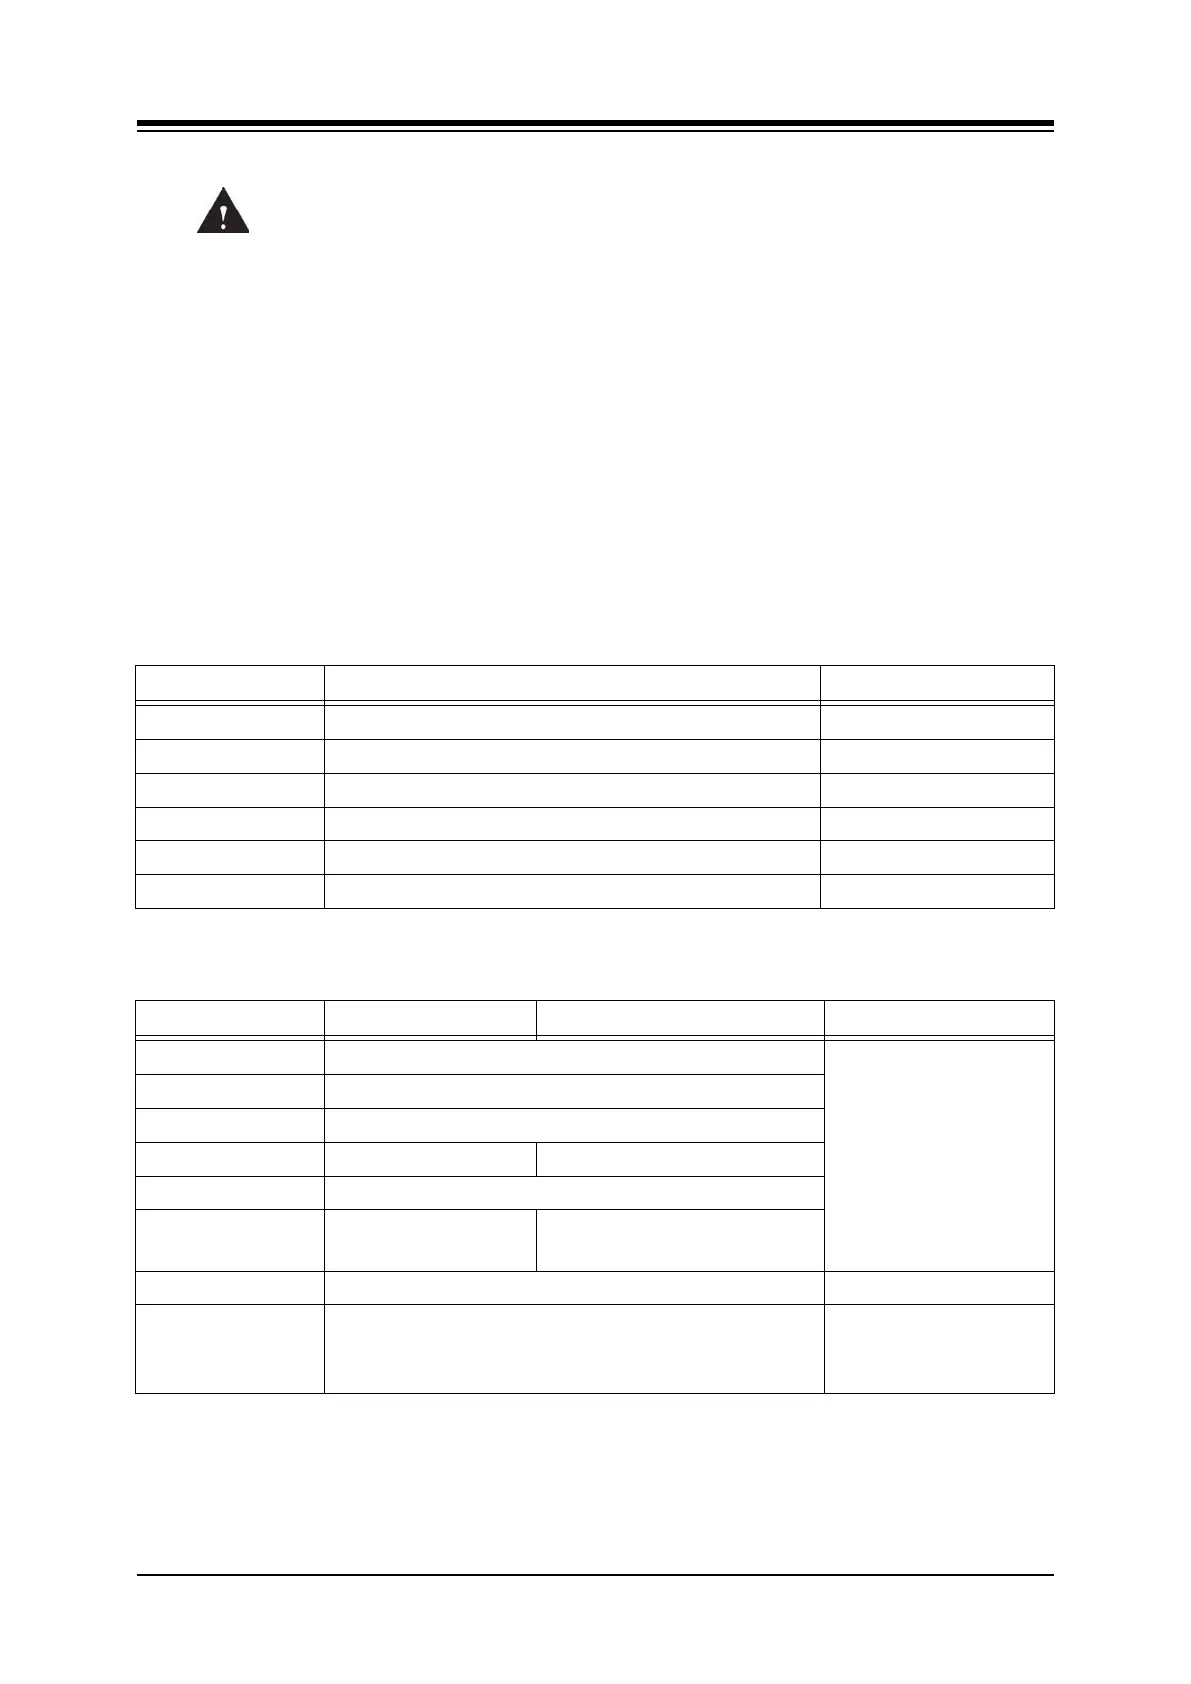
5.3.3.1 Switch and LED Functions
Table 5.3.3.1-1 Switch-Functions
SWITCH FUNCTION REMARK
SW1 Mode Selection (OFF = PRI, ON = E1R2) Default: PRI mode
SW3 Reset switch
SW4-1 Not used
SW4-2 Not used
SW4-3 Not used
SW4-4 Not used
Table 5.3.3.2-2 LED-Indication
LED PRI MODE E1R2 MODE REMARK
LD1 PLL Synchronization
RED LED
ON: Error
OFF: Normal operation
LD2 Loss of Signal from the Line
LD3 Alarm Indication Signal
LD4 Remote Alarm Indication Frame Alignment Error
LD5 Multi Frame Error
LD6 CRC Error
CRC
(ON : Enable, OFF : Disable)
LD7 Normal operation indication (Activity Indication) Blue (Blink)
LD8 Channel status
Blue LED
ON: Channels in use
OFF: All channels Idle)
5.3.3.2 E1-PRIB Installation
Before inserting the PRIB, set SW1 and SW4 Dip switches to match the Telco provided service.
The PRIB board can be installed in any universal slot of any KSU; the 1st slot of the BKSU is
for the MPB only.