The X9503 2.4 provides the ability to disable a number of
the switches on the transmitter – Pit TRIM, GEAR, AUX2,
AUX3, and AUX4. This is very useful when using auxiliary
channels for special or mixing purposes. In this instance,
the auxiliary channels are no longer to be operated
by their auxiliary switches but rather the program mix
selected or transmitter sticks. Such as when the selected
program mix or transmitter sticks operate the auxiliary
channels, instead of the auxiliary switches.
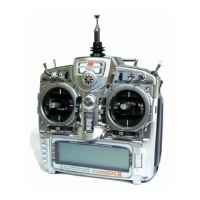
1. If using PIT TRIM, GEAR, AUX2, AUX3, or AUX4 as a
2nd primary flight control, inhibit the corresponding
switch by highlighting ACT, along the bottom line
of the display and pressing the Selector until INH
appears under the switches to be turned off. The
example below shows all switches as INH or turned
off, making them all available as a 2nd channel for a
primary flight control.
The X9503 2.4 features a special Governor program you
can activate in the Device Select screen.
You can use the Governor program with the most
current Governor systems. The program also allows for
independent rpm settings for each of the active flight
modes.
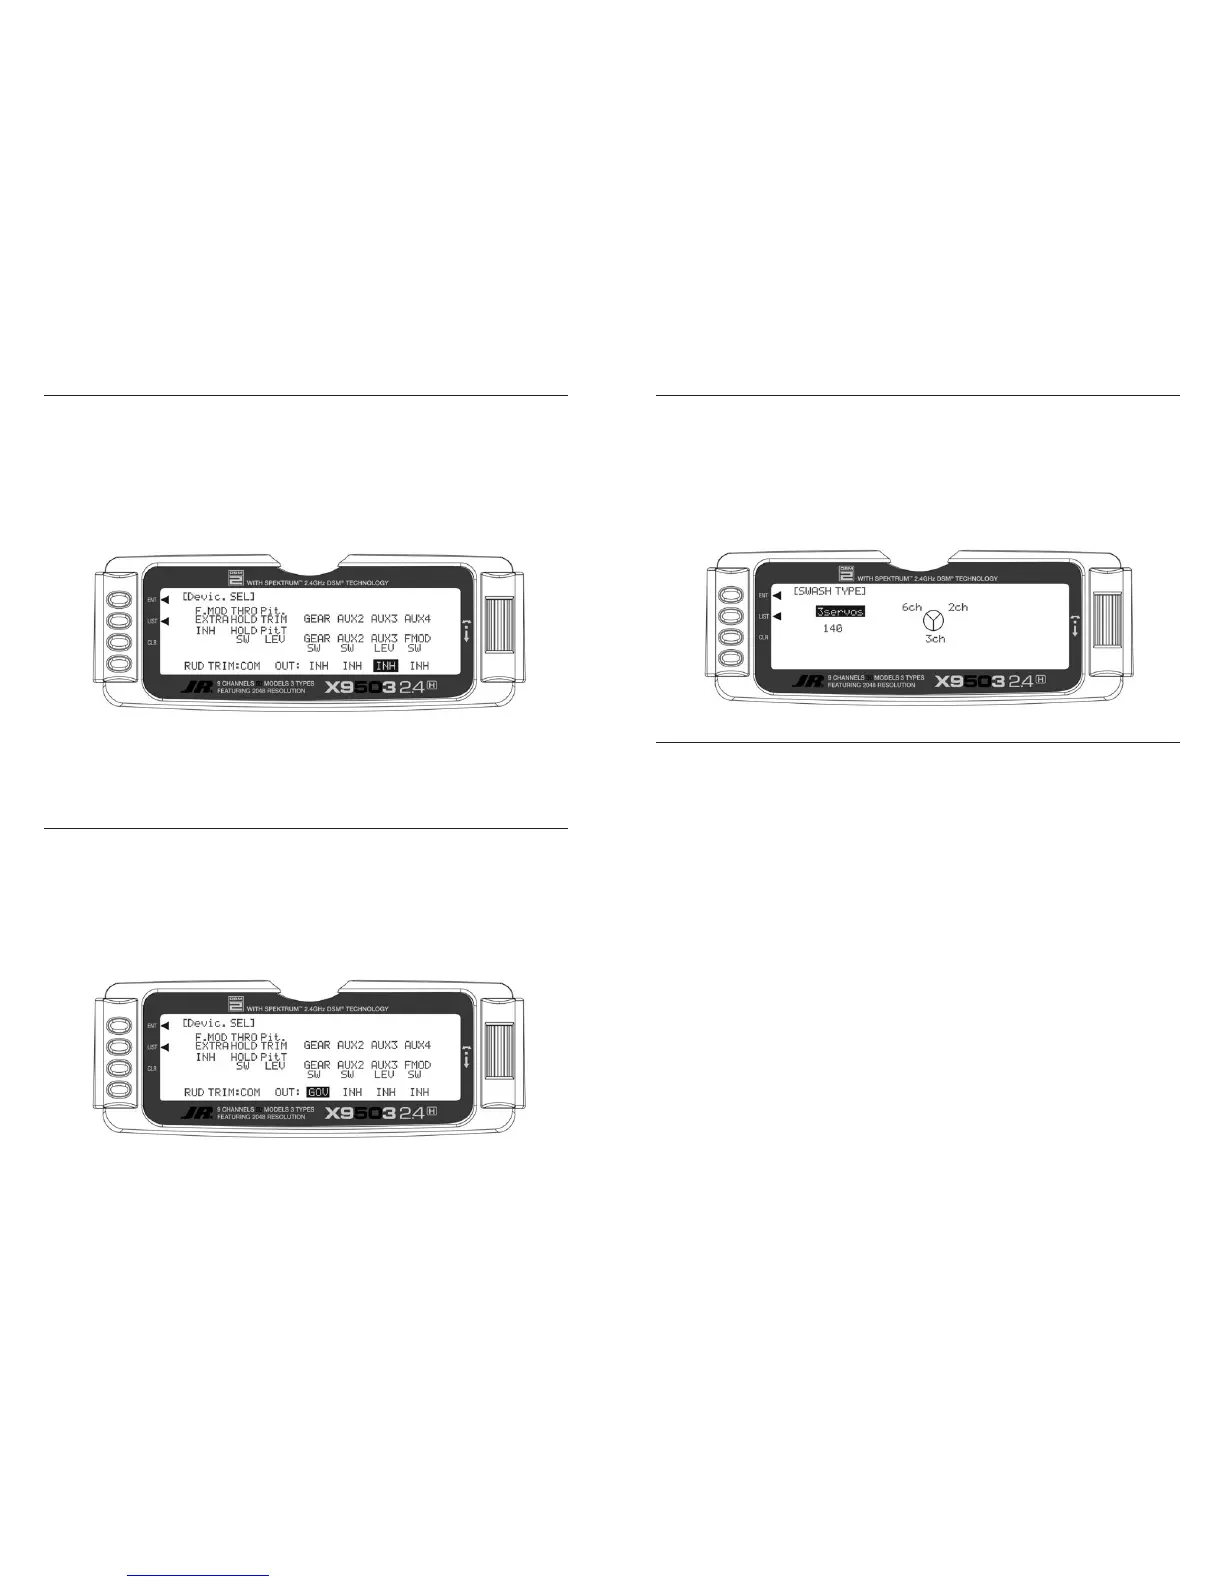
1. From within the Devic.SEL function use the Selector
to highlight and select OUT:ACT located at the bottom of
the GEAR column along the bottom line of the display.
2. Press the Selector until the word GOV appears on
the display. This indicates the Governor function is
activated. The Governor program is now visible in the
Function Mode List.
1. While pressing the ENT key, switch the transmitter ON
to enter system mode.
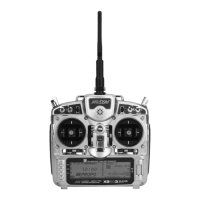
2. Roll the Rolling Selector until SWASH TYP
is highlighted, then press the Selector to access.
3. Press the Rolling Selector again, and the screen will
display the available swashplate types. Highlight the
desired swashplate type, then press the Selector to
select.
4. Pressing the CLR key will reset the Swashplate Type to
the factory default (Normal) position.
5. To exit the Swashplate Type function, roll the Rolling
Selector to highlight LIST, and press.
This concludes the SYSTEM Menu portion of the Heli
Mode. Continue with FUNCTION LIST below to complete
the Heli setup.
The Swashplate Mixing function enables the X9503 2.4
system to operate many different types of swashplate
control systems, including 5 different versions of CCPM.
The Swashplate options are:
1 Servo Non-CCPM, standard mixing type
2 Servo/180° CCPM
3 Servo/120° CCPM (JR style, most popular)
3 Servo/140° CCPM (JR Vigor
™
CS, JR Vibe
™
90)
3 Servo/90° CCPM
4 Servo/90° CCPM
 Loading...