TheJRR921receiverfeaturestwotypesoffail-safe:
SmartSafe and Preset Fail-safe.
SmartSafe
Thistypeoffail-safeisespeciallyidealformosttypesof
electric aircraft and is also recommended for most types
of gas- and glow-powered airplanes and helicopters.
Here’s how SmartSafe works.
Receiver Power Only
Whenthereceiveronlyisturnedon(notransmittersignal
is present), all servos except for the throttle are driven to
their preset fail-safe positions, normally control surfaces
atneutralandthelandinggeardown.Thesefail-safe
positions are stored in the receiver during binding. At this
time the throttle channel has no output, to avoid operating
or arming the electronic speed control. In glow-powered
models, the throttle servo has no input so it remains in its
current position.
After Connection
Whenthetransmitteristurnedonandafterthereceiver
connects to the transmitter, normal control of all channels
occurs. After the system makes a connection, if loss of
signal occurs, SmartSafe drives the throttle servo only
to its preset fail-safe position (low throttle) that was set
during binding. All other channels hold their last position.
Whenthesignalisregained,thesystemimmediately(less
than 4 ms) regains control.
Preset Fail-Safe
Preset fail-safe is ideal for sailplanes and preferred by
some modelers for their glow- and gas-powered aircraft.
Receiver Power Only
Whenthereceiveronlyisturnedon(notransmittersignal
is present) all servos except for the throttle are driven to
their preset fail-safe positions, normally control surfaces
atneutralandthelandinggeardown.Thesefail-safe
positions are stored in the receiver during binding. At this
time the throttle channel has no output, to avoid operating
or arming the electronic speed control. In glow-powered
models, the throttle servo has no input so it remains in its
current position.
After Connection
Whenthetransmitteristurnedonandafterthereceiver
connects to the transmitter, normal control of all
channels occurs. After the system makes a connection,
if loss of signal occurs preset fail-safe drives all servos
to their preset fail-safe positions. For sailplanes,
it’srecommendedthatthespoilers/flapsdeployto
de-thermalize the aircraft, preventing a flyaway. Some
powered modelers prefer to use this fail-safe system to
program a slight turn and low throttle to prevent their
aircraftfromflyingaway.Whenthesignalisregained,the
system immediately (in less than 4 ms) regains control.
Programming SmartSafe
(All Spektrum Aircraft Receivers)
Leavethebindpluginduringthebindingprocess
and remove it only after the receiver connects to the
transmitter. After the connection is made, confirmed by
operatingtheservos,removethebindplug.Thereceiver
is now programmed for SmartSafe.
Fail-Safe Functions
(JR R921, R922, R1221, R1222 and Spektrum
AR7100, AR7100R, AR7600, AR9000, AR9100
Receivers Only)
During the binding process, insert the bind plug in the bind
port or in the charge jack, as the receiver is powered up.
TheLEDsineachreceivershouldblink,indicatingthatthe
receiverisinbindmode.Beforebindingthereceivertothe
transmitter and with the receiver in bind mode, remove the
bindplug.TheLEDswillstillbeblinking.Withthecontrol
sticks and switches in the desired fail-safe positions, bind
the transmitter to the receiver by pressing and holding the
bindbuttonsonthebackofthetransmitter/moduleand
turningonthetransmitter.Thesystemshouldconnectin
lessthan15seconds.Thereceiverisnowprogrammedfor
preset fail-safe.
Note:Fail-safepositionsarestoredviathestickand
switch positions on the transmitter during binding.
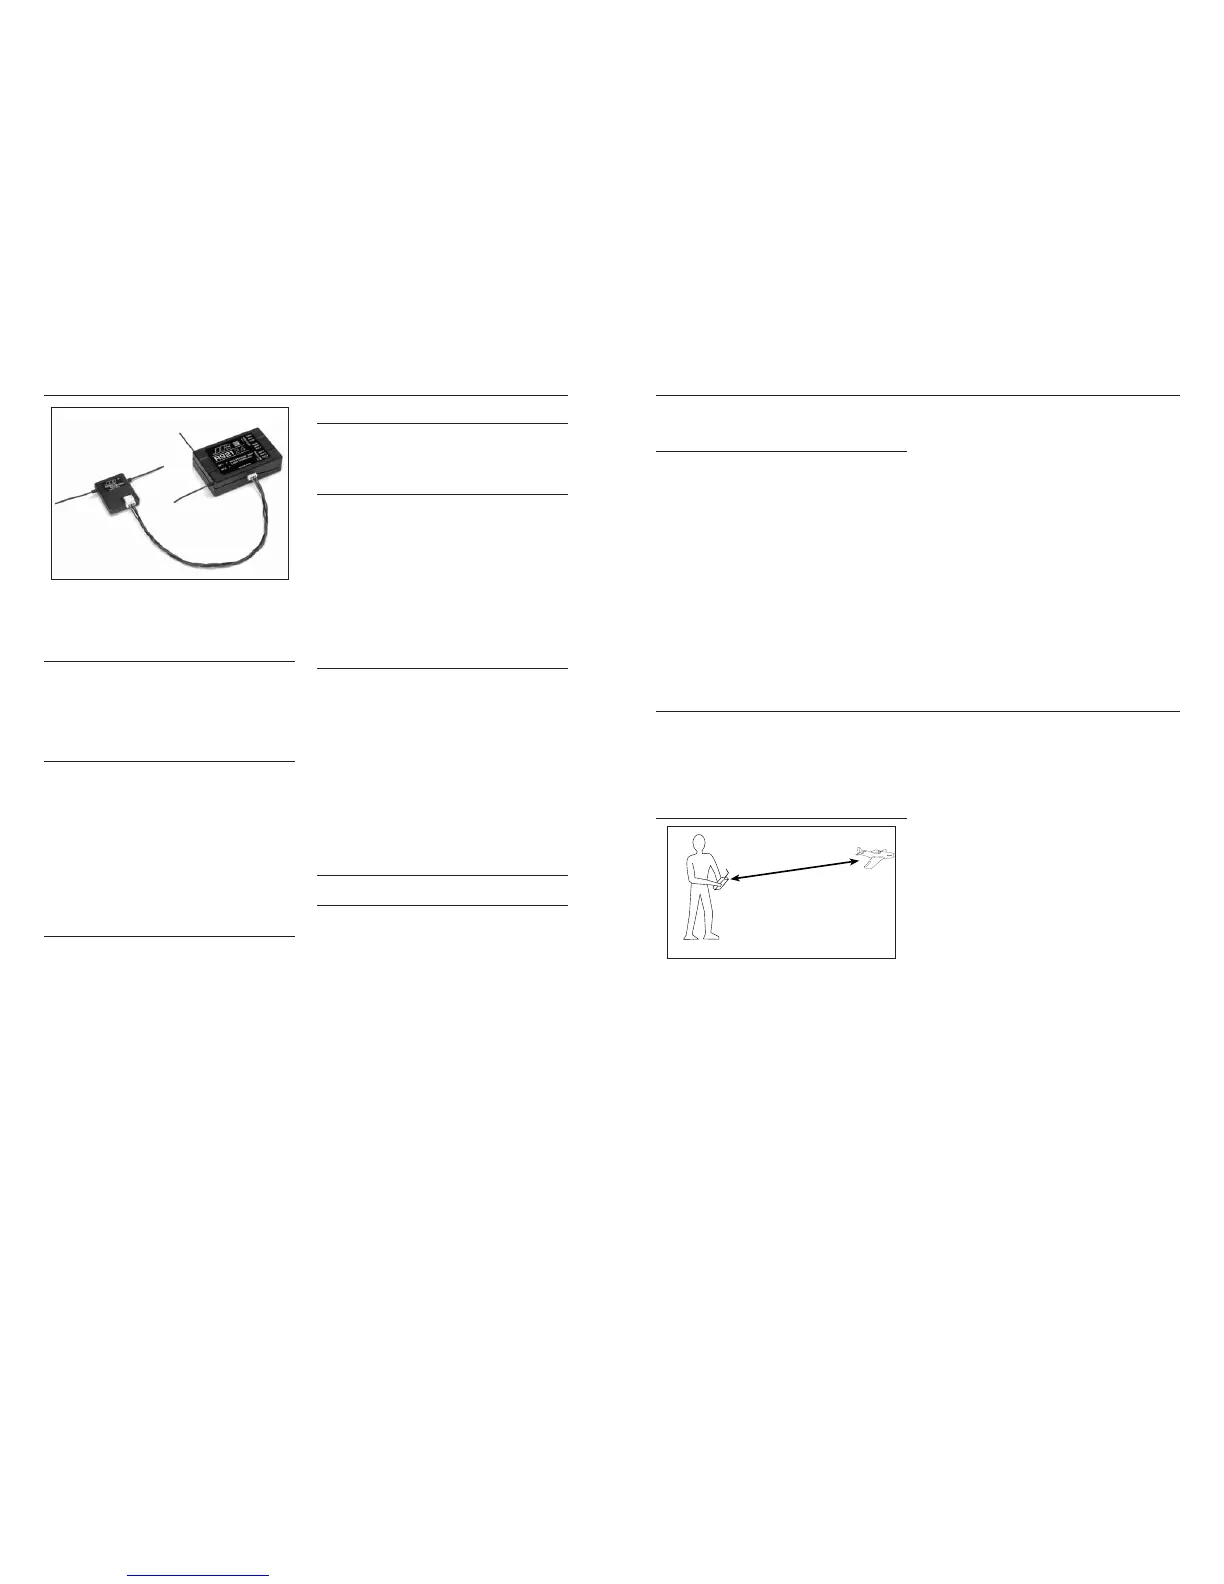
Standard Range Testing
Beforeeachflyingsession,andespeciallywithanew
model,youneedtoperformarangecheck.TheX95032.4
incorporates a range testing system which, when the bind
button on the transmitter is pressed and held, reduces the
output power, allowing a range check.
Range Testing the X9503 2.4
 Loading...