1. Hold the ENT button while plugging the trainer cord
into the back of the transmitter to obtain the
SYSTEM Menu.
Plug the other end of the trainer cord into another X9503
2.4 transmitter while holding the ENT button down and
prepare that transmitter for Receive as described below.
2. Highlight and select
TRANSFER in the SYSTEM Menu
to obtain the Transfer display.
The TRANSFER function is in the SYSTEM Menu and
copies the contents of a model memory to another X9503
2.4 transmitter. It also receives data for a model, from
another X9503 2.4 transmitter.
3. The transferring model must be the currently selected
model. If it is not currently selected, see
Model SEL in
the SYSTEM Menu to select it.
Note: The receiving transmitter must be an X9503
2.4. Transfer is not possible to any other system.
4. When the receiving device is ready, press the CLR
button next to
START on the left side of the display.
The data for the currently selected model transfers to
the receiving device.
1. Hold the ENT button while plugging the trainer
cord into the back of the transmitter to obtain the
SYSTEM Menu. Plug the other end of the trainer cord
into another X9503 2.4 transmitter while holding the
ENT button and prepare that transmitter for Transmit as
described above.
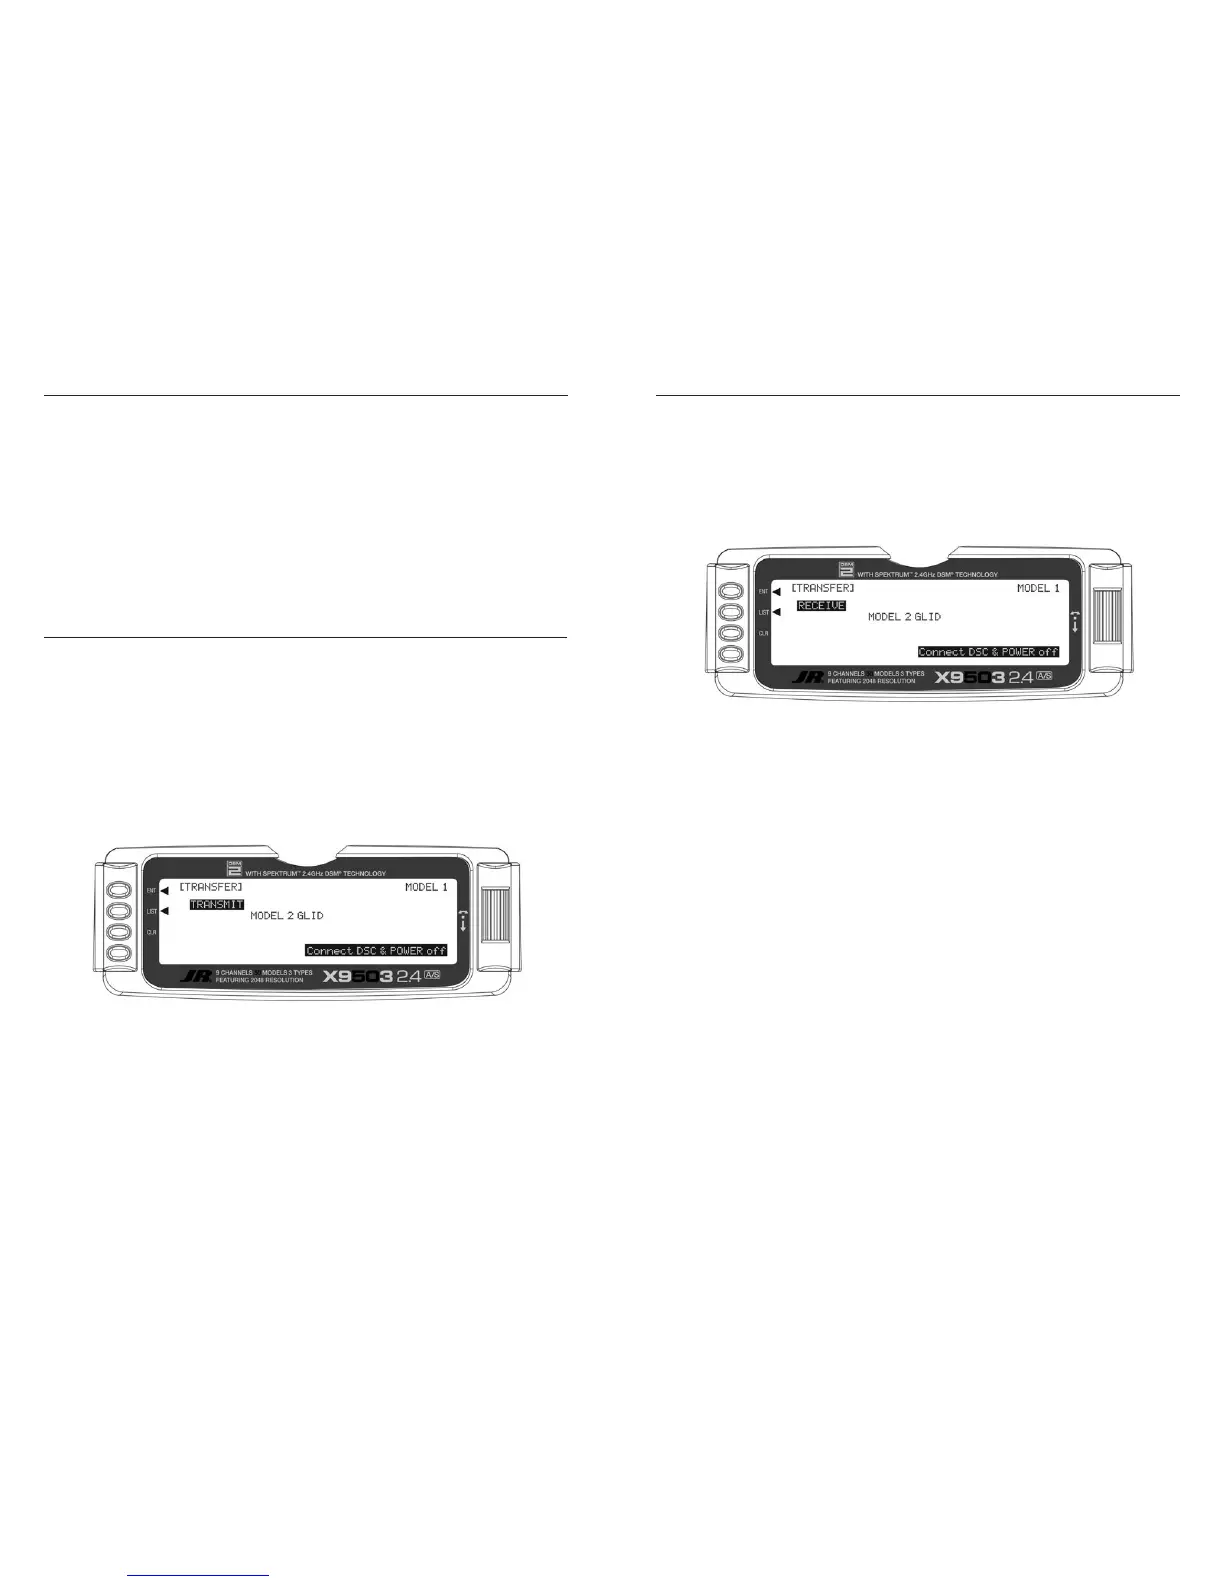
2. Highlight and select TRANSFER in the SYSTEM Menu
to obtain the Transfer display.
3. If
RECEIVE is already displayed, continue with the next
step. If TRANSMIT is displayed, highlight and select
TRANSMIT, changing it to RECEIVE.
4. Select the model memory to receive the data by
highlighting and selecting the model name/memory
number. Then scroll to and select the model memory
to receive the data. Select an unused model memory
or a memory for a model no longer needed, since
the data in this model memory will be replaced and
permanently lost.
Note: The receiving model name/memory number
can not be the currently selected model. To receive a
model in the currently selected model name/memory
number, go to the model select function and select
a different model, then re-enter the transfer function
and follow the instructions above.
5. Press the CLR button next to
START on the left side
of the display. Stand-by appears at the bottom of
the display indicating that the X9503 2.4 is ready to
receive data. Press start on the transmitting X9503 2.4
to begin the data transfer to the receiving X9503 2.4.

 Loading...