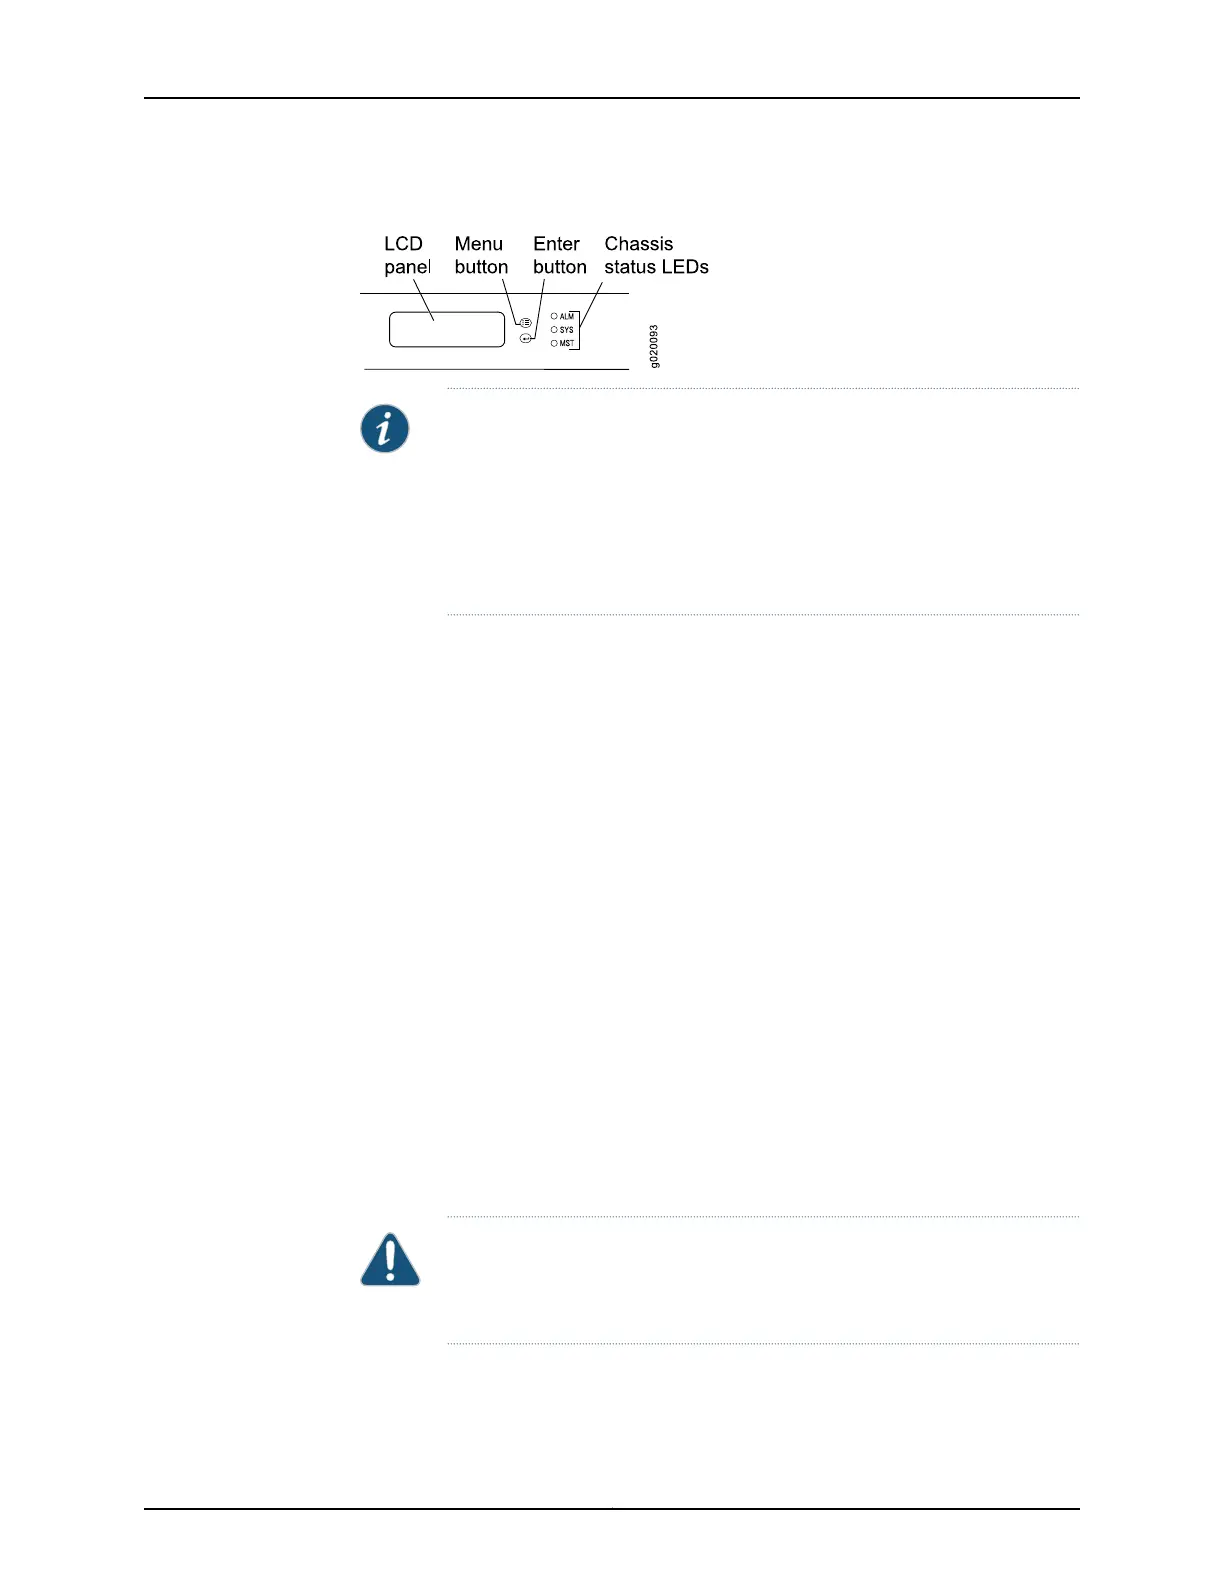
Figure 69: EX Series Switch LCD Panel
NOTE: To revert a member switch of a Virtual Chassis to the factory-default
configuration, first disconnect the cables connected to the Virtual Chassis
ports (VCPs) to avoid affecting Virtual Chassis configuration parameters
(member ID, mastership priority, and setting of VCP uplinks) on other
members.See“Disconnectinga Fiber-OpticCable froma Device” on page 200,
Disconnecting a Virtual Chassis Cable from an EX4200 Switch, or Disconnecting
a Virtual Chassis Cable from an EX4500 Switch.
To revert to the factory-default configuration by using the LCD panel:
1. Press the Menu button until you see MAINTENANCE MENU on the panel.
2. Press the Enter button.
3. Press Menu until you see FACTORY DEFAULT.
4. Press Enter. The display says RESTORE DEFAULT?
5. Press Enter. The screen flashes FACTORY DEFAULT IN PROGRESS and returns to the
idle menu.
6. Complete the initial configuration of the switch. See “Connecting and Configuring an
EX Series Switch (CLI Procedure)” on page 179 or “Connecting and Configuring an EX
Series Switch (J-Web Procedure)” on page 182.
Reverting to the Factory-Default Configuration by Using the request system zeroize Command
The requestsystem zeroize command is a standard Junos OS operational mode command
that removes all configuration information and resets all key values. The operation unlinks
all user-created data files, including customized configuration and log files, from their
directories. The switch then reboots and reverts to the factory-default configuration.
To completely erase user-created data so that it is unrecoverable, use the request system
zeroize media command.
CAUTION: Before issuing request system zeroize, use the request system
snapshot command to back up the files currently used to run the switch to a
secondary device.
Copyright © 2017, Juniper Networks, Inc.188
EX2300-C and EX2300 Switches Hardware Guide