Mounting axes page 41
In case of a software-controlled wafer table: Switch off the DSA100. Connect the
wafer table with one of the ports Axis1, Axis3 or Axis4 on the rear panel of the
DSA100. Switch on the DSA100. Close the DSA software and then start it up
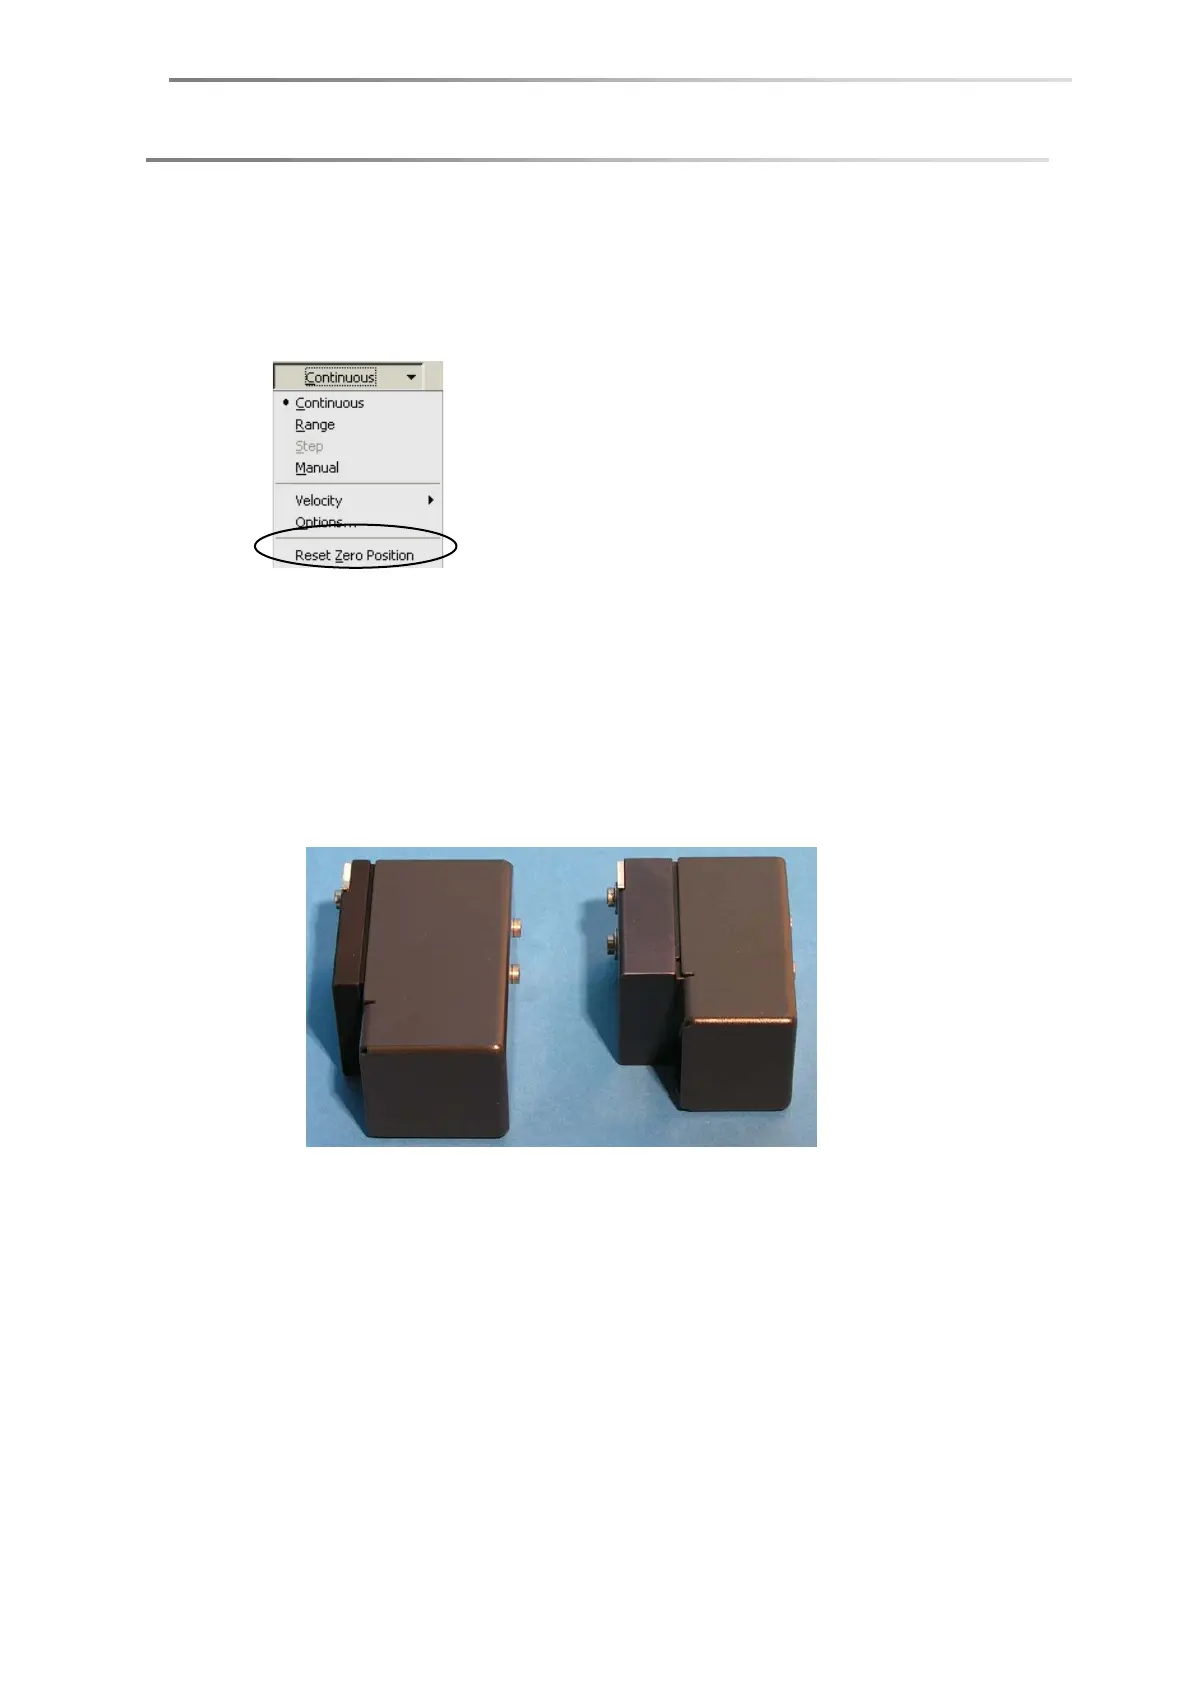
again. Call up the menu command Reset Zero Position from the tab sheet Axis
respectively Axis in the Device Control panel.
7.5.3 Mounting a rotating sample table ST3230/3280
Safety note
When the standard prism is installed, the rotating sample table can collide with
the prism and damage it.
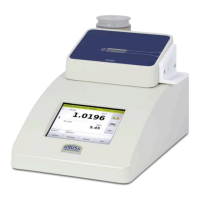
Exchange the standard prism with the smaller prism for large samples.
Standard prism Prism for large samples
For removing and inserting a prism please read Chapter 6.2.
Procedure
The prism must be adjusted to a tilting angle of 2° for sessile drops ( Chapter
6.2).
The rotating sample table ST3230/3280 is to be used together with the long y-
axis PS3210. A currently assembled shorter y-axis must be exchanged.
Due to easier positioning, the large rotating sample table can be mounted
easier when a dosing unit is already attached to the DSA100.