page 42 Mounting axes
1. Attach the z-axis to the y-axis as described in Chapter 7.3.3.
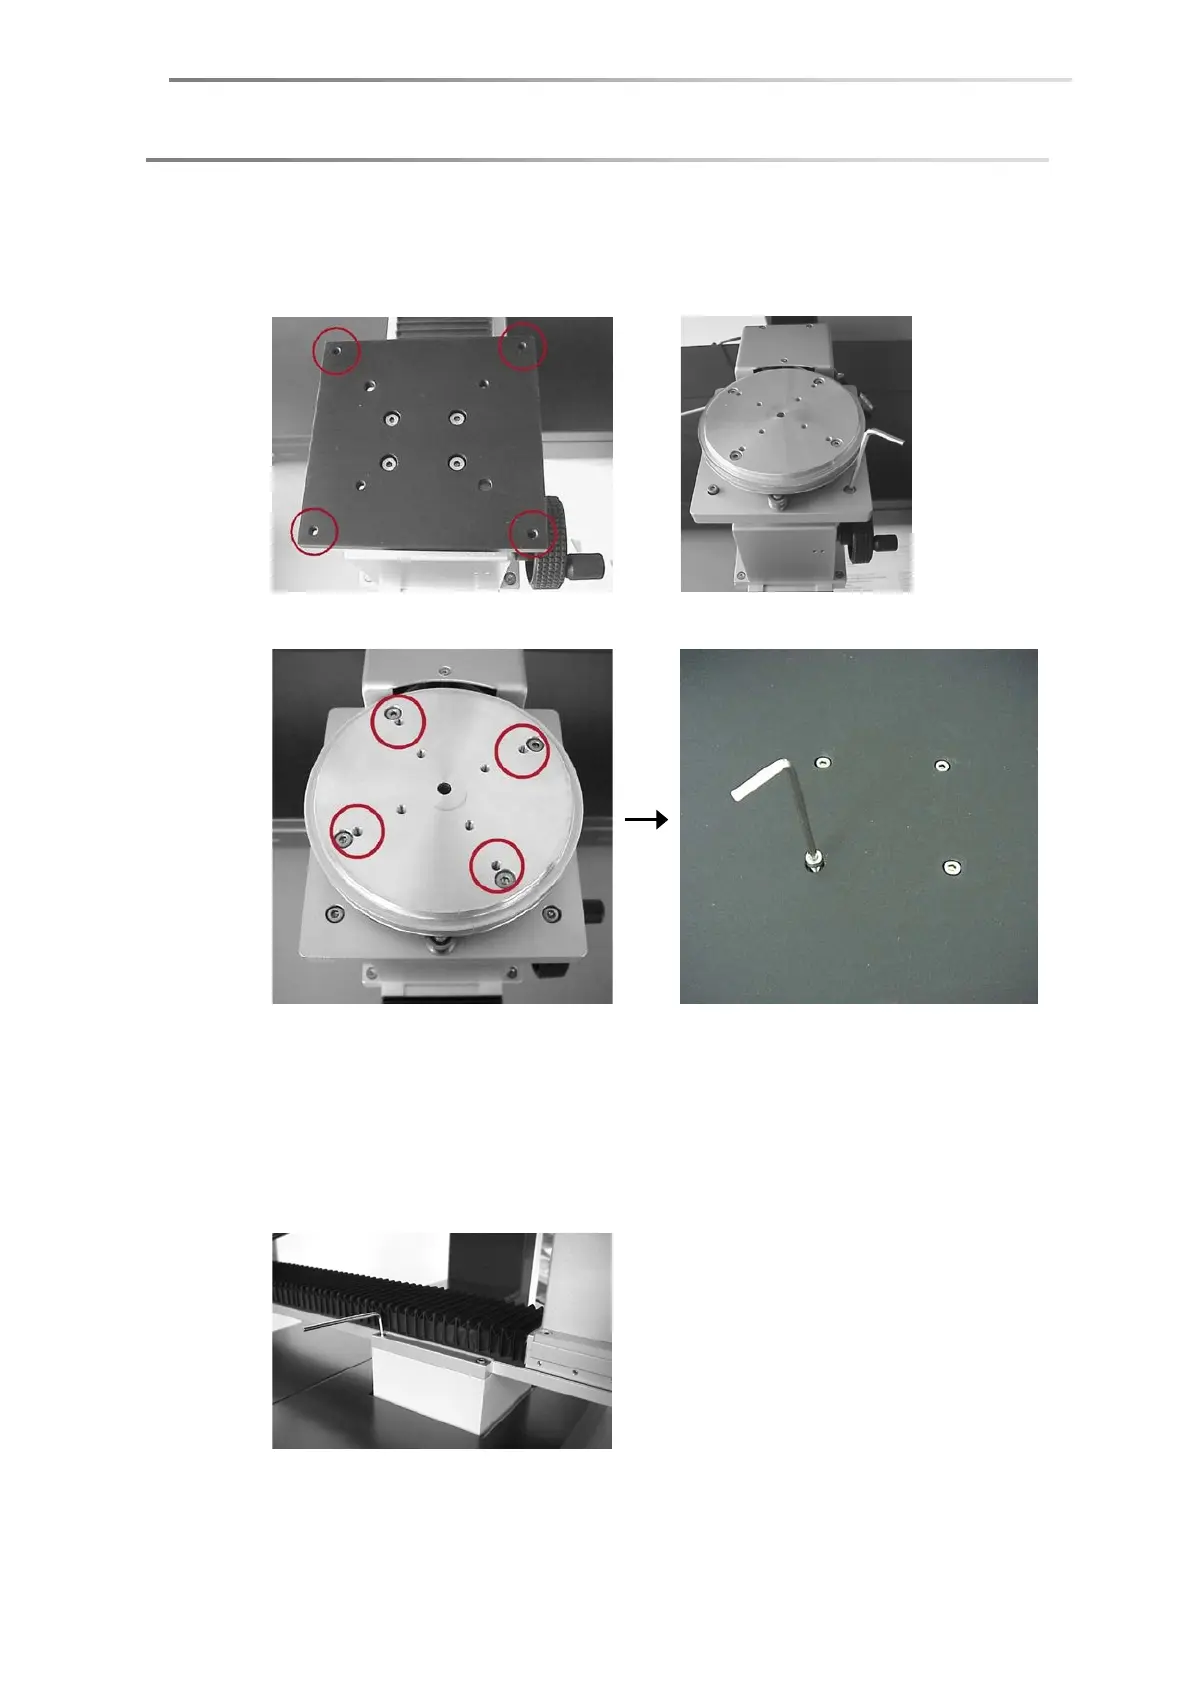
2. Attach the rotating axis to the platform of the z-axis using four hexagon socket
screws.
3. Attach the platform to the rotating axis using four hexagon socket screws.
4. For manual y-axis: Drive the axis to the front position.
For software-controlled y-axis: Connect the y-axis to the port AXIS 2 of the rear
panel of the DSA100 and switch on the DSA100. The y-axis initializes and drives
to the front position automatically.
5. Loosen the four screws that fix the y-axis so that the whole y-axis can slide
forward and backward manually.
6. Rotate the sample table so that the maximum length is aligned to the y-axis (i.e.
the pointed ends show to the front and the rear side).