page 60 Software-controlled single-Dosing unit DS3210
2. Insert the syringe in the syringe adapter.
To do this, push the syringe plunger upwards and insert the plunger.
Clip the glass syringe into the clamping springs so that the top edge of the
syringe lies between the top clamping spring and the end spring.
3. Fix the plunger of the syringe in the clamp with the help of the screw which was
loosened in Step 1.
SPAC S PA C S PAC SPAC
9.3 Adjusting the dosing unit
The dosing unit must be adjusted with respect to the camera so that the middle
horizontal needle position is in the middle of the recorded image.
1. Start the DSA software.
The camera button in the toolbar must be shown as being pressed (live
image). Click on the button if necessary.
SPAC S PA C S PAC SPAC
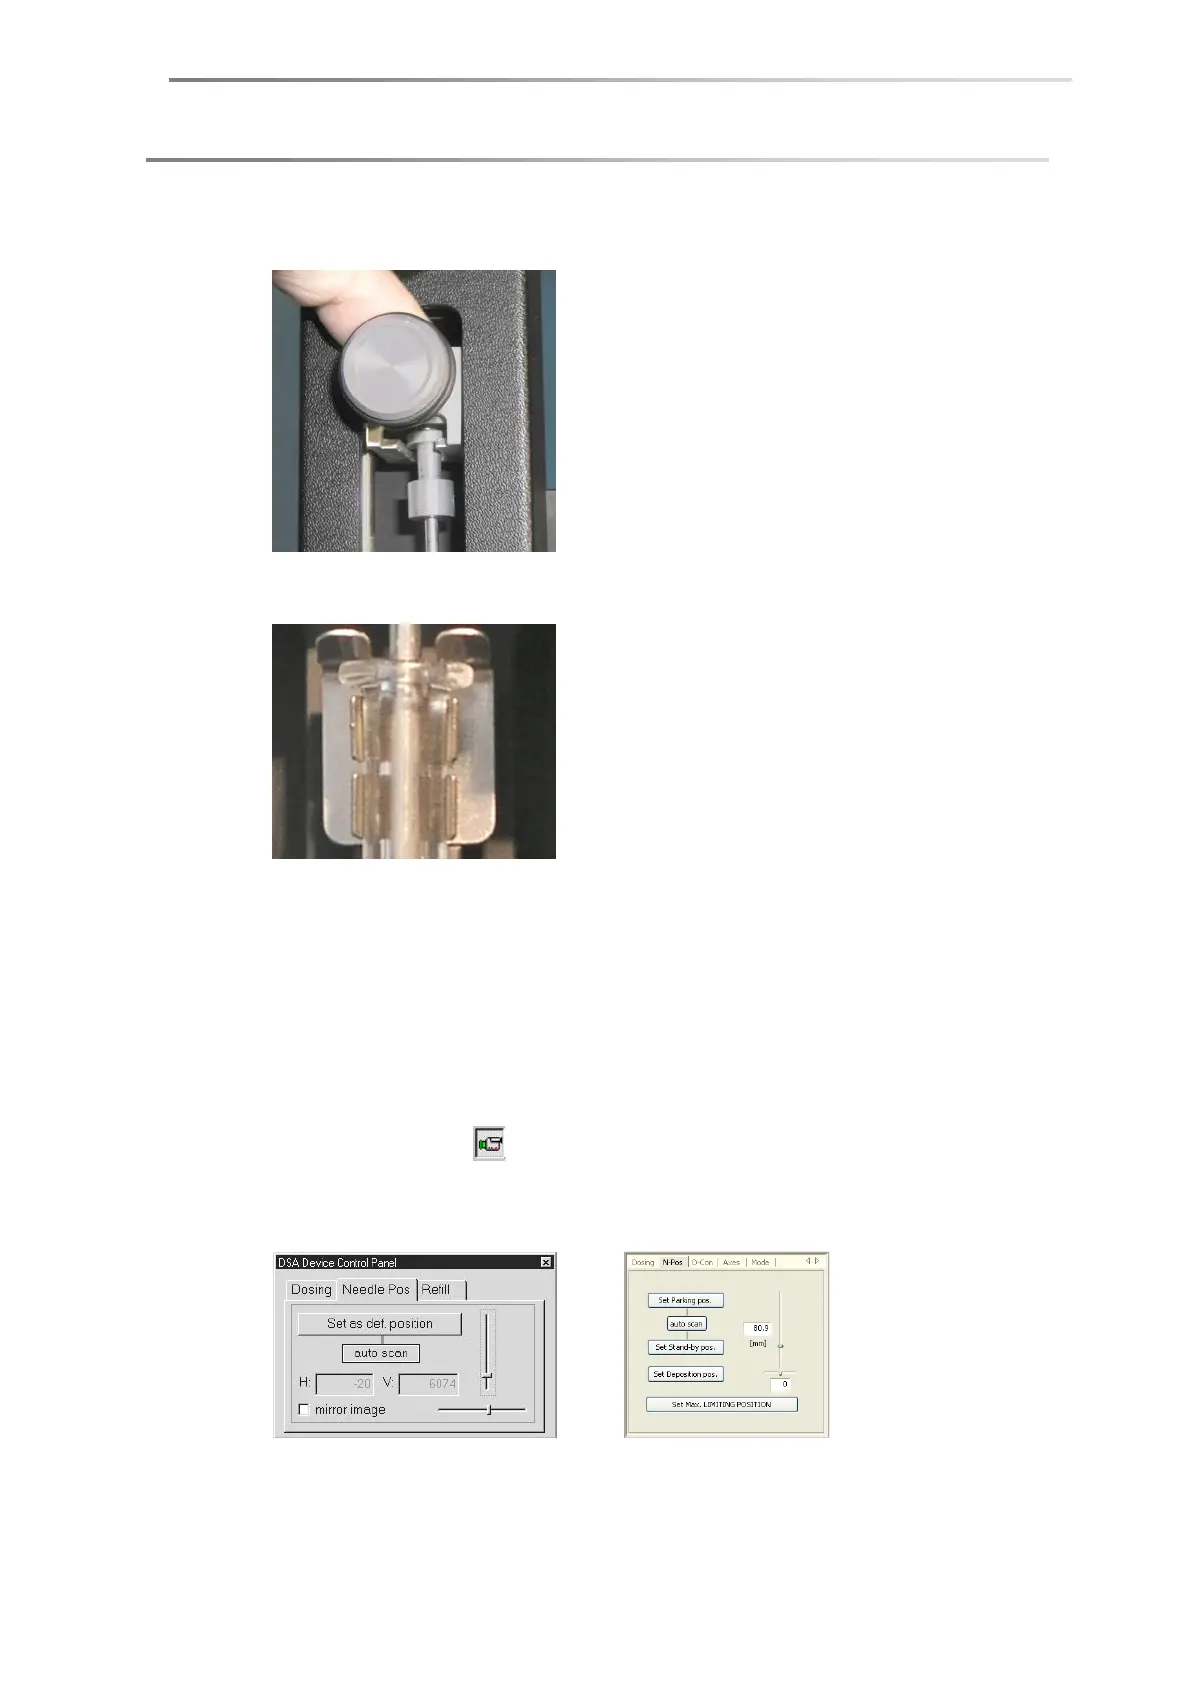
2. Select the tab Needle Pos (DSA1) respectively N-Pos (DSA3/DSA4).
DSA1 DSA3/DSA4
SPAC S PA C S PAC SPAC
3. Use the vertical slide controller or the <↓> key to move the needle to a position
between the camera and the light source.
SPAC S PA C S PAC SPAC
 Loading...