page 38 Mounting axes
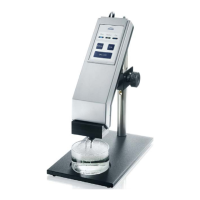
7.5 Mounting a rotating table
A rotating sample table cannot be used together with the x-axis, but only as an
alternative to it. If an x-axis is already attached then it must be removed before
mounting the rotating sample table.
It is recommended to carry out the mounting steps with two persons.
7.5.1 Removing the x-axis (if present)
For safety reasons first remove the prism and keep it in a safe place when
carrying out the assembly work.
1. If software-controlled axes are installed then switch on the computer and start
the DSA software.
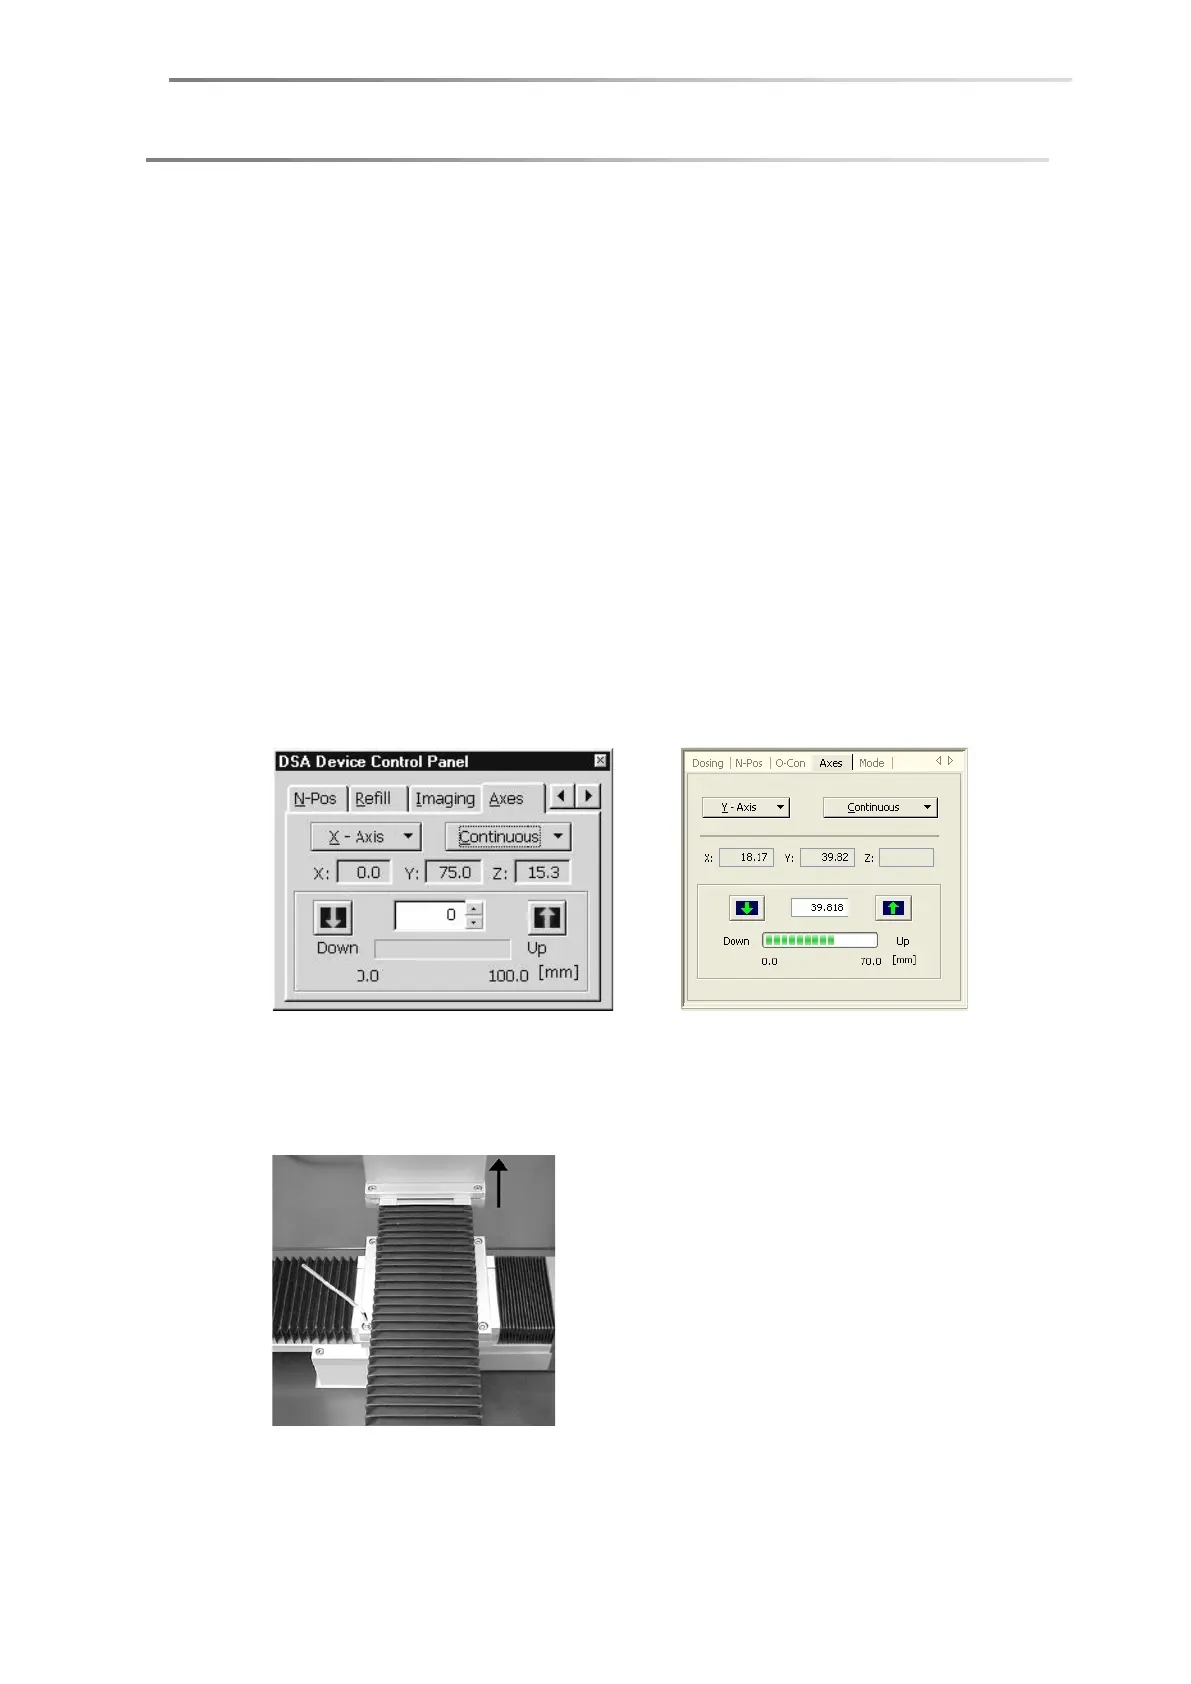
2. With manual axes: wind the axis to the back until the screws are exposed.
With software-controlled axes: Select the register card Axis respectively Axes in
the Device Control panel.
DSA1 DSA3/DSA4
Select the y-axis with the button at the top left and use the Up button to move
the axis until the screws are exposed. A further click on the button stops the
movement.
3. Remove all the cable connections from the axes.