Mounting axes page 49
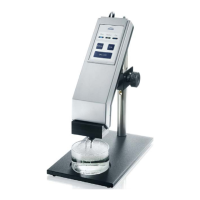
7.7.4 Connecting the tilting table
Connect the connector on the underside of the tilting table to one of the
connectors Axis 1, Axis 3 or Axis 4 on the rear of the DSA100.
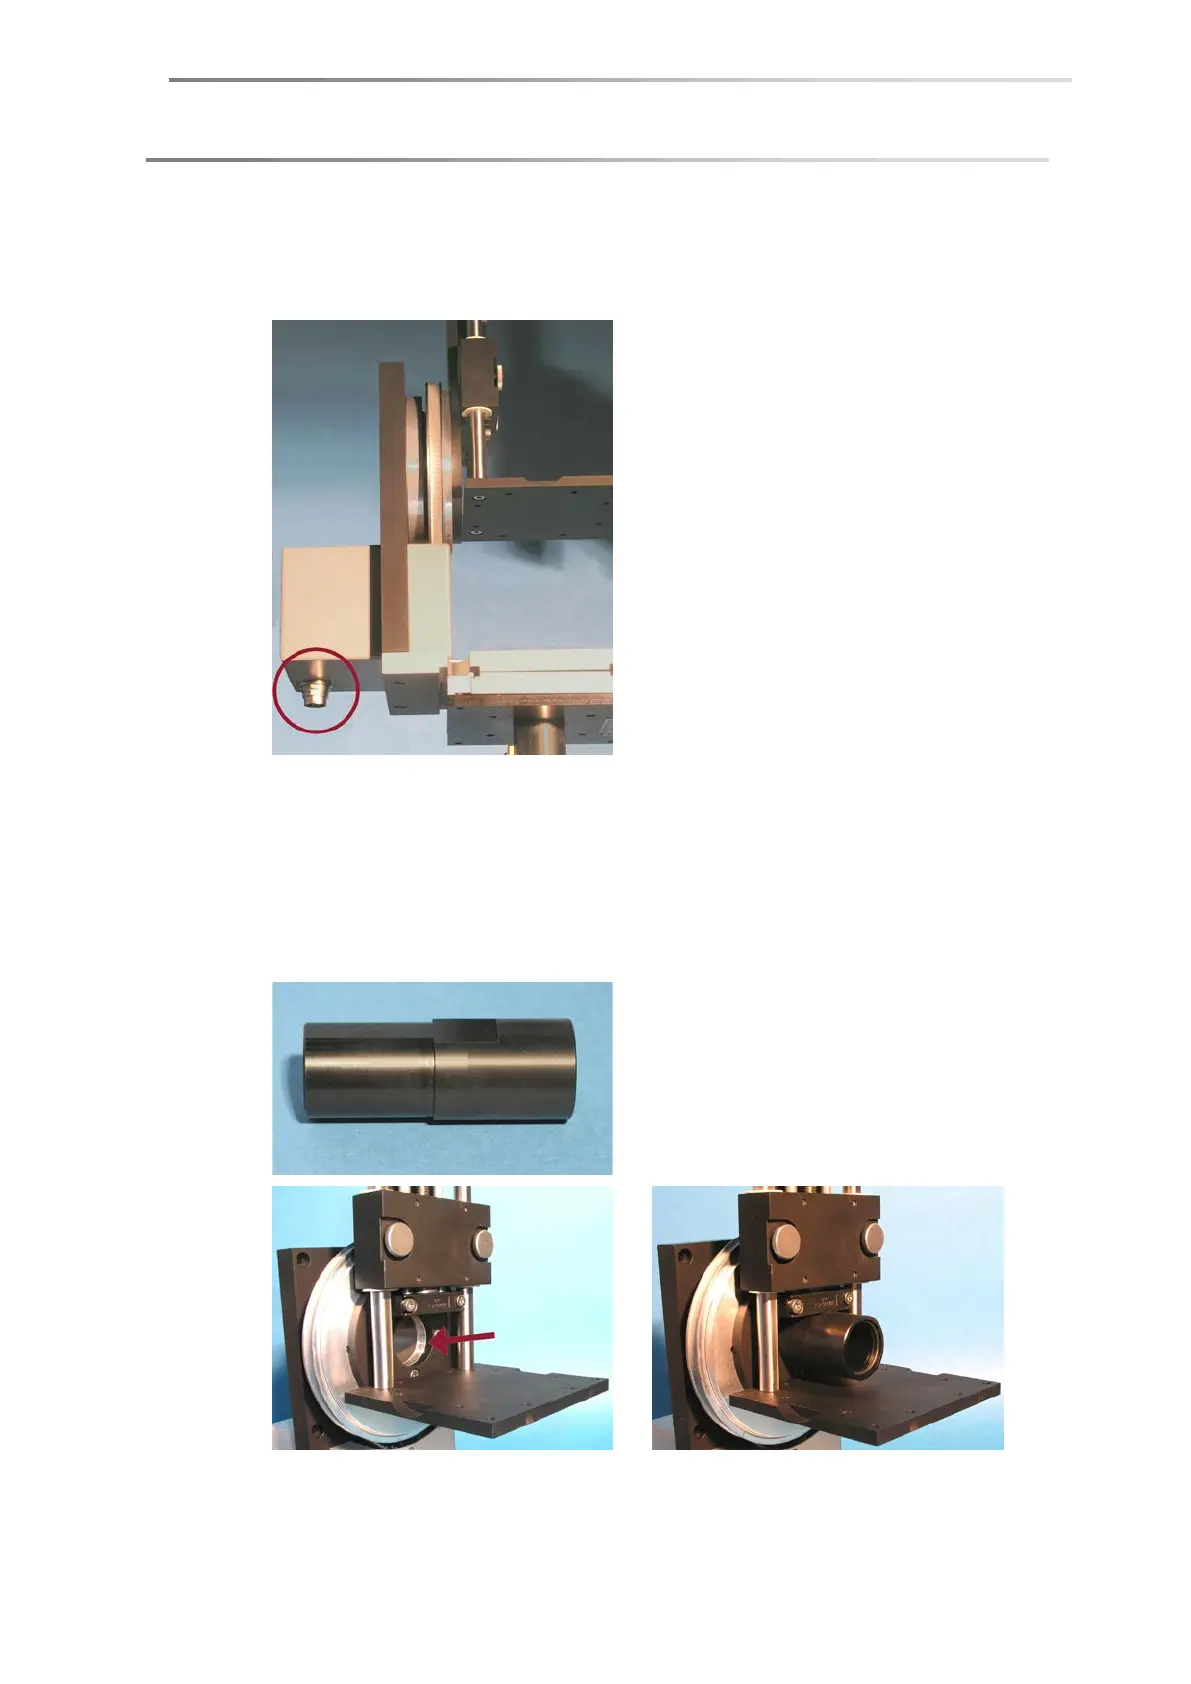
7.7.5 Centring the tilting table in the optical axis
1. Set the tilting angle of the camera to 0° ( Chapter 6.2).
2. Switch on the DSA100 and start the DSA1/DSA3/DSA4 software.
3. Feed the centring device into the opening from the sample table side.
4. Focus on the printed scale inside the centring device.
5. The scale is calibrated in mm. Adjust the zoom so that the recorded field of view
is between 5 and 7 mm high.