Mounting axes page 43
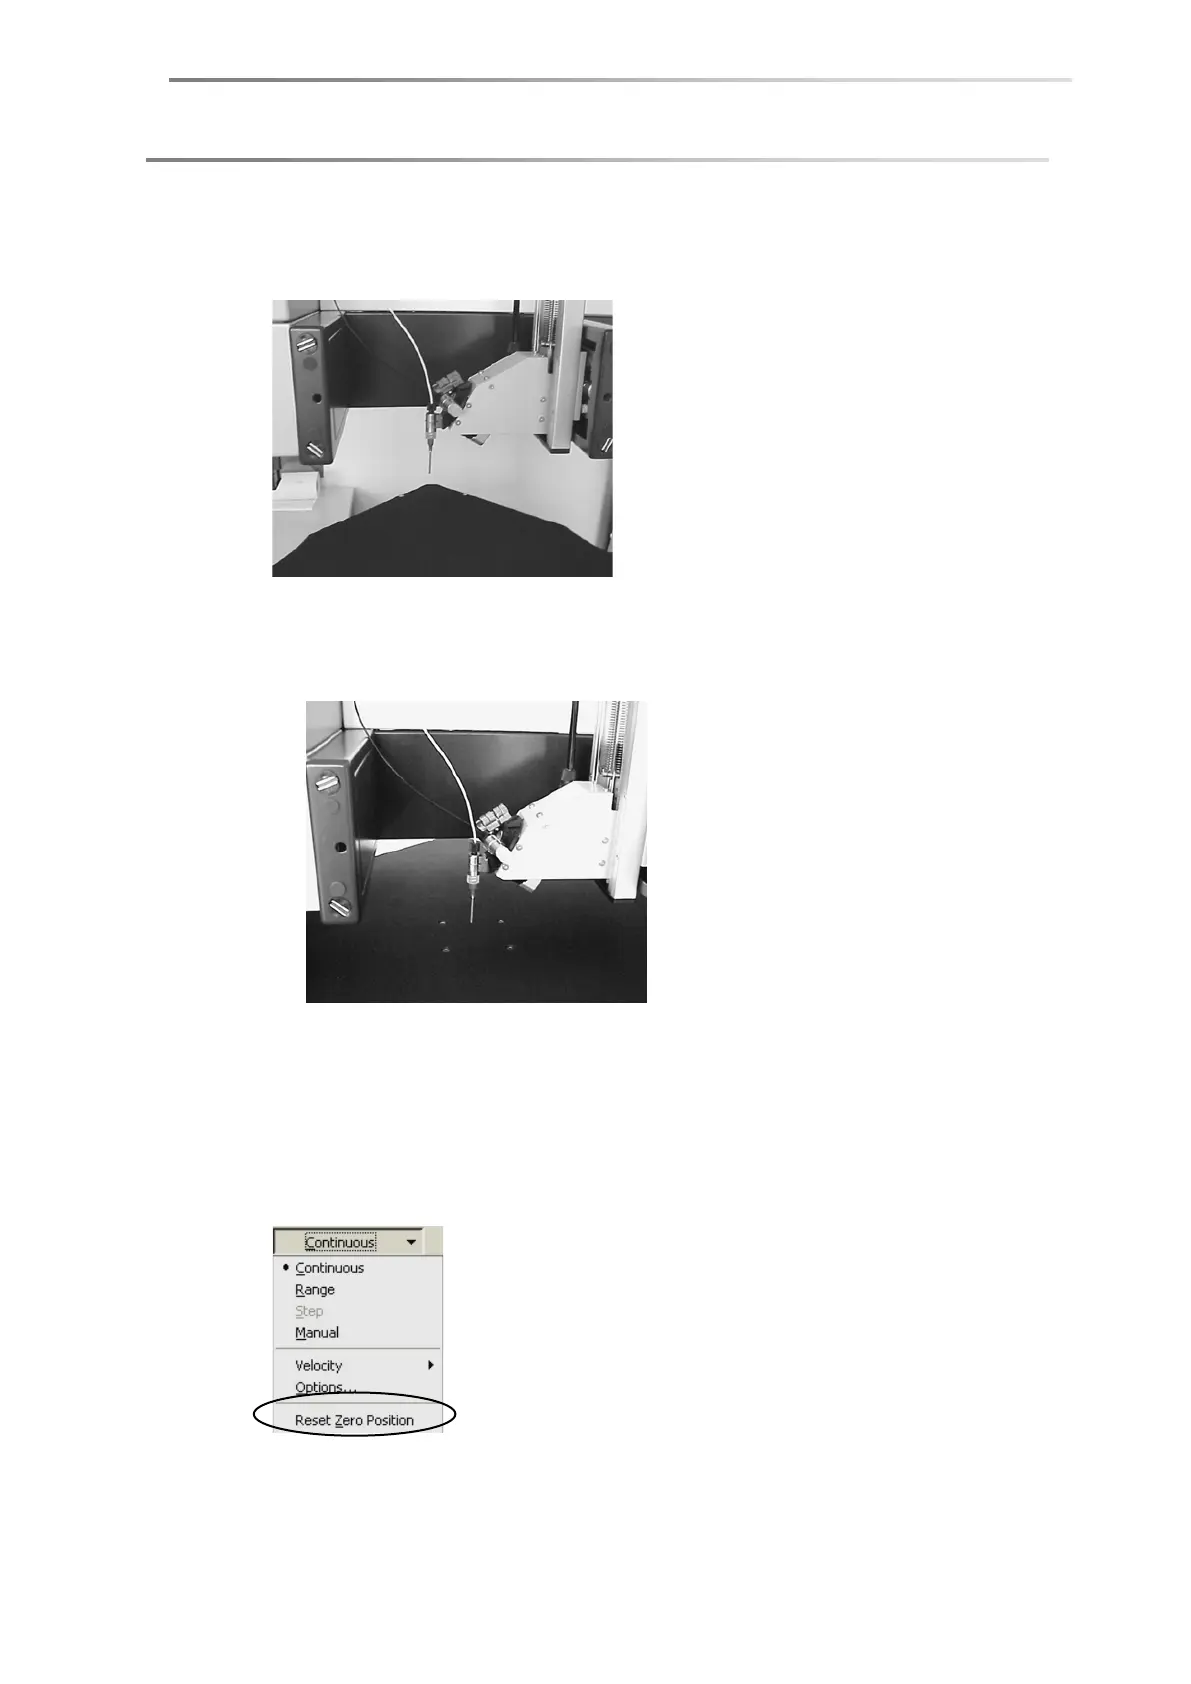
7. To achieve the whole driving rage of the axis, push the y-axis to a position
where the needle of the dosing system reaches the outermost position of the
sample platform.
The axis can also be adjusted to the central position. This can be done to
make the DSA100 better accessible from the front side, but only if there is
sufficient space behind the DSA100.
8. Fix the y-axis when the position is adjusted
9. With the software-controlled rotating sample table: Switch off the DSA100.
Connect the rotating sample table with one of the ports AXIS1, AXIS3 or AXIS4
on the rear panel of the DSA100. Switch on the DSA100 again. Close the DSA
software and then start it up again. Call up the menu command Reset Zero
Position from the tab sheet Axis/Axes in the Device Control panel.
SPAC S PA C S PAC SPAC