1-3-8
2G6
Loading software.
Ensure the printer is plugged in and connected to
the computer's parallel or USB port before
installing software from the CD-ROM.
1. Switch on the PC and activate Windows.
NOTE: If the Welcome to the Found New
Hardware Wizard dialog box displays, select
Cancel.
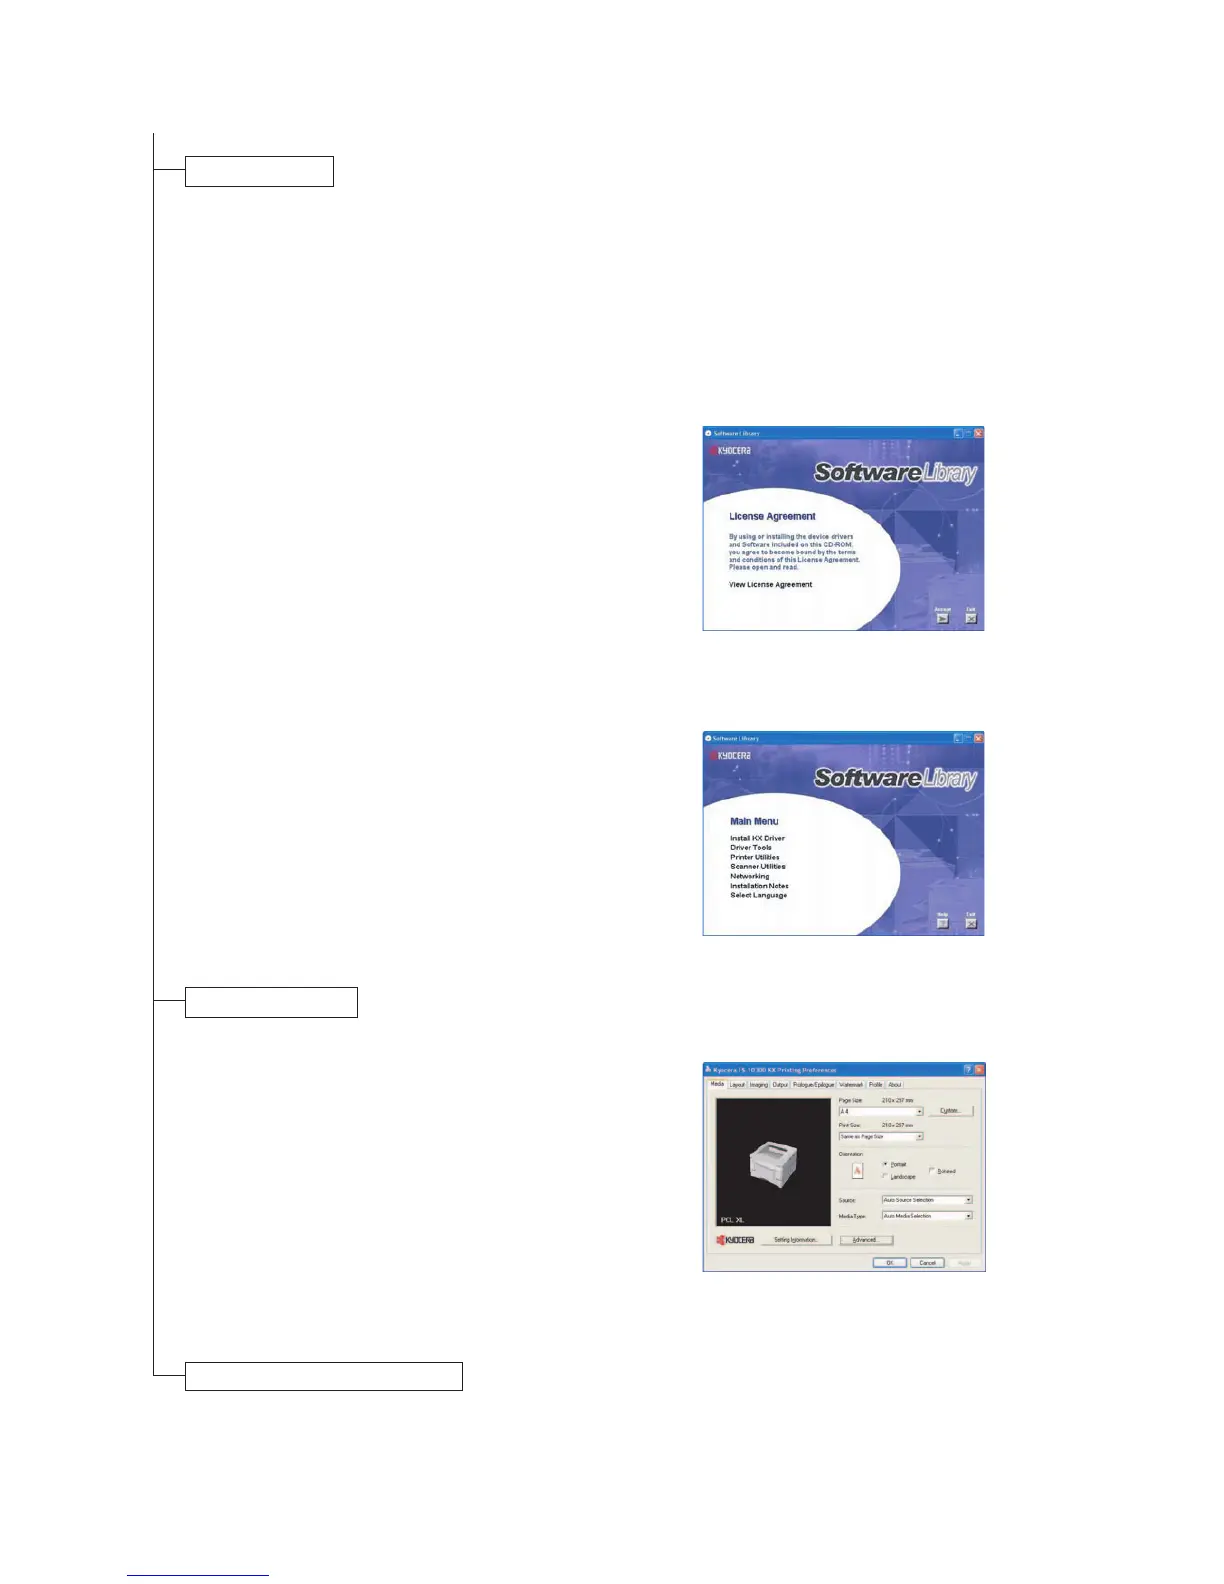
4. Select Install KX Driver and follow the on-screen
instructions to complete the software installation.
5. Once the installation is complete, the Printer
Installed Successfully dialog box displays.
1. Ensure the paper required is loaded in the
printer.
2. From the application File menu, select Print. The
Print dialog box displays.
3. Select the drop down list of printer names. All the
printers installed are listed. Select the FS-1030D.
4. Select the options required, enter the number of
copies required and if printing more than one set,
select Collate. Select OK to start printing.
Printing a document.
Figure 1-3-14
Figure 1-3-15
Figure 1-3-16
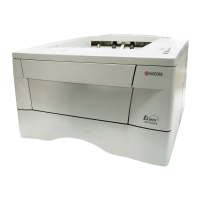
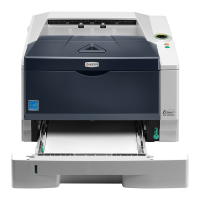
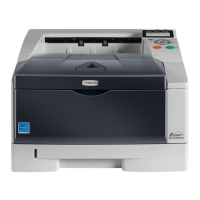
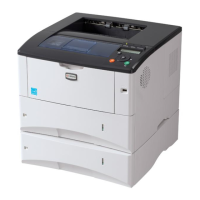
Completion of machine installation.
2. Insert the CD-ROM (Software Library) into the
CD-ROM drive.
3. The installation program launches and the
License Agreement displays. Select View
License Agreement to read the information and
select Accept to proceed.
NOTE: If the installation program fails to launch,
use Windows Explorer to access the CD-ROM
and select Setup.exe.
 Loading...