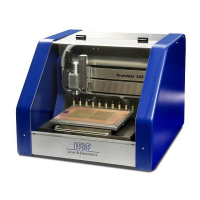
Installation ProtoMat S
44 HB V0.9/Mrz-11 © 2011 LPKF AG
5
5.3.1.2 Connecting the circuit board plotter
Note
The machine must be switched off before any cable can be
connected to the interfaces.
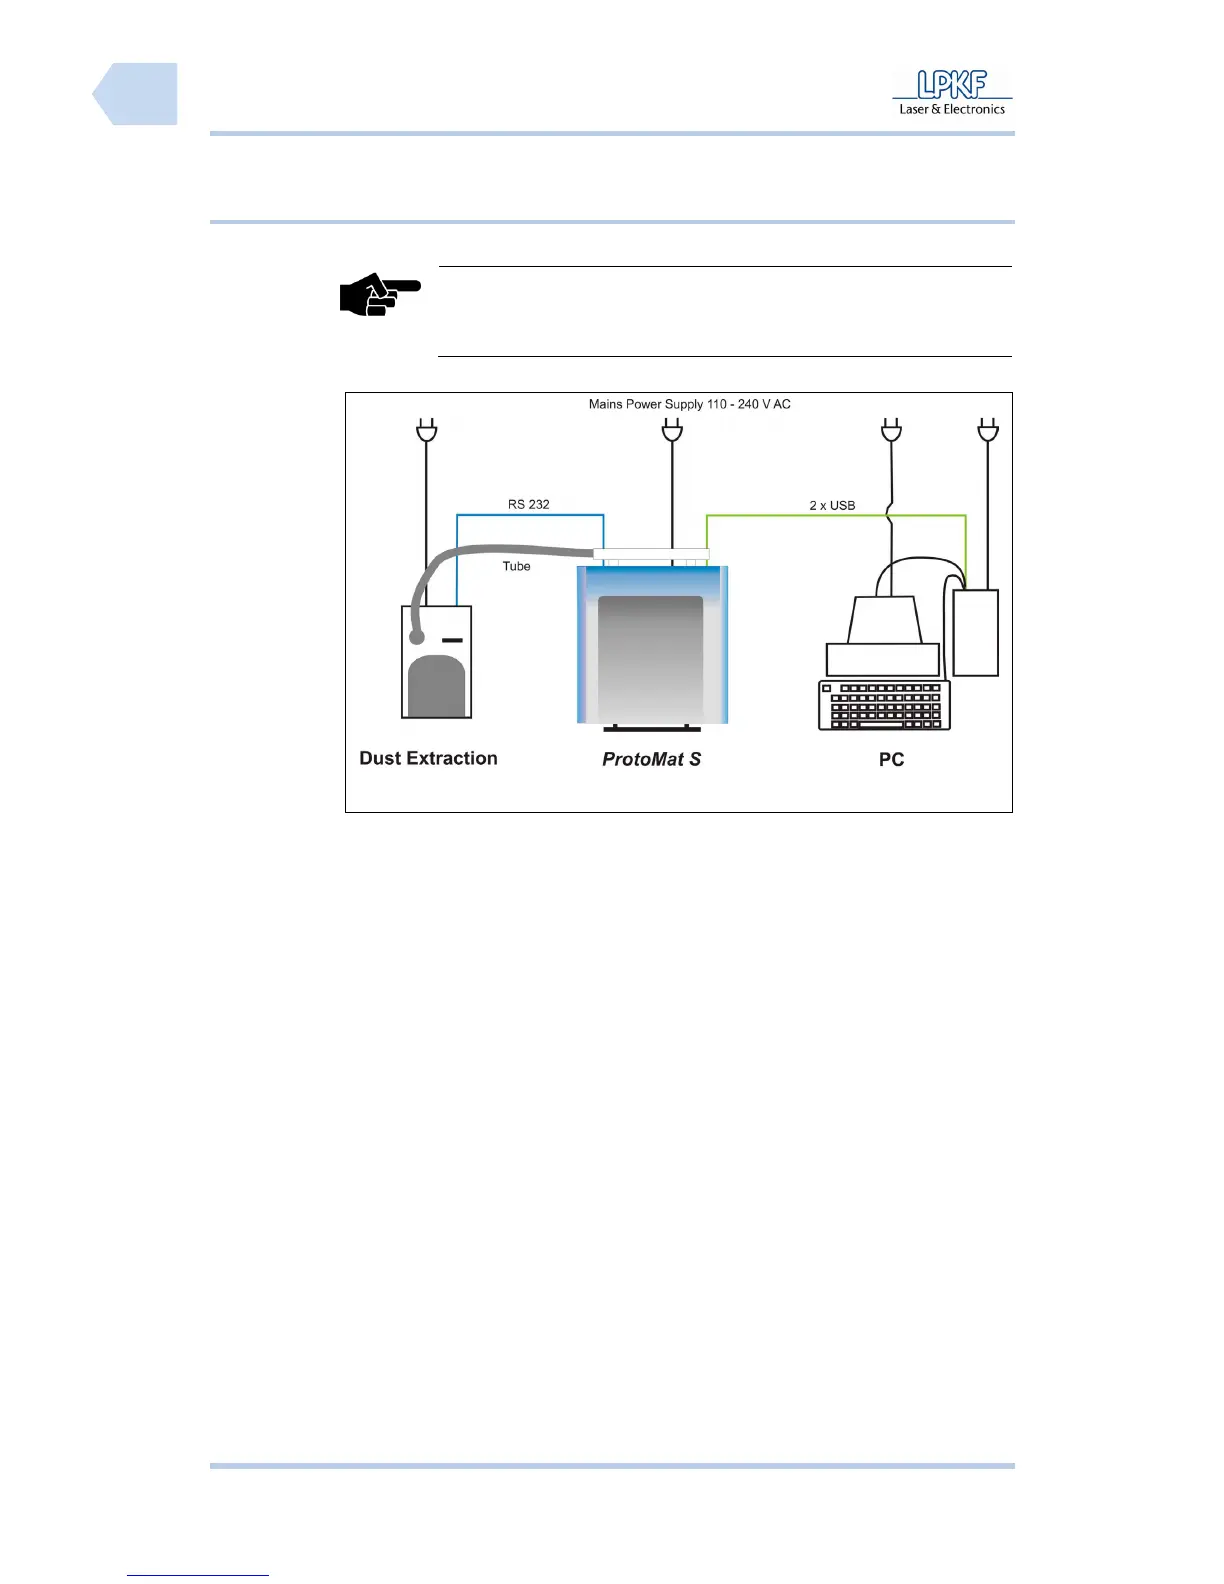
Fig. 14:
Connections
■ Connecting the circuit board plotter
1. Take the delivered USB cable and connect the circuit board plotter to the
PC (free USB slot).
2. If the camera unit is installed take the pre-installed USB cable of the
camera and connect it to the PC (free USB slot).
3. Take the RS232 cable and connect the circuit board plotter to the dust
extraction.
4. Open the soundproof hood of the circuit board plotter.
5. Insert the delivered mains cable into the AC power socket below the main
switch.
6. Guide the mains voltage cable alongside the machine through the gap of
the machine housing.
7. Connect the circuit board plotter with the mains power supply.
8. Connect the PC with the mains power supply.
9. Connect the monitor with the mains power supply.