UM-1151140EN, Rev. C, May 2016
System
Installation
and
Initial
Setup
4.5. Connection
Instructions
Before connecting the laser components, inspect the individual
components, cables and electrical connections for dirt, debris or damage.
Ensure that the electrical cables are not frayed or split. Inspect all delivery
devices as instructed in the appropriate delivery device operator manual.
Contact your Lumenis representative if any component appears damaged.
Do not touch any optical lens; finger oils may damage the delicate
coatings.
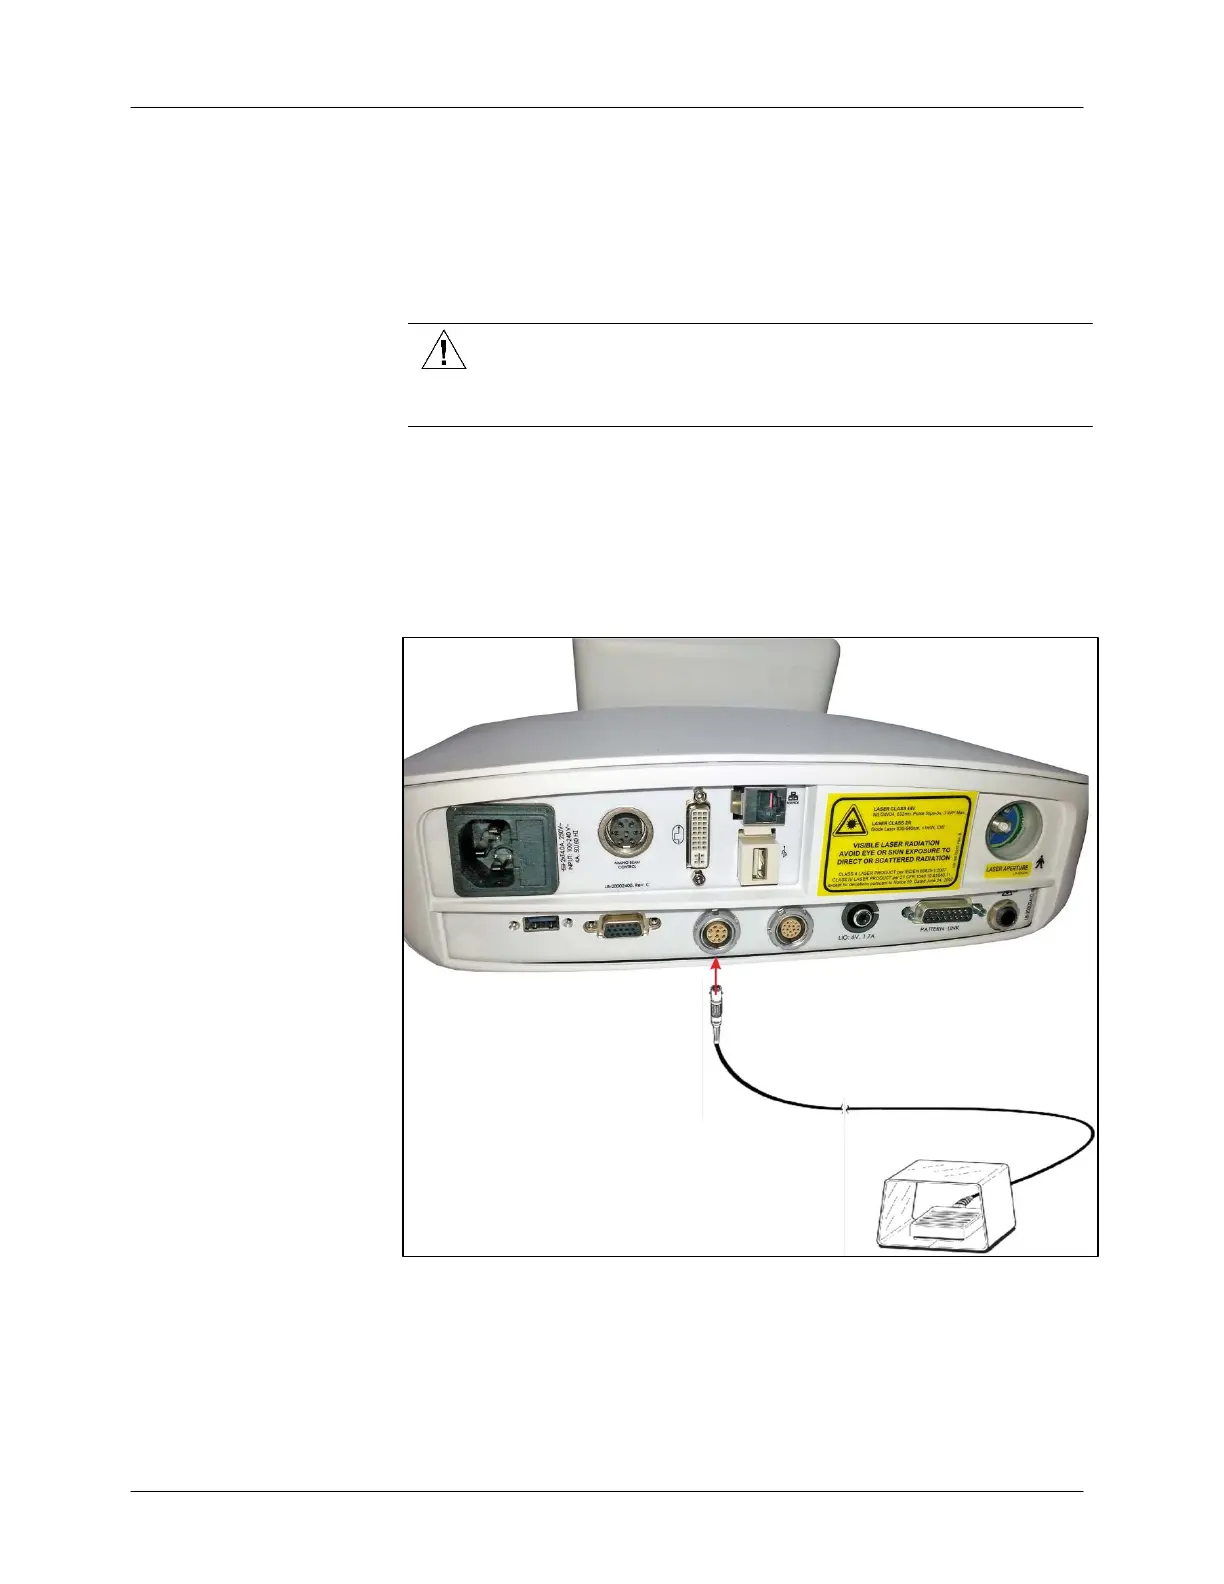
4.5.1. Connect the
Footswitch
Insert the footswitch plug into the footswitch connection port on the
system’s rear panel (see Figure 4-4). If the footswitch is not properly
connected when the laser is turned on, an error message will display on the
control panel until the footswitch is properly connected.
Figure 4-4: Connecting the Footswitch