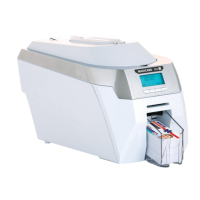
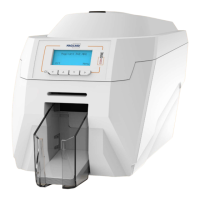
Ultra Electronics Card Systems
Rio Pro Maintenance Manual
CAUTION The following procedures involve contact with Electrostatic Sensitive Devices. All precautions for
handling Electrostatic Sensitive Devices should be followed at all times, including the use of a grounded
wrist strap.
Removal & Refitting of the Top Dye Film Sensor
1. Remove the Print Head Assembly as described in Section
10.3.
2. Disconnect the two wiring connectors attached to the
sensor PCB, one is the Sensor and the other is the
cooling Fan. Ensure they are re-connected back the
same way.
3. Unclip the sensor PCB and remove.
Refitting the new Sensor is the reverse procedure.
Removal & Refitting of the Lower Dye-Film Sensor
1. Gently pull upwards the plastic cross piece that encloses the lower Dye-Film Sensor
in place, it is clipped into the plastic Side Plates.
2. Turn the plastic cross piece over and disconnect the Sensor cable from the small
PCB.
3. Sensor PCB can now be unclipped from the plastic cross piece.
Refitting is the reverse procedure ensuring the plastic cross piece is located into the Side
Plates.
SECTION 11.3 REMOVAL & REFITTING OF THE TOP DYE FILM SENSOR
SECTION 11.3 REMOVING & REFITTING OF THE LOWER DYE FILM SENSOR.
CAUTION The following procedures involve contact with Electrostatic Sensitive Devices. All precautions for
handling Electrostatic Sensitive Devices should be followed at all times, including the use of a grounded
wrist strap.