3-57
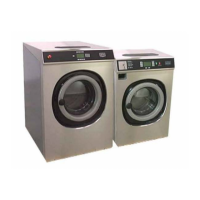
10. Clip the wire ties, in the standoffs, down
the back edge of the left side panel.
NOTE: Replace any wire ties that were cut
and removed during service or diagnostics.
11. Pull the top edge of the side panel away
from the washer.
12. Lift panel up to release slots from the two
screws at the base of side panel.
13. Remove the side panel from the washer.
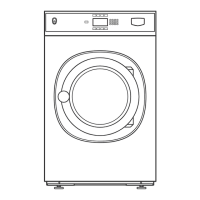
7. Remove two T-20 screws inside the washer
cabinet, under the chemical dispenser
support, near the front. These are self
tapping screws with molded on washers.
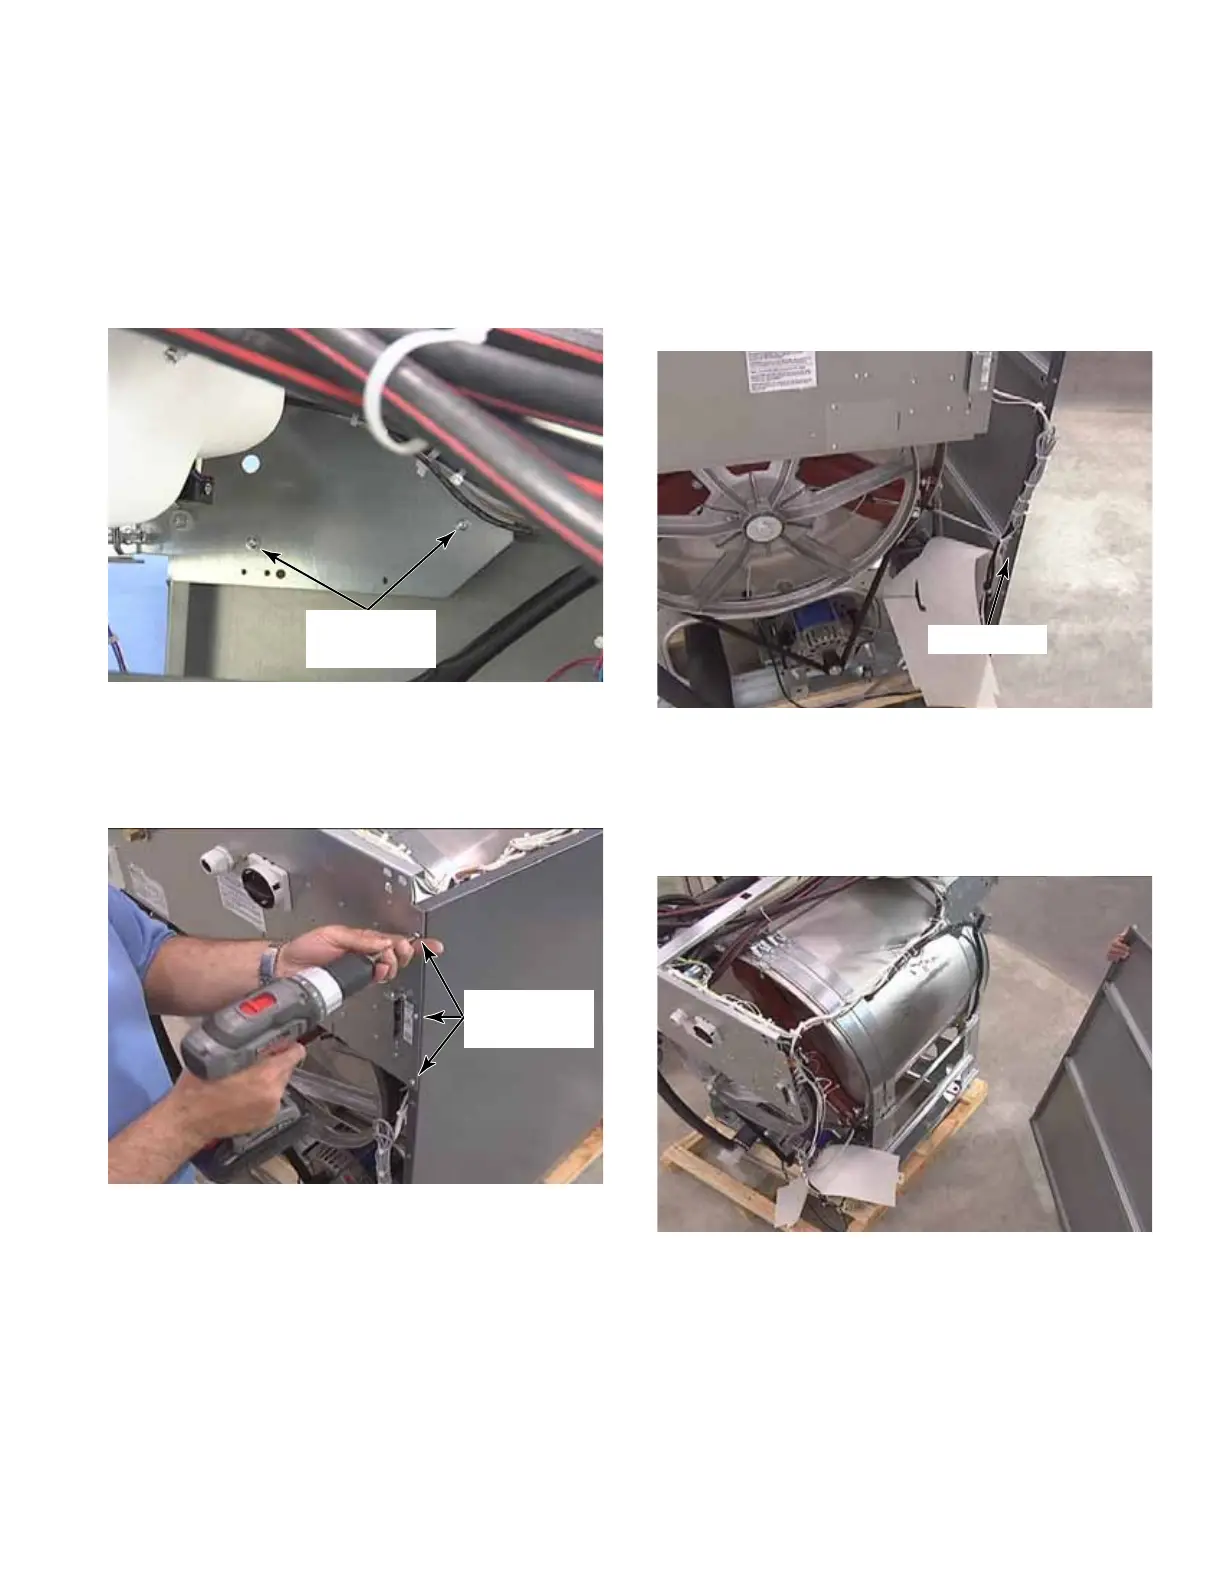
8. Remove the back panel. (See page 3-46)
9. Remove three T-20 screws from the edge of
the upper back panel.
Two T-20
Screws
Three T-20
Screws
Wire Ties
 Loading...