3-58
1. Remove the front panel. (See page 3-39)
2. Open the top panel. (See page 3-1)
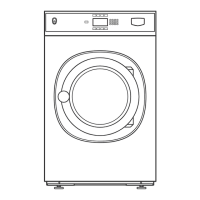
3. Remove two T-20 screws inside the front
right edge, near the top. These screws have
a star washer on them.
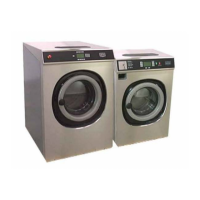
4. There are six T-30 screws that secure the
bottom edge of the side panel. The middle
two screw holes are slotted. Remove four
and loosen the two middle screws.
NOTE: Use thread lock when reinstalling
theses screws.
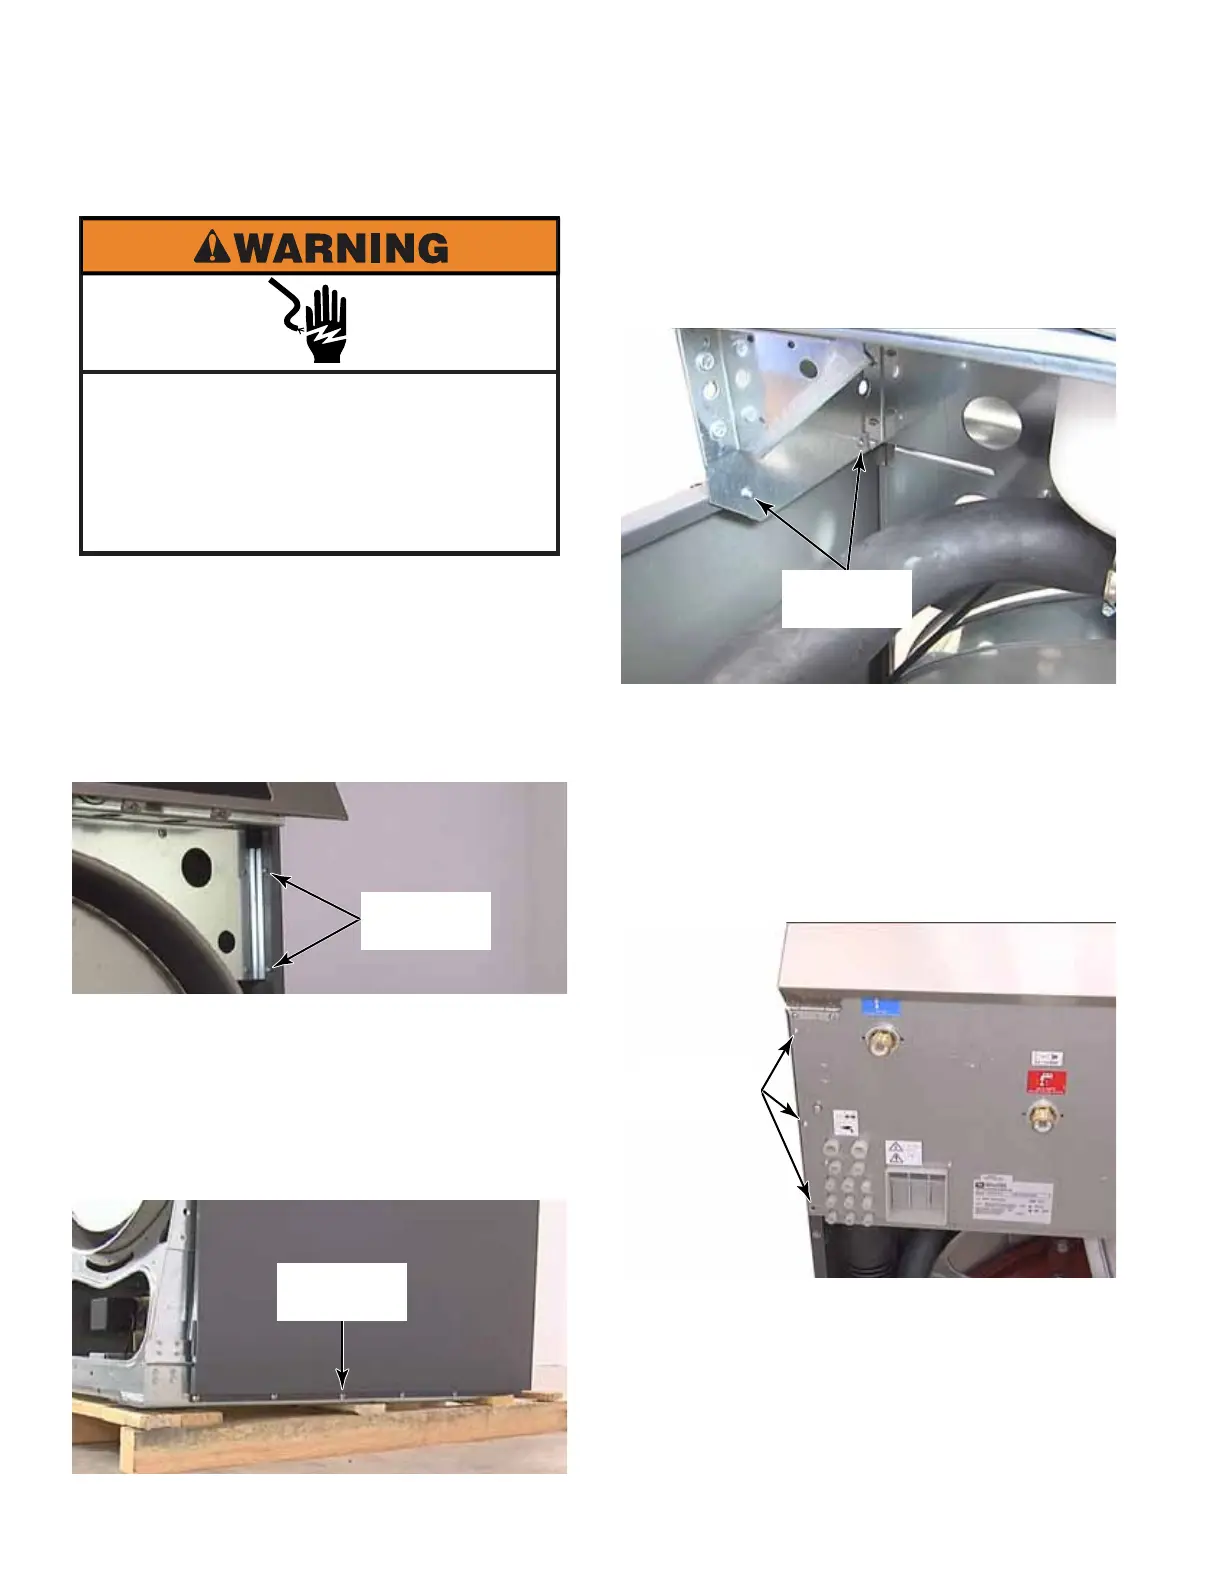
5. Remove two T-20 screws inside the washer
cabinet, under the chemical dispenser
support, near the front. These are self
tapping screws with molded on washers.
6. Remove the back panel. (See page 3-46)
7. Remove three T-20 screws from the edge of
the upper back panel.
NOTE: It may help to lift up on the corner of
the control panel while pulling the top edge
of the side panel away from the washer.
8. Lift the panel up to release the slots from
the two screws at the base of the side
panel.
9. Remove the side panel from the washer.
Electrical Shock Hazard
Disconnect power before servicing.
Failure to do so can result in death or
electrical shock.
Replace all parts and panels before
operating.
RIGHT SIDE PANEL
Two T-20
Screws
Six T-30
Screws
Three T-20
Screws
Two T-20
Screws