3-48
1. Remove the back panel. (See page 3-46)
2. The splash guard above the motor and
inverter must be reinstalled, if it is removed.
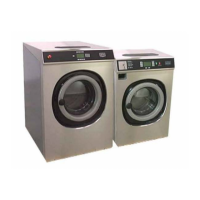
3. The bolts that hold the drive motor are on
the inside of the washer, the nuts are at the
back. The bolt on the right is the pivot bolt.
The bolt on the left is connected to the belt
tension adjustment.
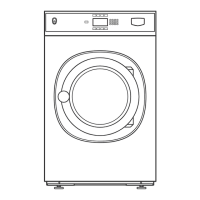
4. The belt tension adjustment is a plate with
multiple holes and a spring attached to the
frame of washer.
TECH TIP: There are four holes in the
frame of the washer. When adjusting belt
tension, choose the hole in the base to
keep the spring as vertical as possible,
depending on which hole is being used in
the adjustment plate
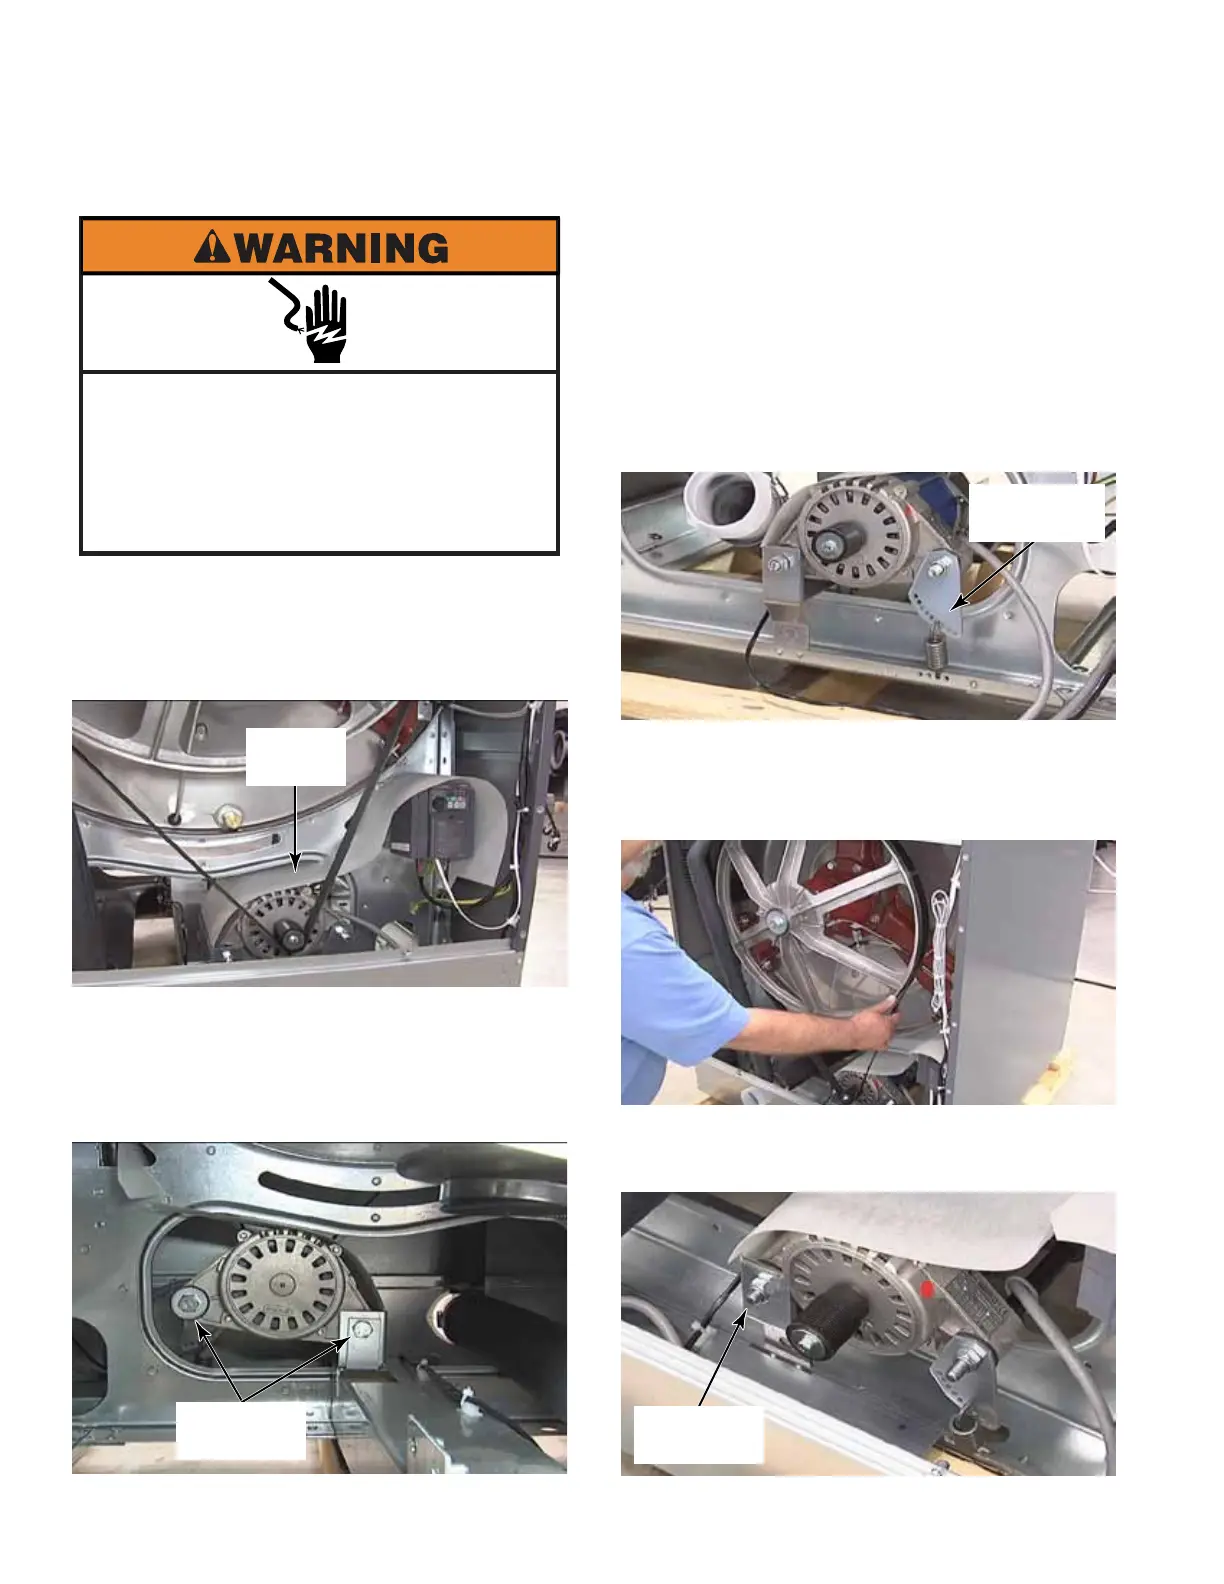
5. To remove motor, remove the belt by rolling
it off the edge of the pulley while pulling
the belt away from the washer. The belt is
grooved to match the motor pulley grooves.
6. Loosen the 19mm nut on the drive motor
pivot bolt.
Electrical Shock Hazard
Disconnect power before servicing.
Failure to do so can result in death or
electrical shock.
Replace all parts and panels before
operating.
DRIVE MOTOR
Splash
Guard
Drive Motor
Bolts
Belt Tension
Adjustment
Drive Motor
Pivot Bolt