Chapter 8 Dealing with Problems
164
8
Check the following again.
• "Checking Register Mark Sensor Responsiveness"(P. 162)
• If the buzzer does not sound four times, check the printed register mark conditions and contact
your local distributor, our sales office, or service center.
Aligning the Register Mark Sensor Position
The offset between the cutter and register mark sensor can be adjusted.
Load a sheet on which register marks are printed.
1
Attach a cutter to the cutter holder.
2
Load a sheet on which register marks are printed.
• Creating Register Marks
3
Press on the local mode screen.
• The machine switches to jog mode.
4
Use to move the pen nib close to the center of the register mark detection position.
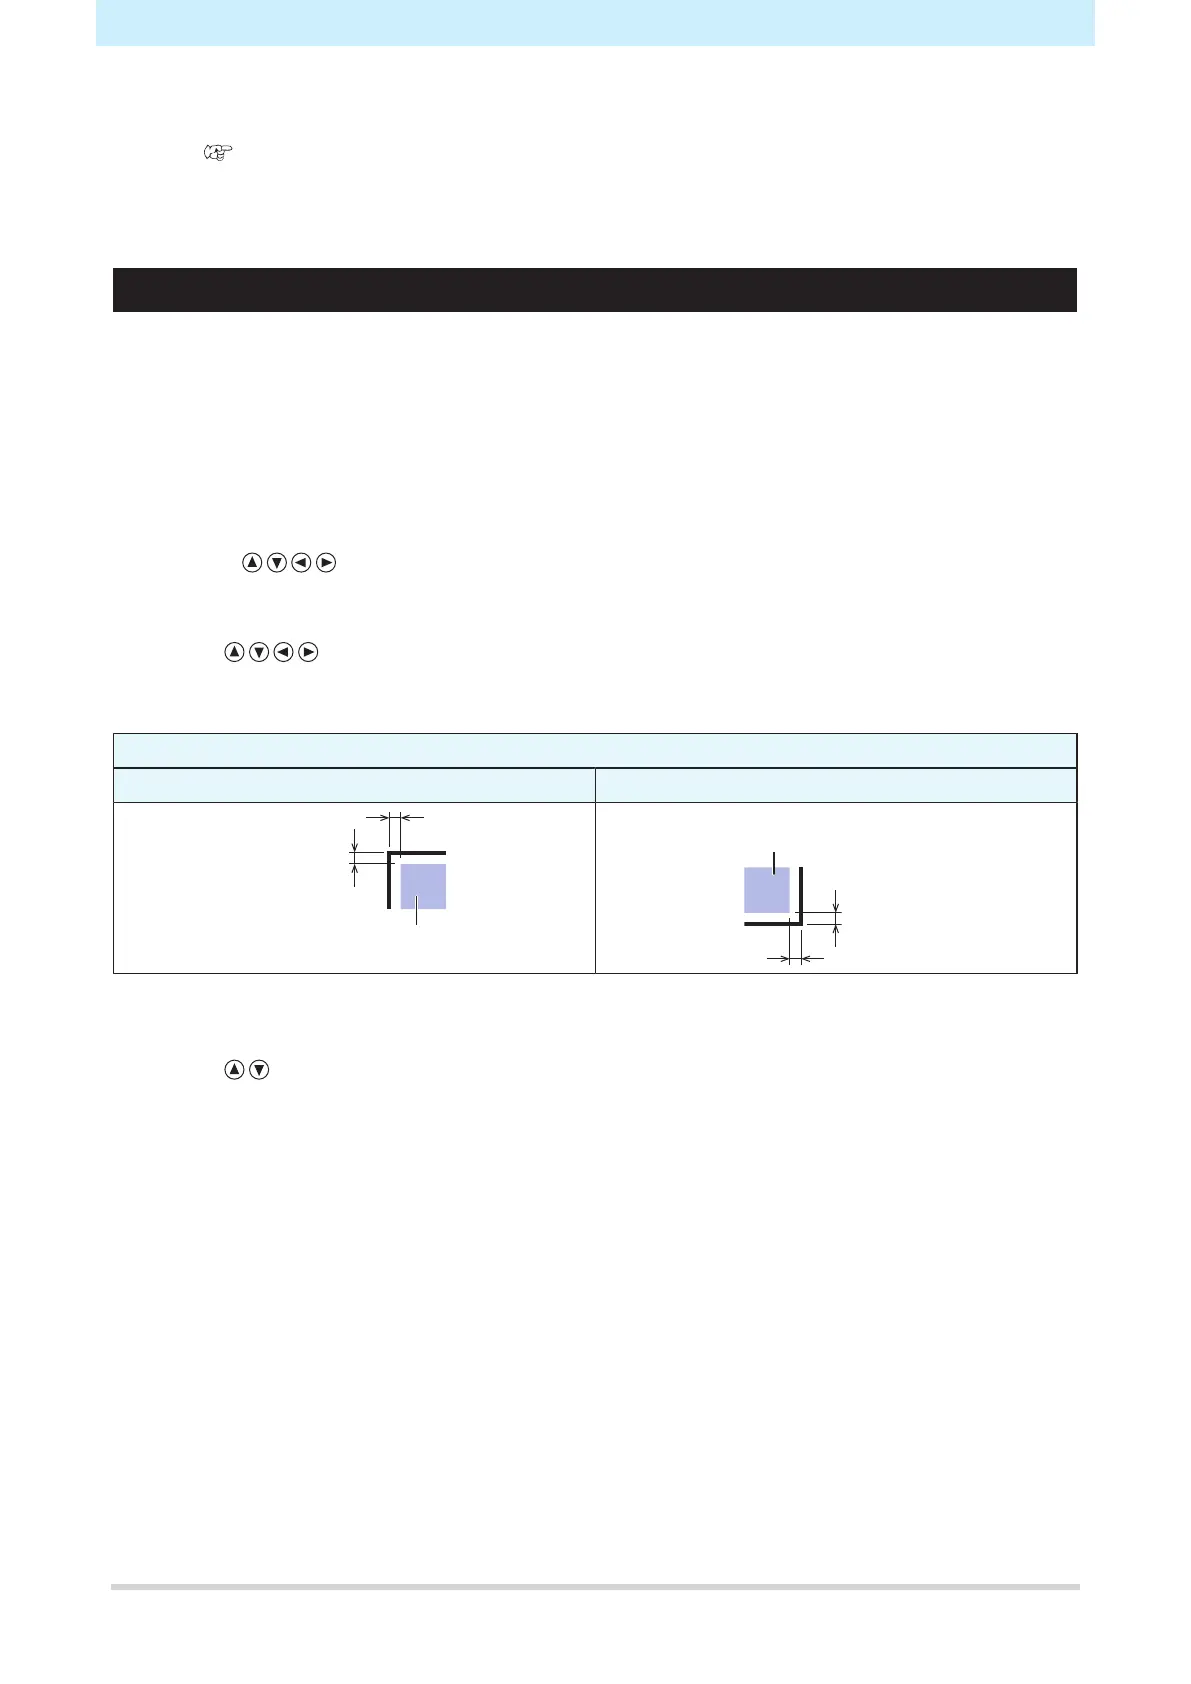
• Register mark detection should be performed at a position at least 1 mm from the register mark.
Mark shape
Type 1 Type 2
Register mark
detection position
1 mm or more
Register mark
detection position
1 mm or more
5
Press the [FUNCTION] key in local mode.
6
Use to select [MARK SENSOR], then press the [ENTER/HOLD] key.

 Loading...