System Upgrade 8-29
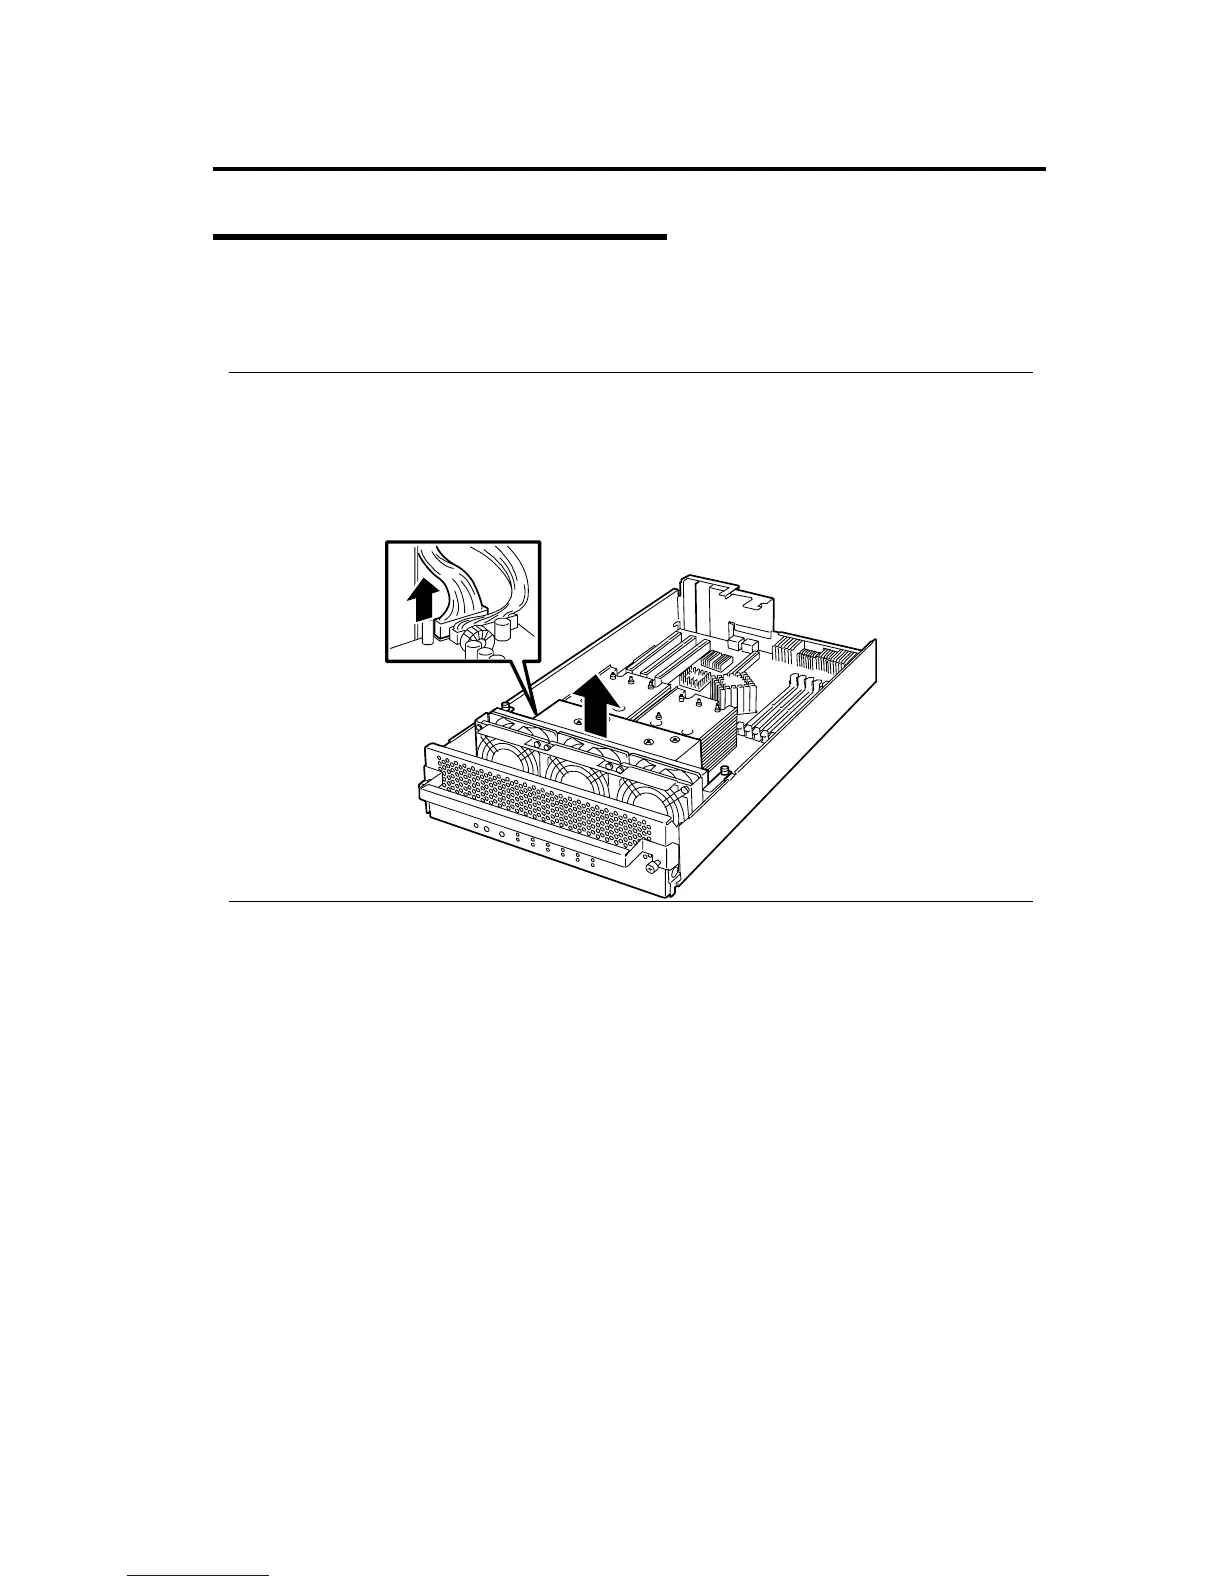
Removing CPU (Model with Heat Sink)
When you remove a CPU, prepare for removal referring to the steps from 1 to 4 of “Installing CPU
(Model with Heat Sink).” Then follow the installation steps from 12 to 7. To remove the heat sink,
remove the screws, move the heat sink horizontally a little, and then remove it.
IMPORTANT:
Do not remove the CPU unless it is faulty.
After operation, the cool sheet at the bottom of the heat sink may stick to the CPU because of
the heat. When you dismount the heat sink, turn it sideways lightly to make sure that it is not
sticking to the CPU. If it is sticking to the CPU and you remove it, the CPU or the socket may
be damaged.
1. After removing the heat sink and the CPU, attach the socket cover on the CPU socket, mount the
cooling fan unit, and then connect the cable.
2. Install the CPU/IO module referring to page 8-19.
3. Connect the power cords.
4. Press the POWER switch to power on the server.
5. Check POST to see if there is any error message. If there is any error message, write it down and
see the error message list on page 7-4.
 Loading...