1-1
1. Setting up the Printer
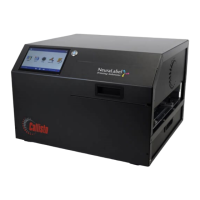
The Callisto printer ships in a two-piece box and usually on a pallet. Unbox your Callisto printer
and remove all packing materials. Make sure the printer is set on a sturdy table with plenty of
room for both entrance and exit of the label media. If your printer includes a stacker or roll
unit, make sure it is properly installed before printing begins. A Callisto setup video is available
on the web.
The printer contains orange colored packing materials and blue packaging tape. Make sure to
remove the orange ink cap and left/right orange service tray caps before turning on the printer.
If these packaging materials are not removed and the printer is powered on, an error will occur
and a motor stall message will be displayed on the Operator Panel. If this happens, turn the
printer off and remove all packaging materials. Be sure to save all Callisto packaging materials
in case you need to move or ship your printer to another location.
Once the packaging is completely removed, open the ink door and place the ink cartridges in
the printer. New printers may ship with Setup cartridges that include a reduced amount of ink.
Printer setup involves purging the ink lines to remove initial shipping fluid and filling the lines
with ink; this step is performed at the NeuraLabel factory. Place the ink cartridges in the printer
by lifting the ink door and pushing each ink into its corresponding color slot. Close the printer
door when all ink is installed.
Connect the power and network cables in the back of the Callisto printer and plug them into
the wall. Turn on the printer with the back power switch located next to the power port. The
printer takes about 2 minutes to boot up. During this time, the blue LED power button on the
printer front will blink and eventually remain solid blue. Once the back power switch is set to
the ON position, the front power button should be used to turn the printer on and off.

 Loading...