8-55
Other Maintenance tools include Die Leveling, Die Alignment and access to the printer’s Nozzle
Out Database. These tools will help alleviate any print quality that might appear on the printer.
Die Leveling Maintenance Routine
The Callisto printer has 14 stationary print dies. These dies are calibrated at the factory to
ensure that the same levels of ink come from each die to ensure a smooth image. If one or
more dies appear to be too light or too dark and a wide band (a little less than an inch) appears
in the printed image, use Die Leveling to alleviate the problem.
Use Die Leveling by printing out a test pattern to determine which die(s) need adjustment.
Select the corresponding color and die in the interface and adjust the element to make it darker
or lighter. Reprint the test pattern to see the results. If needed print a label sample to verify
the results.
To use the Die Leveling (Wide Bands) Tool:
- On the Operator panel touch the Support/Tools icon.
- Select Maintenance->Calibrate Printer Manual->Die Leveling
- Touch Quick Print to print the CMYK quality report to identify the color(s) and die
number of the issue. This test pattern has the dies numbered and the CMYK colors
separated.
- Look at the printed report to determine the die(s) and color(s) where a wide band is
occurring.
- For any wide band, touch the cell in the Die Leveling grid that corresponds to the die
number and color for that band. If the wide band is present across all colors, touch the
die number at the top of the column to select all colors for that die. A popup box will
appear that allows adjustment numbers to be entered.
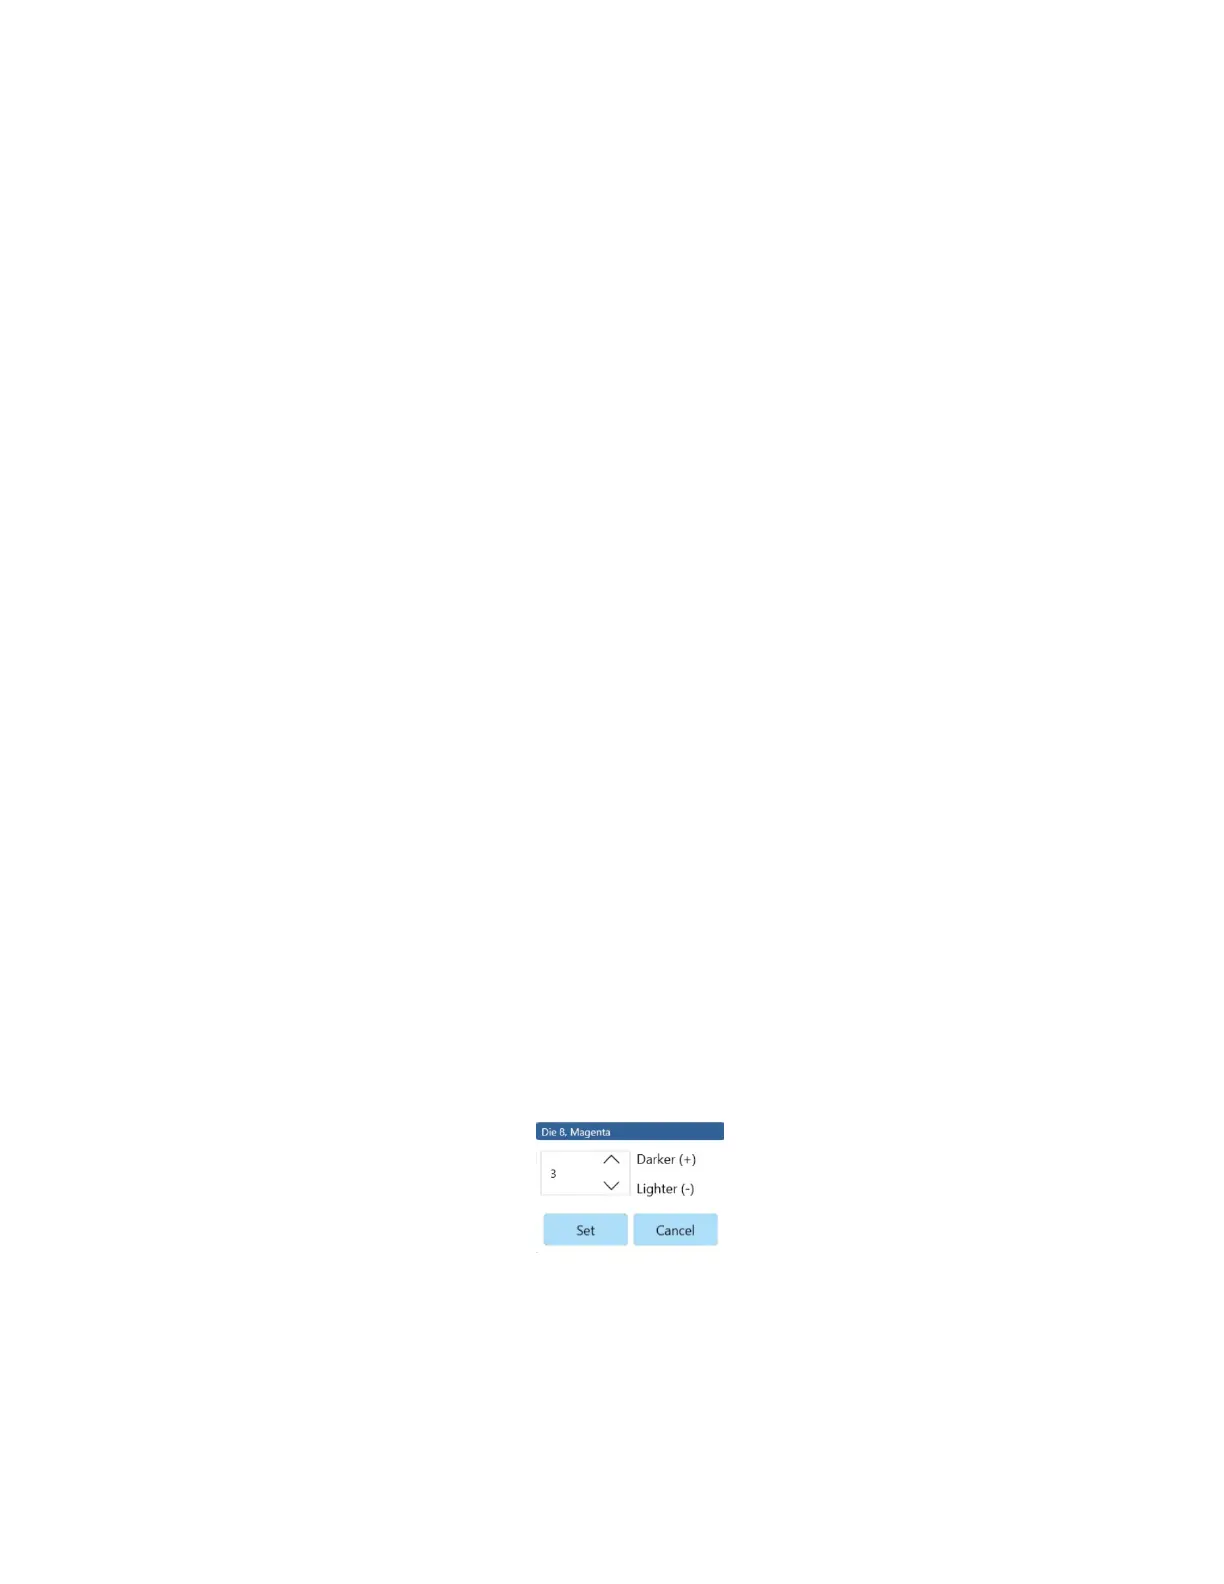
Figure 8-24. Darken/Lighten Bands
- For dark banks, touch the down arrow for a number to lighten the band.
- For light banks, touch the up arrow for a number darken the band.

 Loading...