SETTING THE TIME AND DATE
A feature of the Smart DC Controller is its 24-hour,
365 day clock. Make sure it is set to the appropriate
time zone. An accurate time and date allows the
diagnostic log to date stamp operational data
which indicates when Alerts, Faults and Errors
occur. The log helps in troubleshooting and
can be viewed via a laptop connected to the
USB or RS232 port, or on the LCD directly. For
more information, refer to "Smart DC Controller
Troubleshooting" on page 92.
To set or adjust the time or date, take the following
steps and see Figure 36:
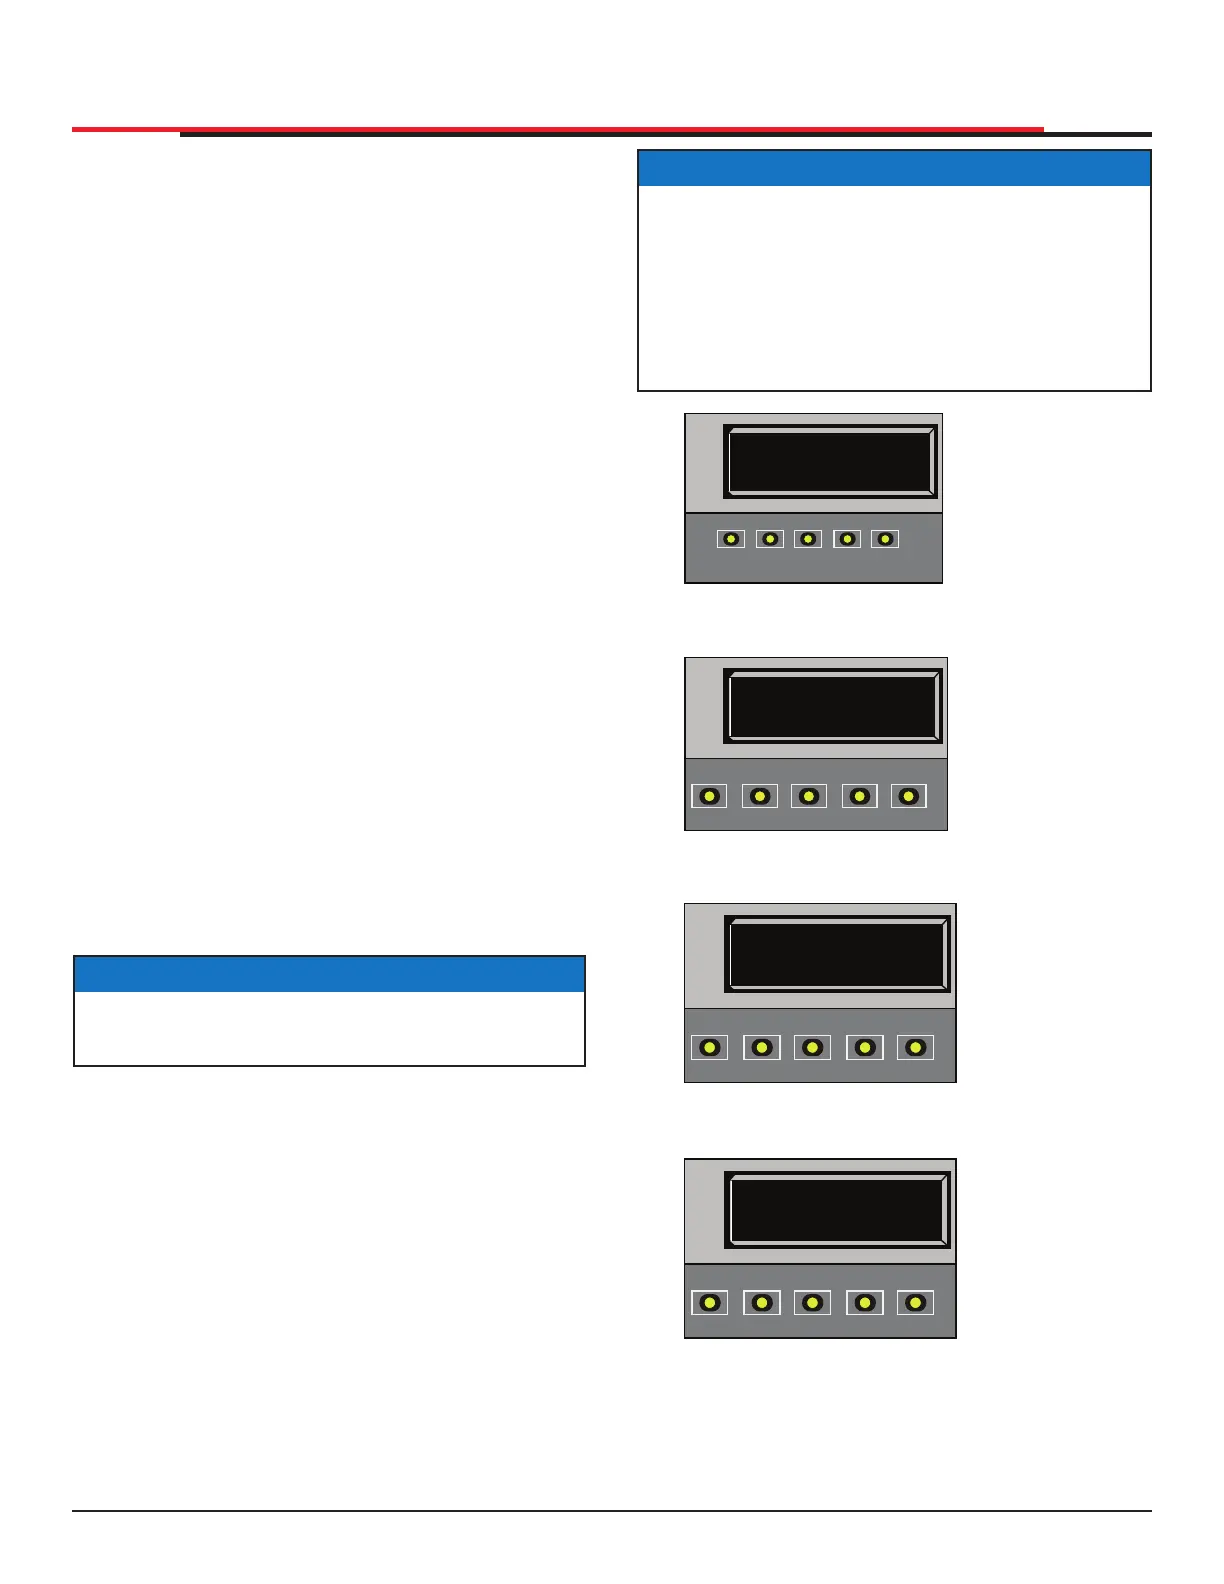
1. At a gate status display, press the MENU
button twice. This accesses the User Menu and
the CLOSE TIMER display appears.
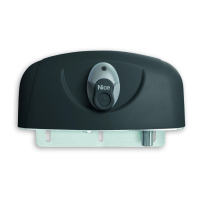
2. Press NEXT or PREV until the SET CLOCK
display appears.
3. Press SELECT. CL blinks.
4. Press NEXT or PREV to change the number
to 1.
5. Press SELECT to accept the display.
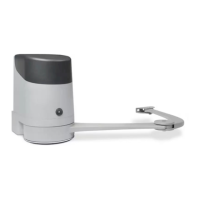
6. The date and time display appears. Use the
SELECT and NEXT buttons in the same manner
as before to adjust the date and time.
7. To accept what appears on the date and time
display, press SELECT.
8. To exit the User Menu, press the MENU button.
A gate status appears in the display indicating
you have returned to Run Mode.
NOTICE
A date or time eld must have the blinking
arrows below it before it can be changed.
Figure 36. Setting Time and Date
NOTICE
A lithium coin battery, on the Smart DC
Controller board, supports the clock so the
date and time is retained even when the main
power is turned off. Replace the battery every
ve years with a DL 2025, DL 2032 or CR 2025
or CR 2032 battery. Refer to "Clock Battery
Replacement" on page 110.
CT 0 (OFF)
CLOSE TIMER
OPEN
CLOSE
STOP
MENU
RESET
PREV
NEXT
SELECT
HYSECURITY
GATE CLOSED
OPEN
CLOSE
STOP
MENU
RESET
PREV
NEXT
SELECT
1. Start at a gate
status display.
2. To access the
User Menu,
press the MENU
button twice.
3. Press NEXT until
the SET CLOCK
display appears.
Use the
navigational
buttons to select
1.
4. Change the time
and date using
the NEXT and
SELECT buttons.
CL 1
SET CLOCK
OPEN
CLOSE
STOP
MENU
RESET
PREV
NEXT
SELECT
08/01/18 00:00
^^
OPEN
CLOSE
STOP
MENU
RESET
PREV
NEXT
SELECT
DISPLAY AND MENU OPTIONS
SlideSmart HD Programming and Operations
4141
MX4435 Rev.G ©2022