INSTALLER'S CHECK LIST
INSTALLER’S CHECK LIST
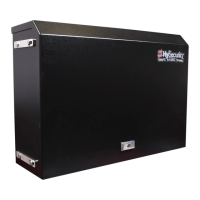
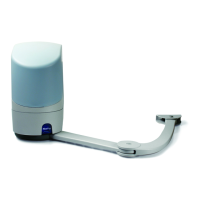
The following list provides a high level overview of the tasks involved in installing the SlideSmart HD
gate operator. Take a moment to review the list and check off the items as you complete the install.
Site Prep - concrete pad location/dimensions, distance from gate, chain height, and
mounting considerations: post or base extension, front or rear installation.
Make sure gate installation complies with ASTM F2200 Standard Specication for
Automated Vehicular Gate Construction. And, install the supplied WARNING sign on
both sides of the gate.
Check for compliance with local codes, site conditions, and NEC standards.
Install operator - (on concrete pad use operator and conduit area cut outs as template)
Attach chain end brackets to gate at proper height.
Attach chain to end brackets and feed under SlideSmart idlers and over chain sprocket.
Tighten chain using tensioning bolts.
Verify chain is level with idlers and parallel to operator and gate.
Connect red wire to DC Power Switch.
Turn DC Power ON.
Complete Initial Setup Menu programming.
Install the target magnet and make sure it is in line with and passes by the target sensor
so it can be recognized by the software programming.
Connect AC Power.
Connect all accessory devices
Adjust the Close Timer (through the User Menu).
Set gate speed, if applicable (through Installer Menu). Refer to START ("Smart Touch
Analyze and Retrieve Tool" on page 106).
Set IES sensitivity, if needed (through Installer Menu).
Check the Smart DC Controller software version. If needed, upload the latest version
from www.hysecurity.com. See "Smart Touch Analyze and Retrieve Tool" on page 106..
Program changes through the Installer Menu depending on the accessory devices
that you have installed.
Give a copy of the operator instructions to the end user. Show the end user how to:
• Remove the operator cover. Turn the power off and on to demonstrate learn limits
after DC/AC cycles.
• Turn the DC power switch off, which disengages the motor, and manually push the
gate.
• Test the black Emergency Stop Button located on the side of the cover. It can be
accessed through a hole in the cover. See Figure 1 on page 14.
Take photographs of the completed installation site and save it in your business les.
Install external entrapment sensors as needed.
SlideSmart HD Programming and Operations
55
MX4435 Rev.G ©2022