Changing Object Appearance
30 Designing a Form
5 Make sure that
Clear
is deselected so that your selected colors
and pattern appear as the object’s background.
See “Paint Order” on page 5-32 for a description of how paint order
affects color and pattern display.
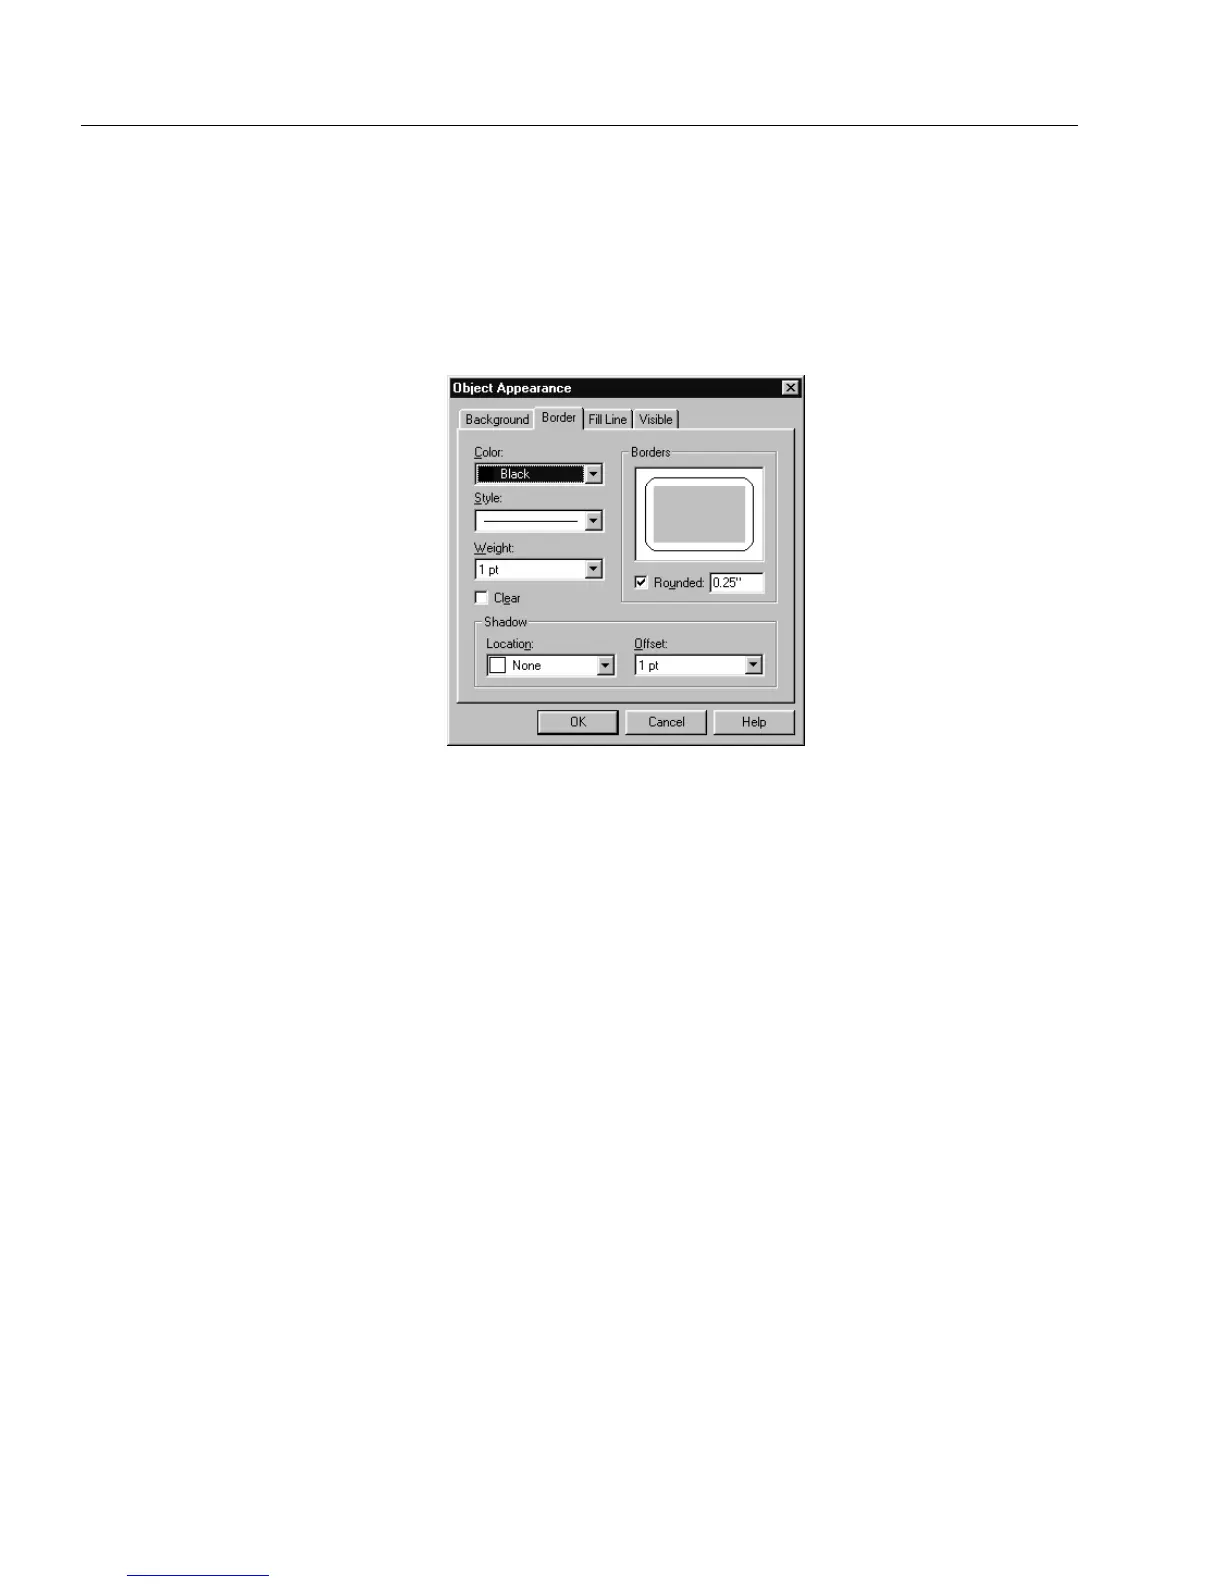
Set the Border
1 Click the
Border
tab.
2 For a border color, select a color in the
Color
drop-down list.
3 To change a line style, select
Style
from the drop-down list.
4 To change the border thickness, select
Weight
from the drop-
down list.
5Select
Clear
to hide the border and OmniForm will display any
paint layers beneath it.
See“Paint Order” on page 5-32 for an explanation of how paint
order affects border display.
6The
Borders
section lets you remove borders from your object.
The rectangle in the
Borders
section represents your object. With
your object selected, click each side of the
Borders
rectangle that
you want to remove.
7 To round the corners of the border, select
Rounded
.
To round or square individual corners, click the corners of the
rectangle after selecting
Rounded.
8 To indicate the degree of border curve, enter a measurement
from 0 to 14 in the
Rounded
text box.
9 For a shadow effect, select an option in the
Location
drop-down
list in the
Shadow
section.