Changing Object Appearance
Designing a Form 31
10 To offset the shadow from the border, select the amount of
points in the
Offset
drop-down list.
11 Click
OK
to apply the changes.
Set Fill Lines
Options in this tab are only active for selected fill text objects. Text
alignment must be set to
Left
and
To p
or
Exactly
in the Text dialog box
before fill lines can be set. See “Formatting Text” on page 5-36 for
information.
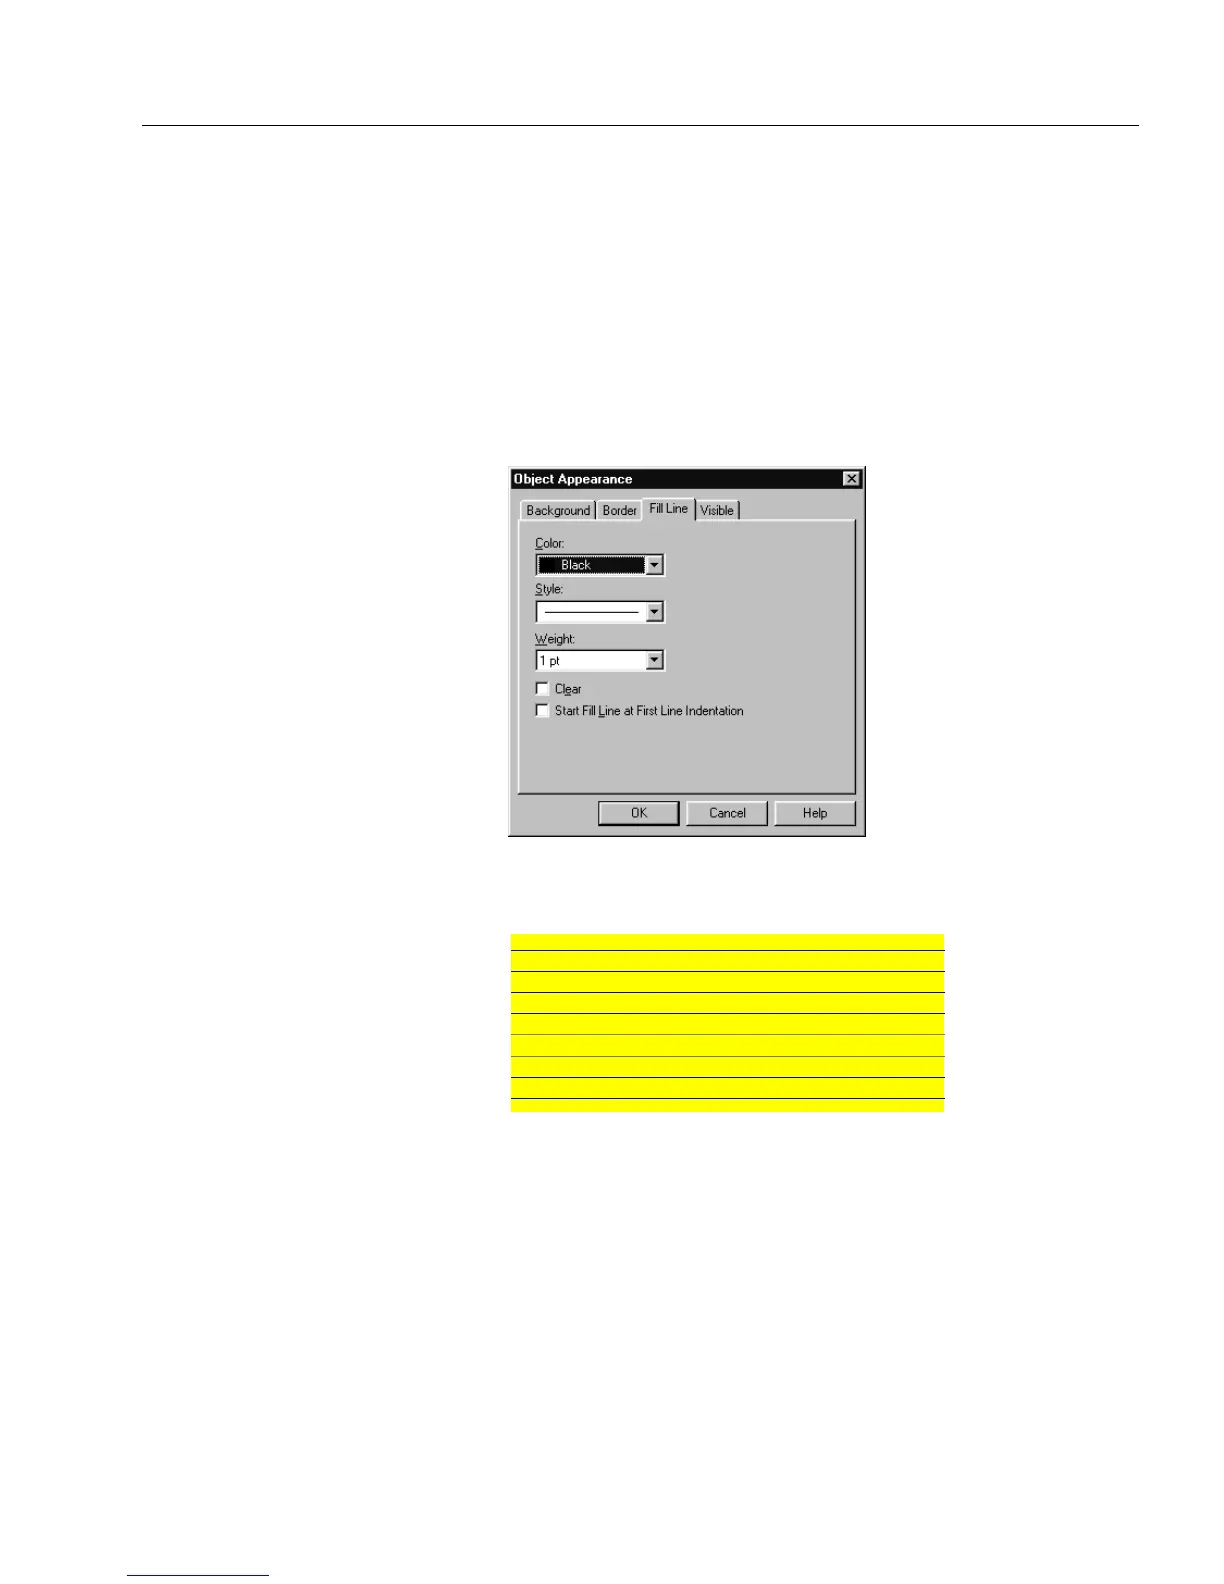
1 Click the
Fill Lines
tab.
Fill lines appear inside the object much like lines appear on
writing paper.
2 Select a color for the fill lines in the
Color
drop-down list.
3 Select a line style in the
Style
drop-down list.
4 Select line thickness in the
Weight
drop-down list.
5 Deselect
Clear
to display the fill lines.
See “Paint Order” on page 5-32 for information on how paint
order affects fill line display.