Operating & Maintaining the Eden 3-D Printer
7–18
DOC-00500 Rev. F
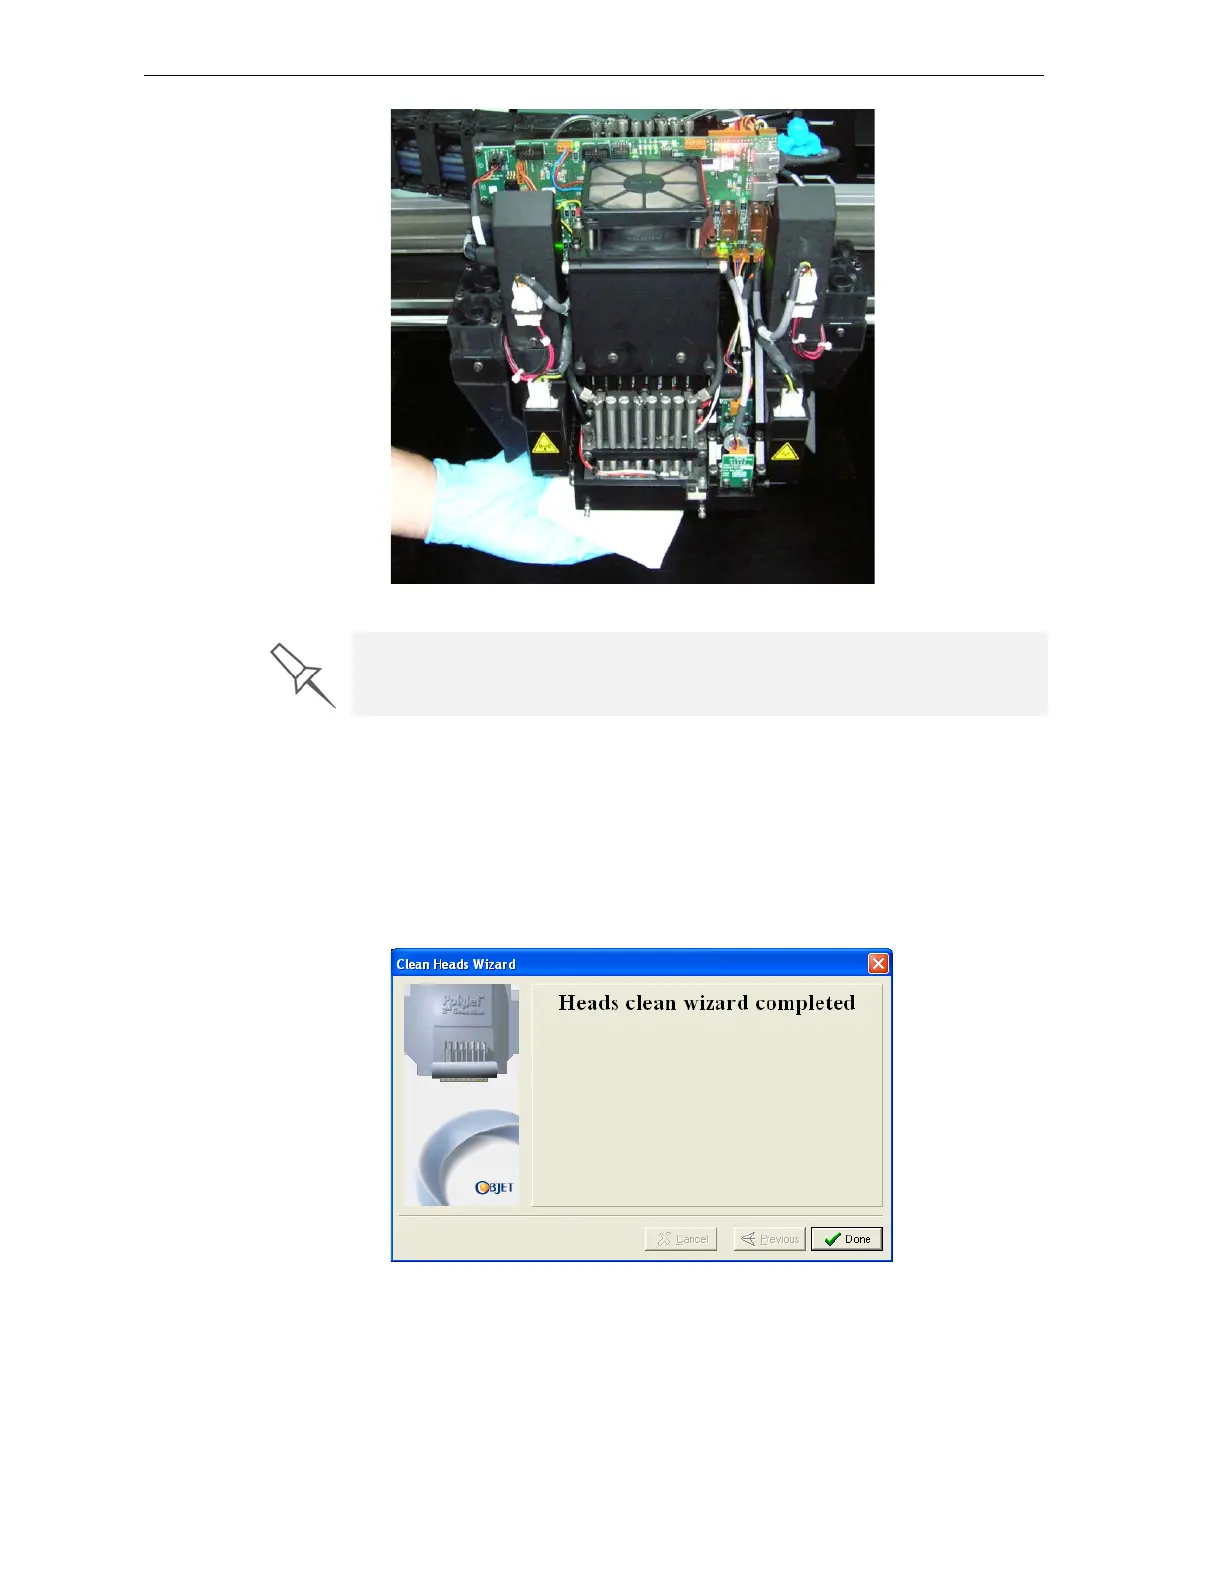
Figure 7-21: Cleaning the heads
10. Whenyouhavefinishedcleaning,selecttheconfirmationcheckboxin
thewizardscreen(seefigure 7‐20)andclick
Next.
11. Removethecleaningmaterialsfromtheprinterandclosethecover.
12. Selecttheconfirmationcheckboxesinthewizardscreenandclick
Next.
Thehead‐purgecyclebegins.Whenthisiscomplete,thefinalwizard
screenappears.
Figure 7-22: Head cleaning wizard—final screen
13. ClickDonetoclosethewizard.
It is recommended that you use this opportunity to also clean the roller and
the UV-lamp lens (to the right of the print heads).