6-3 Connecting to Computers via Wi-Fi
6 If the camera is able to connect, the network will
be displayed with a check (v) next to the network
name.
• Password-protected networks are indicated by a t icon.
• If the camera has been paired with more than one
computer, you will be prompted to choose a computer
before the network is displayed. Highlight the desired
computer using the FG buttons and press the OK
button.
• The camera can be used only with the selected
computer. To select a different computer, you must fi rst
terminate the current connection.
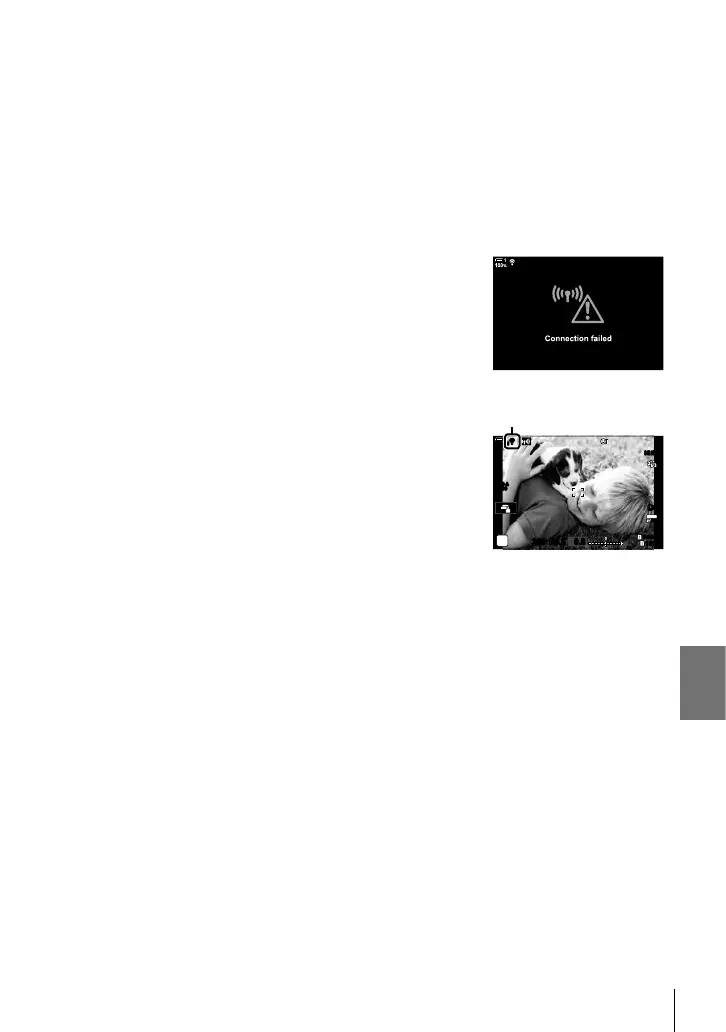
• If the connection fails, the camera will display a message
to that effect, followed by the options shown in Step 5.
Repeat Steps 5–6.
7 Press the OK button to exit to the shooting display.
• Standard shooting indicators will be displayed. A w icon
will appear in the monitor.
w icon
ISO-A
200
1023
1:02:03
P
100
%
1
S-IS AUTOS-IS AUTO
250 F5.6
0.0
30
p
30
p
4K
YFYF
ww
$ Connecting to Previously-Selected Networks
• The camera will automatically reconnect to previously-selected networks when you select
[Access Point Connection] via the V icon. You will not be required to supply a password.
• If multiple networks are available, the camera will connect fi rst to the most recently-used
network.
• Once the camera has connected, it will display a list of available networks with the current
network shown by a check mark v.
• To connect to a different network, highlight it in the list and press the OK button.
• If the camera has been paired with more than one computer on the network, you will be
prompted to choose a computer before the network list is displayed. Highlight the desired
computer using the FG buttons and press the OK button.
613
EN
6