Changing Your Pod 3
32
3 Changing Your Pod
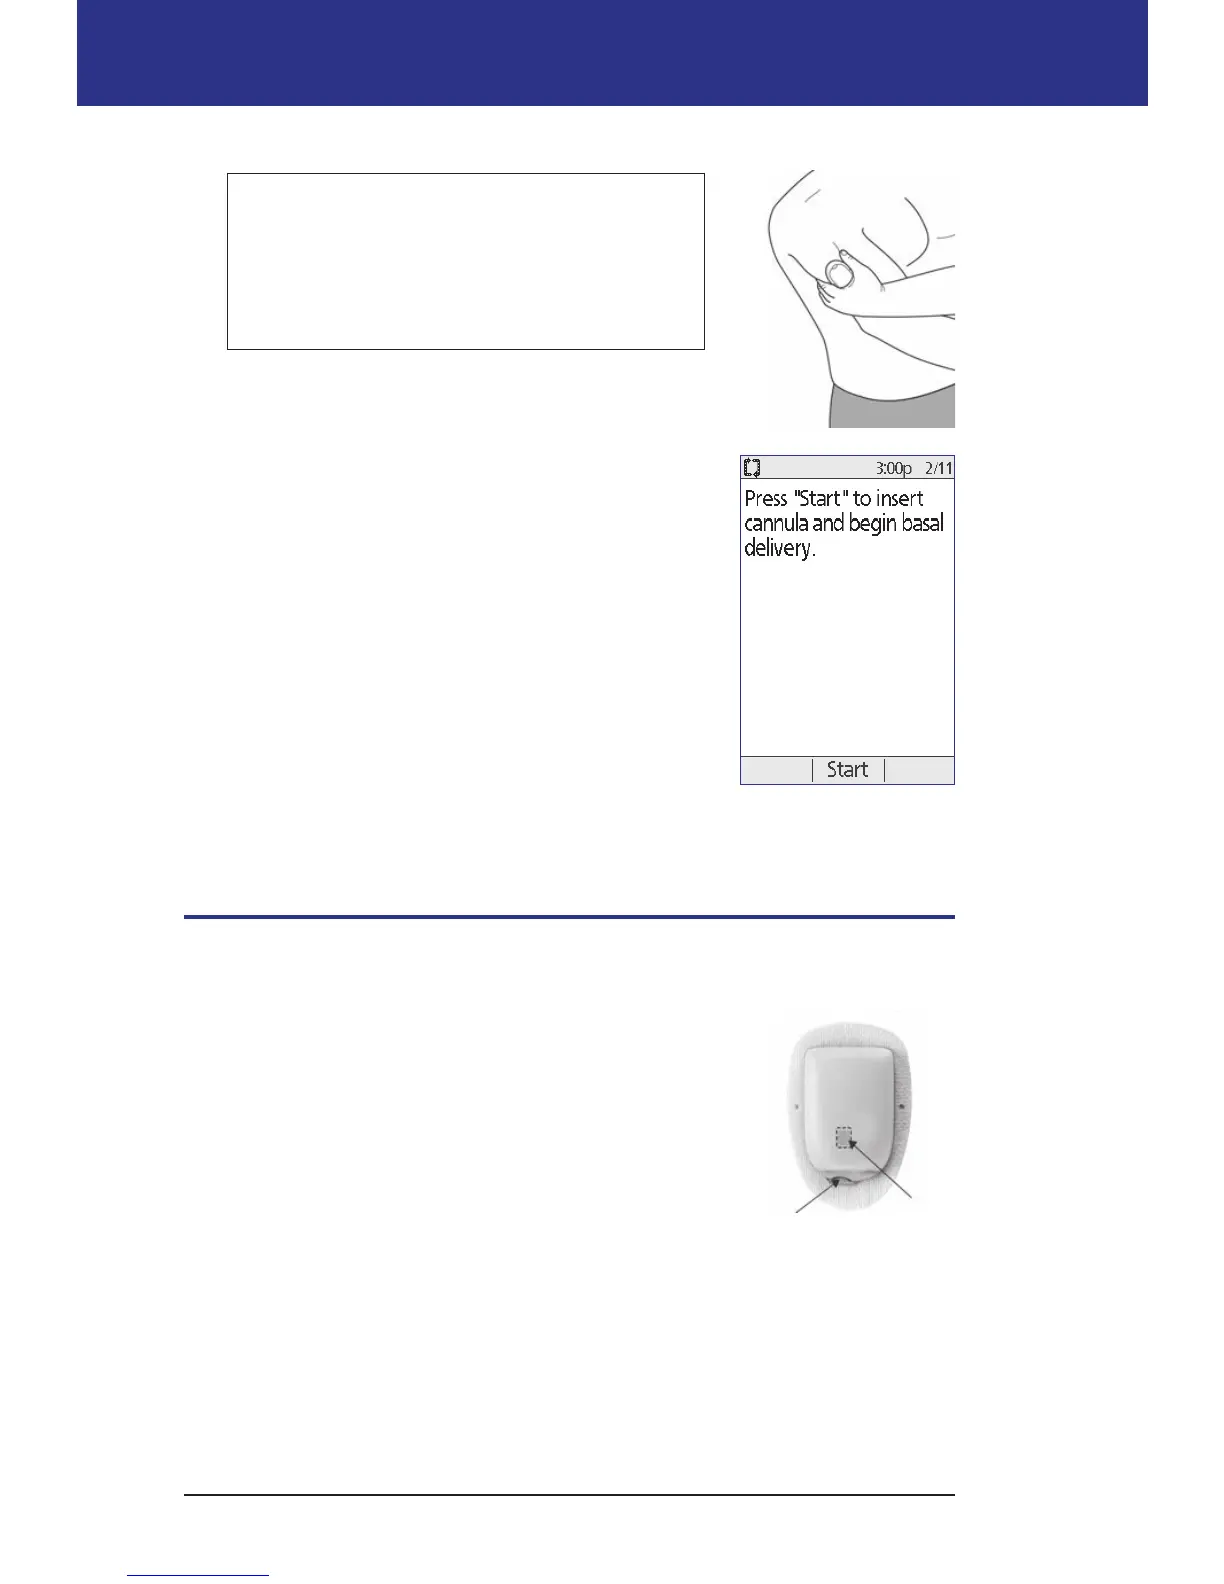
Warning: If you are applying a Pod in a place
that does not have a lot of fatty tissue, squeeze
the skin around the Pod throughout the next
step. Occlusions may result if you do not use
this technique for lean areas.
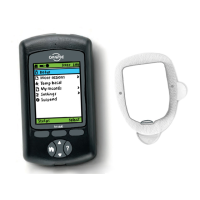
8. Press Start. Aer a few seconds, you hear a click as
the cannula is inserted into your skin. If you were
squeezing your skin, you can stop squeezing it aer
the cannula inserts.
Once the cannula is inserted, the Pod automatically lls
the cannula with insulin. e Pod then begins delivering
the basal rate of insulin according to the active Basal
Program.
e cannula can be inserted only once with each Pod.
Caution: Be sure to check the alarm function at every
Pod change (see "Check the alarms and vibration" on
page 63).
Check the Infusion Site
Following insertion of the cannula, check the infusion site:
1. Look through the viewing window to check that
the cannula is inserted into the skin. e cannula
is tinted light blue.
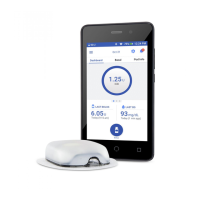
2. Check for pink coloring in the area on the top of
the Pod shown in the gure. is is an additional
check that the cannula was extended.
3. Check for wetness or the scent of insulin at
the insertion site. e presence of either may
indicate that the cannula has dislodged.
Check for
pink here
Viewing
window