Changing Your Pod 3
26
3 Changing Your Pod
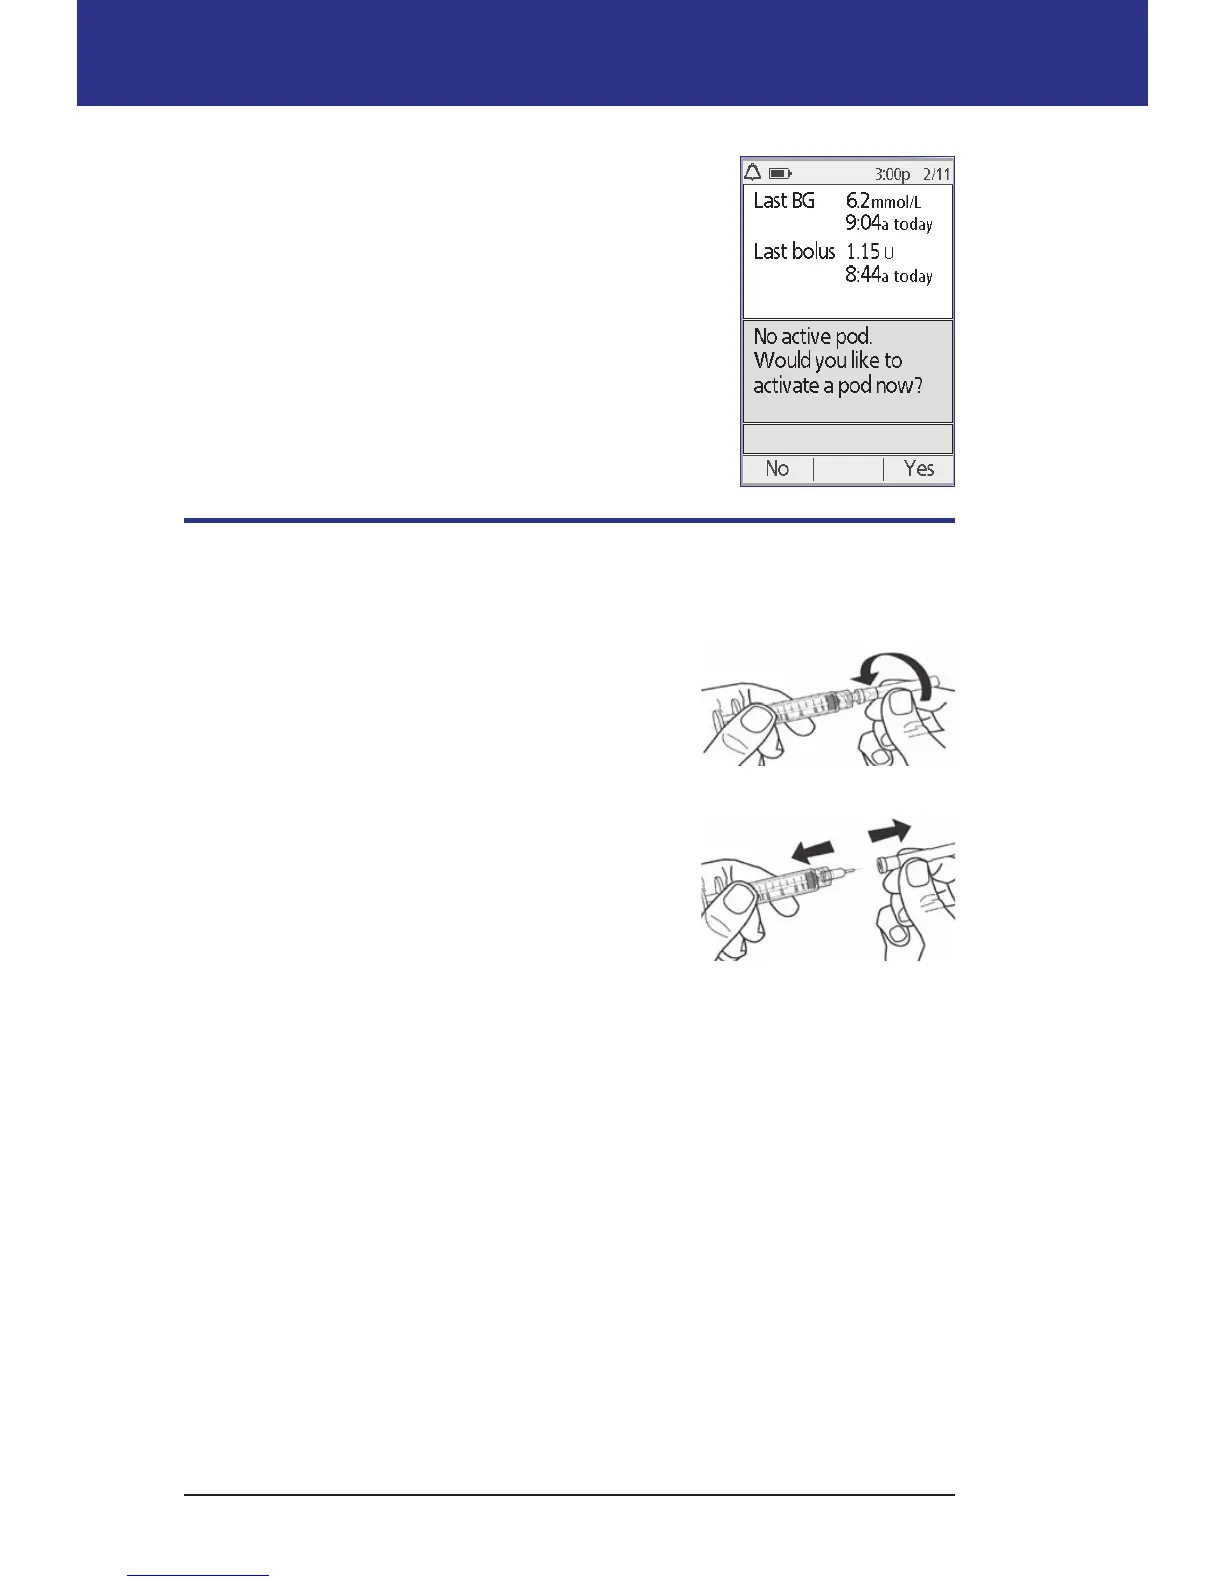
6. e screen asks if you'd like to activate a Pod now.
Press Ye s . en put your PDM down without
pressing any more buttons yet.
If you see a communication error message when you
attempt to deactivate your Pod, see "Failure when
deactivating a Pod" on page 105.
Fill the Syringe with Insulin
e next step is to ll the syringe that came with the Pod (the "ll syringe") with
insulin:
1. Use an alcohol prep swab to clean the top of the
insulin vial.
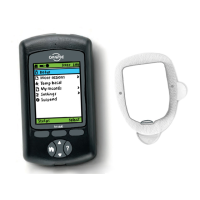
2. Securely twist the ll needle onto the ll syringe.
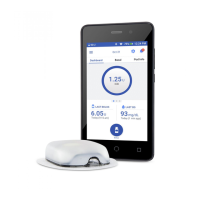
3. Pull outward to remove the protective cap from
the needle. Save the cap; you will need it later.
4. Determine how much insulin you will put into
the Pod. For example, to use the Pod for 48
hours, determine how much insulin you will
use over the next 48 hours. Your healthcare
provider can help you determine the correct amount.
Note: e Pod requires a minimum of 85 units of U-100 insulin to begin
operation. e Pod can hold up to 200 units of U-100 insulin.
5. Draw air into the ll syringe up to the amount of insulin you want.
6. Insert the needle into the insulin vial and inject the air. Injecting air makes it
easier to withdraw insulin from the vial.
Pull apart