Chapter 3 - How to...
3.2.4 How to capture SLO images
To capture SLO images use the procedure below. You have the option to capture the following image
modalities:
l
optomap
l
optomap plus
l
optomap af
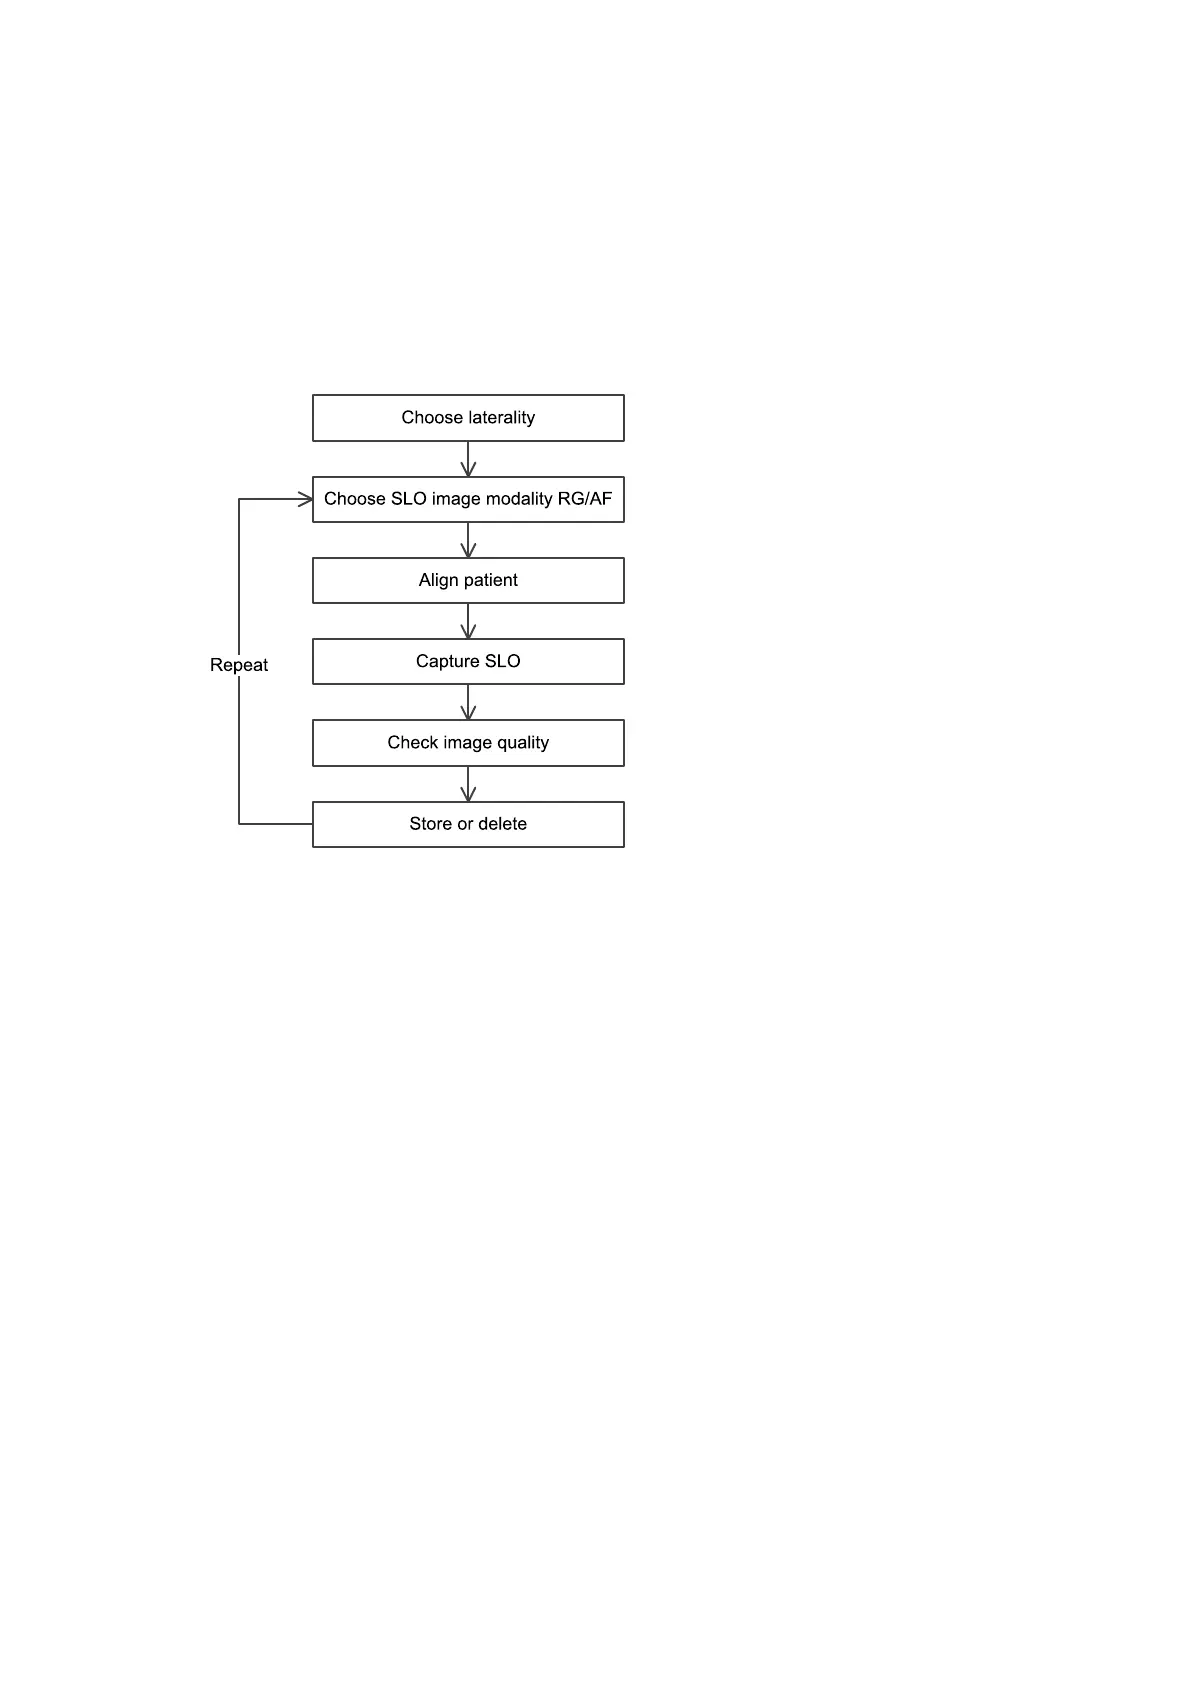
FIGURE 9: SLO capture workflow
1.
Select the required SLO light and resolution types. You should select Red/Green or AF and optomap
or optomap plus.
2. Position the patient, see How to prepare for image capture on page36.
3. Align the patient, see How to align the patient on page37.
4.
Ask the patient to open both eyes wide, look at the center of the alignment target and to move closer
until they can see the target. Make sure the patient can see the target, that the target is green and that
the cross hairs are close to the center of the pupil.
5.
Capture the image either manually or using auto-capture.
l
Auto-capture: Auto-capture is enabled when Automatic is shown in green on the touch
screen. The system captures an image when the scan head is correctly aligned. You can
press the screen to manually capture the image. Auto-capture is turned off after capturing an
image.
l
Manual capture: Align the scan head into the correct position. Press the screen to capture
the image when the pupil is in the center of the cross hairs and the patient alignment target
is green. You can also capture using the hand control.
6. Check the quality of the images, see What to do after the image is captured on page41.
Part Number: G108707/8GME Page 39 of 75
Copyright 2018, Optos plc. All rights reserved. English