Chapter 3 - How to...
Description
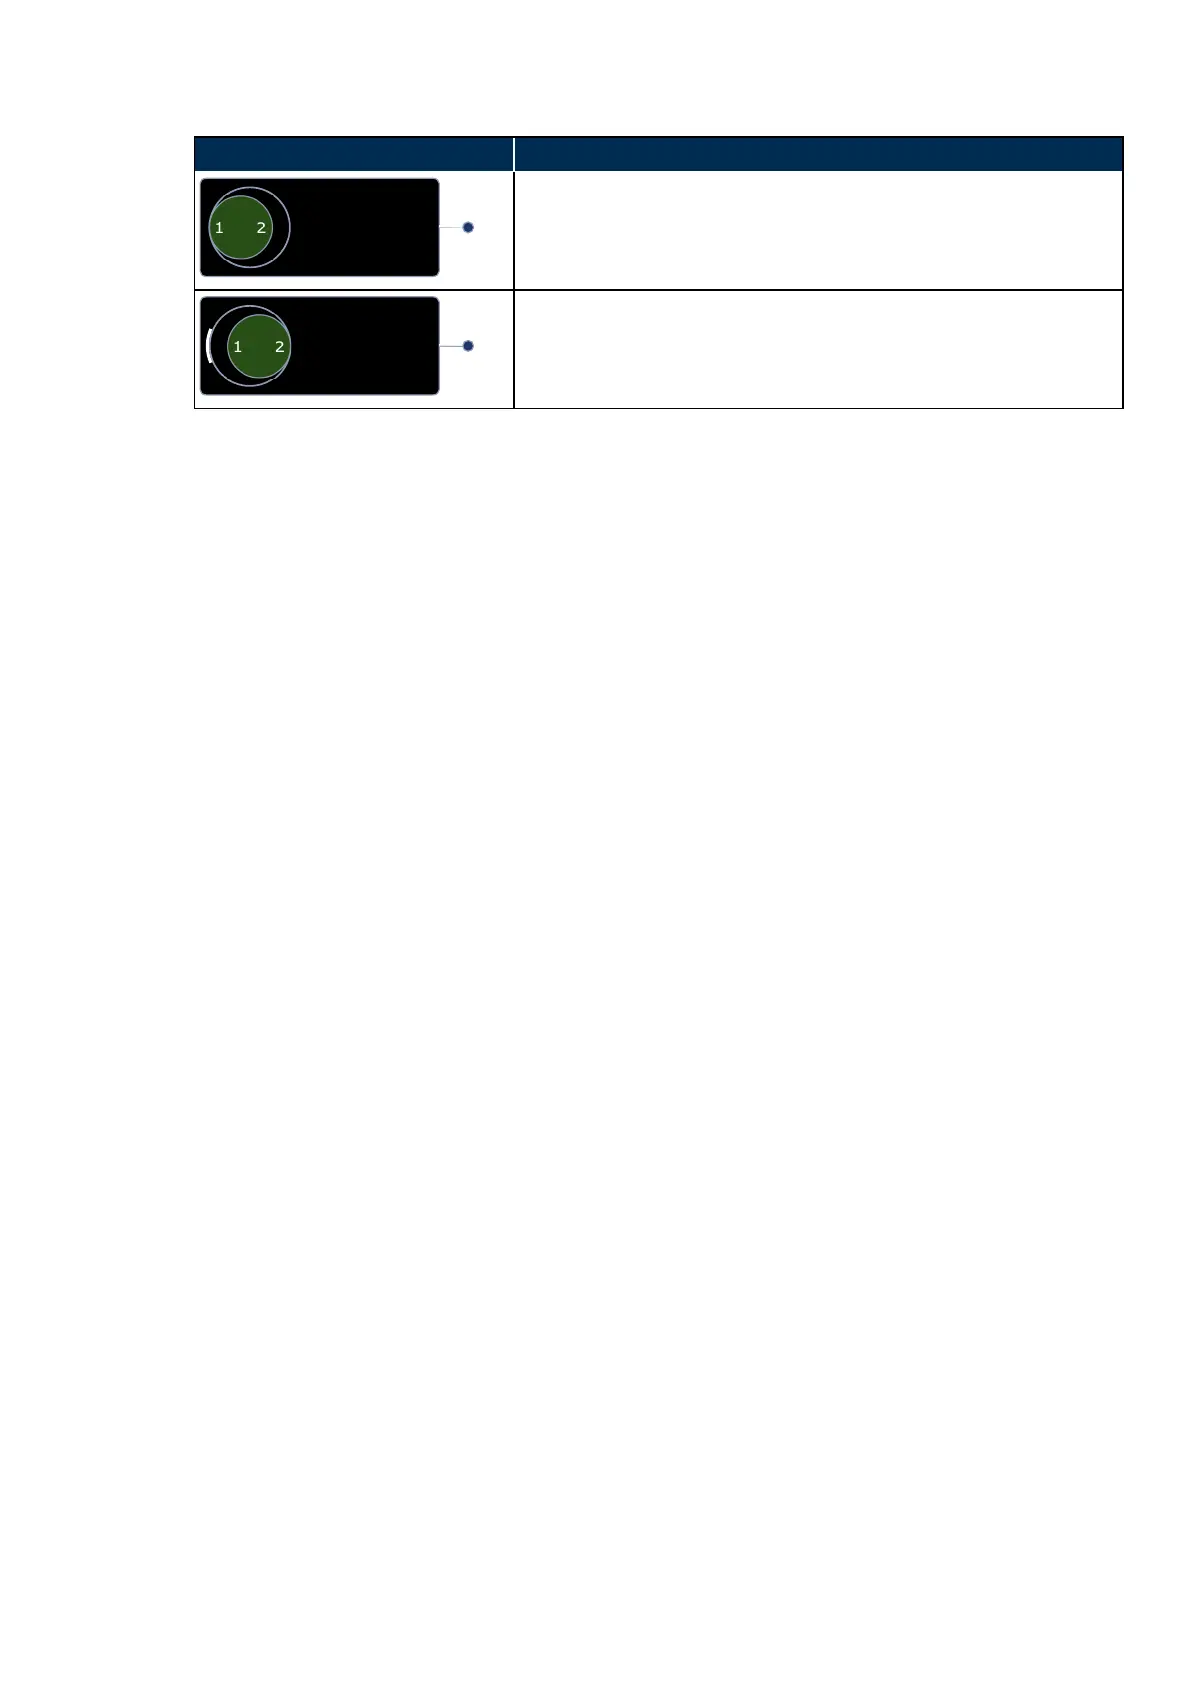
Stereo 1 selected
The next image captured will be a Stereo 1 image.
Stereo direction captured indicator
In this example, a Stereo 1 image has already been captured and the
next image captured will be a Stereo 2 image.
1. Position the patient, see How to prepare for image capture on page36.
2. Align the patient, see How to align the patient on page37
3.
Select the stereo pair options on the touch screen.
4.
Select the first stereo image. The cross hairs will move to the left. Align the patient to the first stereo
alignment target. Make sure the patient can see the target, that the target is green and that the cross
hairs are close to the center of the pupil.
5.
Capture the image.
6.
Select the second stereo image. The cross hairs will move to the right. Align the patient to the second
stereo alignment target. Make sure the patient can see the target, that the target is green and that the
cross hairs are close to the center of the pupil.
7.
Capture the image.
8. Check the quality of the images, see What to do after the image is captured below.
3.2.7 What to do after the image is captured
After you have captured the image, the image quality needs to be checked. You can then continue or complete
the session.
1.
The captured image is displayed full screen on the touch screen. After a few seconds you are
automatically returned to the capture page.
2.
Check the quality of the captured image and, if required, continue capturing images.
3.
If required, remove the controls from the view by selecting Declutter.
4.
If required, change the laterality or delete the image.
5.
The capture session can be completed at this stage if no scans or additional images are needed.
6.
Select Finished patient if the quality of all captured images is acceptable.
Part Number: G108707/8GME Page 41 of 75
Copyright 2018, Optos plc. All rights reserved. English