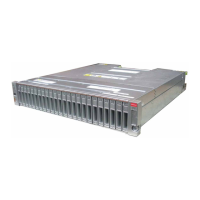
Installing a ZS9-2 Controller
This section contains installation procedures for the ZS9-2 controller.
Before beginning installation, see “Installation Prerequisites and Hardware
Overviews” on page 15.
Use the following procedures to install a ZS9-2 controller:
■
“Installing the Slide Rails onto a ZS9-2” on page 115
■
“Installing the Slide Rails into the Rack for a ZS9-2” on page 116
■
“Installing a ZS9-2 onto the Rack Slide Rails” on page 118
■
“Installing a ZS9-2 Cable Management Arm” on page 120
■
“Verifying Operation of ZS9-2 Slide-Rails and CMA” on page 128
Installing the Slide Rails onto a ZS9-2
Use the following procedure to install the slide rails onto a ZS9-2 controller.
Note - The slide rails can be used with either 9.5-mm square or M6 round mounting hole racks.
1.
Position a mounting bracket against the chassis so that the slide-rail lock is at
the front of the chassis, and the five keyhole openings on the mounting bracket
are aligned with the five locating pins on the side of the chassis.
Installing a ZS9-2 Controller 115

 Loading...


