Installing a DE2-24P Disk Shelf
9.
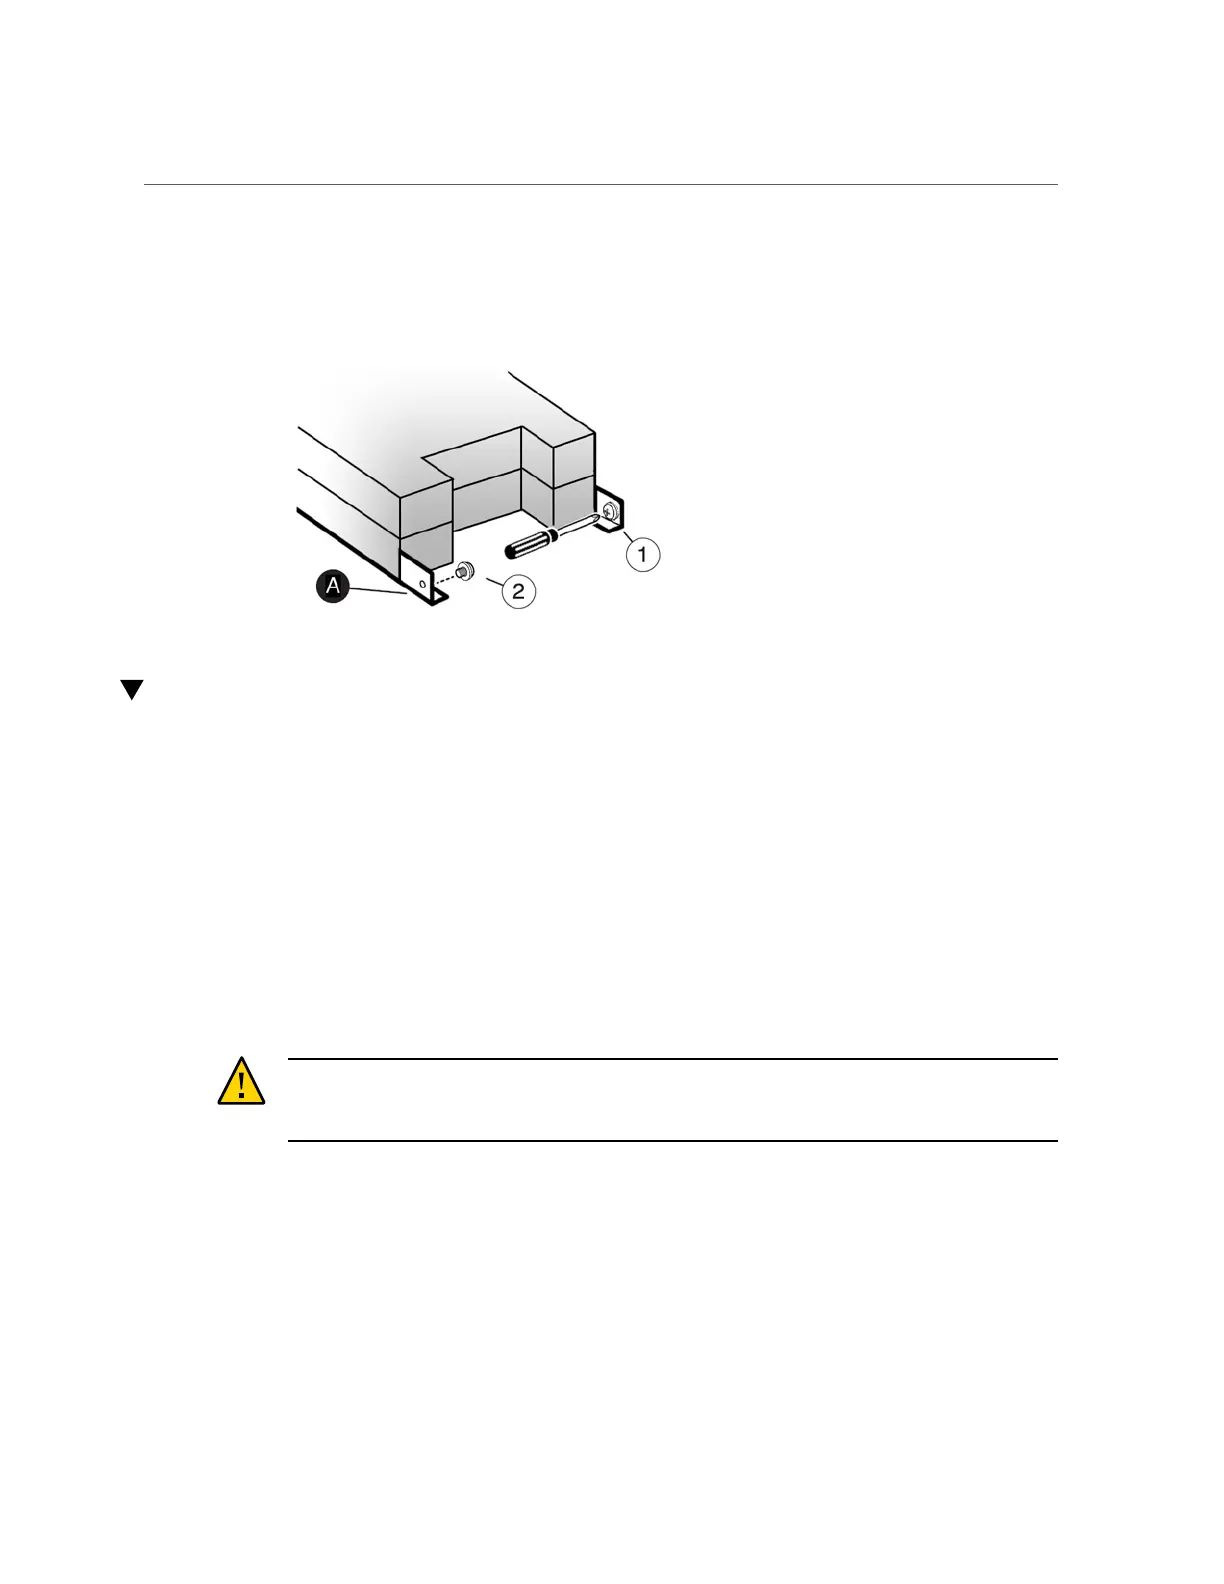
If shipping the racked disk shelf, install a screw [1 and 2] into each rear chassis
ear [A].
Installing a DE2-24P Disk Shelf
Use the following procedure to install an Oracle Storage Drive Enclosure DE2-24P, which
requires two standard mounting rack units (2RU), or six rack holes, of vertical space in the
cabinet.
Before You Begin
■
Review “Prerequisites for Installation” on page 15 and “Overview of Disk
Shelves” on page 25.
■
To prevent the cabinet from tipping, always load the heaviest equipment, which are disk
shelves, starting from the bottom of the cabinet.
■
To best prepare for cabling disk shelves to controllers, now and in the future, mount
controllers in the middle of the cabinet.
■
Screws are not provided for installation into a cabinet with M6-sized threaded holes.
Caution - This procedure requires a minimum of two people, or a mechanical lift, because of
the weight of the chassis. Attempting this procedure alone could result in equipment damage or
personal injury. Do not lift the chassis using the power supply handles.
1.
Extend all anti-tilt and stabilization devices from the bottom of the rack.
2.
Locate the appropriate rack unit (RU) height, which is six rack holes, starting
from the bottom on the cabinet. If your rack is an unthreaded universal 19-inch,
Sun Rack II, or Oracle Rack Cabinet 1242 cabinet:
Installing Disk Shelves 99