Setup & User Guide
99 |
DOC-246-GDE-Pivot3 Acuity 2.3 Setup & User Guide-v1.0.docx
Optionally, select the Test button to verify that the target system is accessible and that the username and password
are correct; if the test fails, confirm and re-enter the field values. Once all fields are filled out and accepted, click
Apply.
NOTE:
The target and originating nodes must be on the same subnet, unless the subnets allow routing.
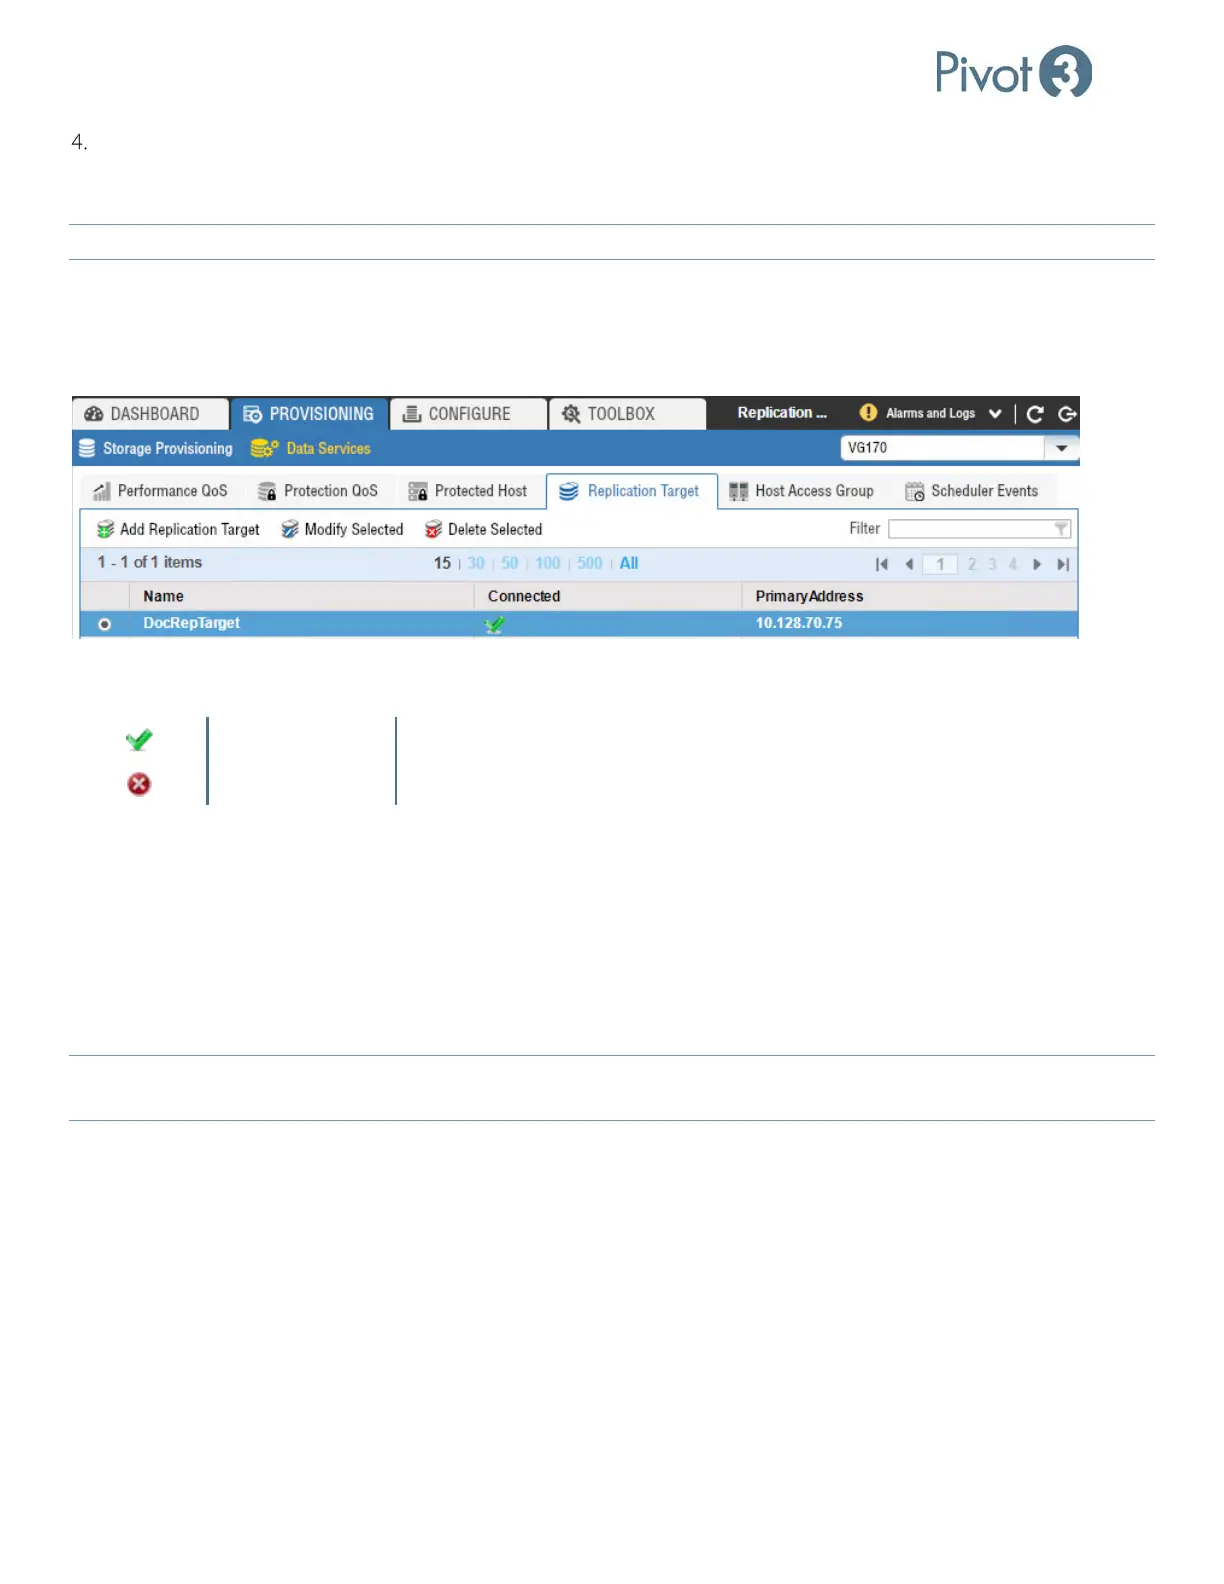
Managing Replication Targets
Once a replication target has been successfully created, it can be accessed from the Provisioning tab > Data Services
view > Replication Target tab.
The Connected column provides a quick view of the connection status for that replication target. The following status
icons are possible:
Green Check Successful connection with replication peer
Red X Replication target is not accessible
Modify Selected
Choose Modify Selected from the Replications Target tab. Change the values as necessary. Optionally, press Test to test
the connection using the new values. Press Apply to save changes or Close to dismiss the pop-up with saving any
modifications.
Delete Selected
Choose Delete Selected from the Replications Target tab. Press Delete to confirm the deletion or Cancel to dismiss the
pop-up without deleting the replication target.
NOTE:
If there is an attempt to delete a replication target that is in use in schedules or policies, the delete will fail and identify
a schedule that uses the replication target.