CLUTCH
6.21
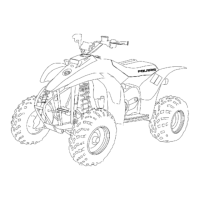
1/3
turn
5. While holding downward pressure on helix, wind
moveable sheave counterclockwise
approximately 1/3 turn (120°).
6. Push helix into place and install snap ring.
DRIVEN CLUTCH MOVEABLE
SHEAVE -
BUSHING
REMOV
AL
NOTE: Bushings are installed at the factory using
Loctitet. In order to remove the bushing it will be
necessary to apply heat. A press can be used to
remove and install some of the bushings. Be sure to
support the sheave or cover as close as possible to
the bushing bore when using a press.
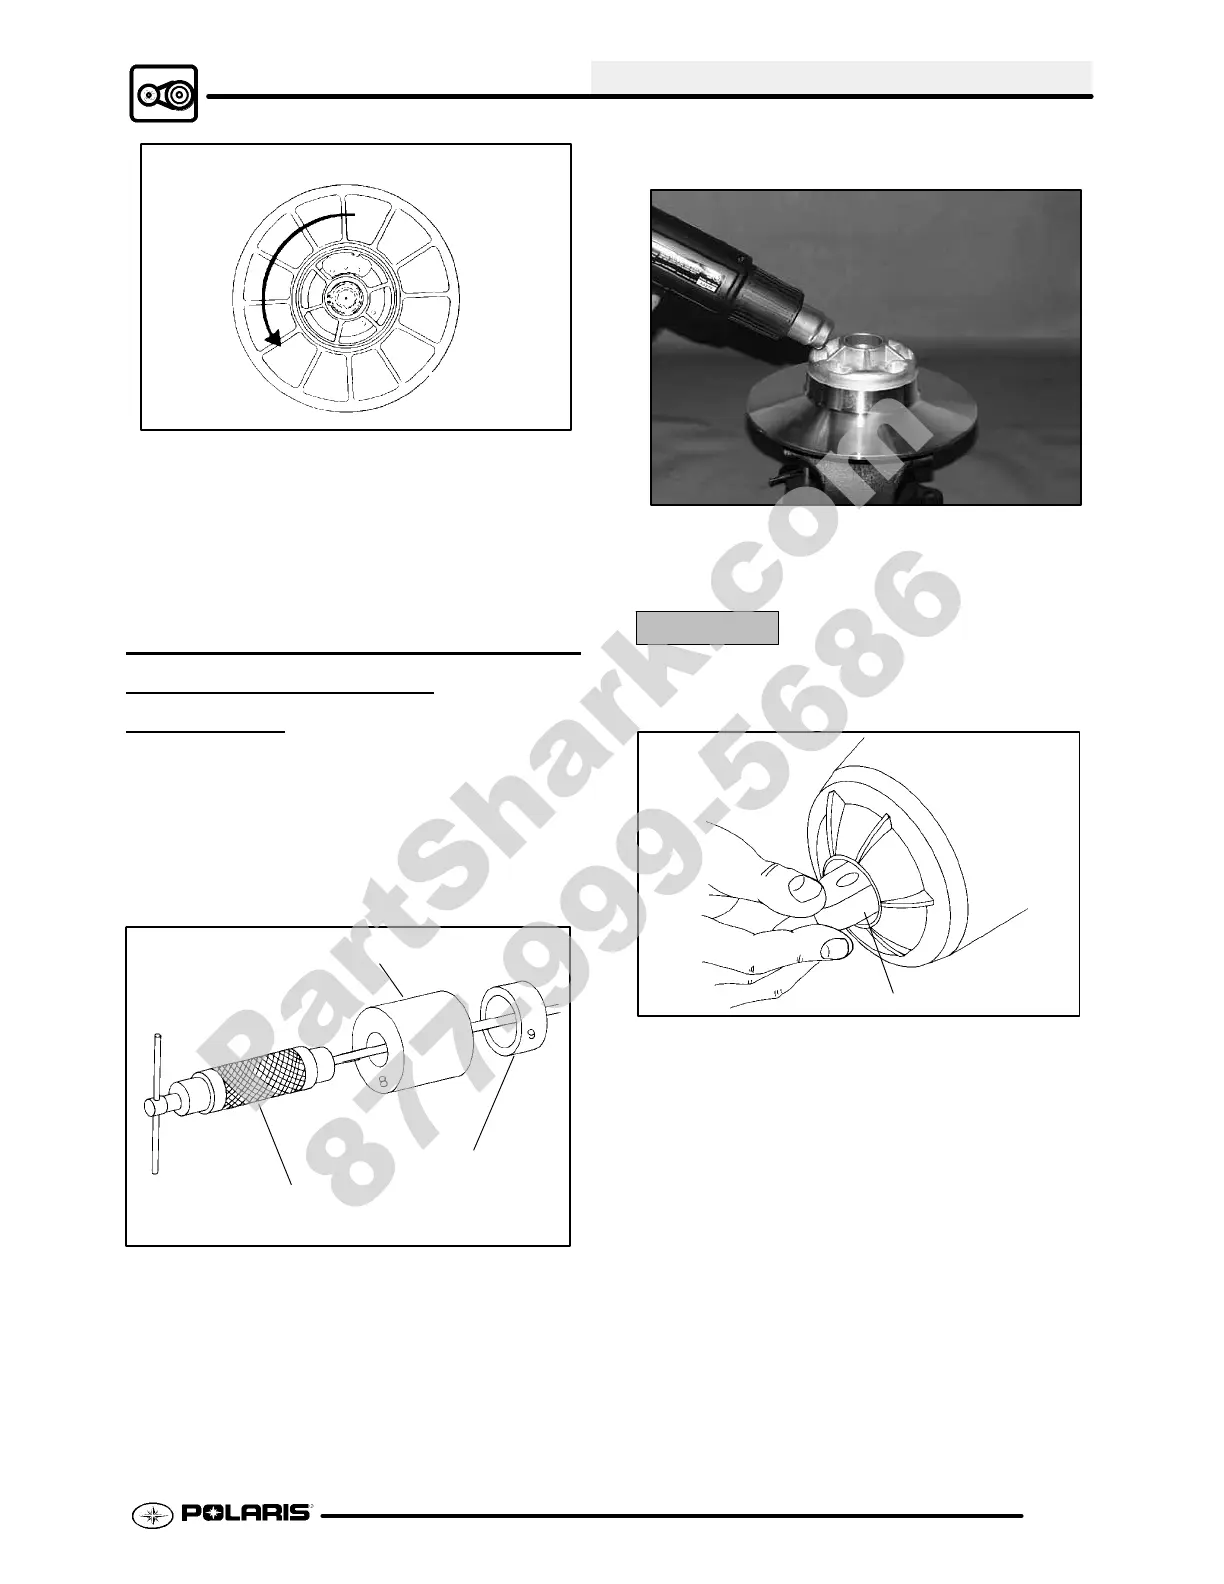
Main Puller Adapter (#8)
Adapter
Reducer (#9)
Piston Pin Pu lle r
(PN 2870386)
1. Install Main Puller Adapter (#8) (PN 5020632)
onto the Piston Pin Puller (PN 2870386).
2. Insert Adapter Reducer (#9) (PN 5010279) onto
the puller, sliding it inside the main adapter .
3. Remove ramp buttons from moveable sheave.
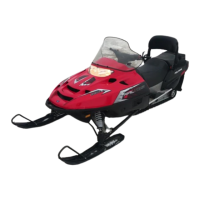
4. Using an electric or hand held propane torch,
apply heat directly on bushing until tiny smoke
tailings appear.
CAUTION:
Clutch components will be hot! In order to avoid
serious burns, wear sometypeof insulatedgloves for
the rest of the removal process.
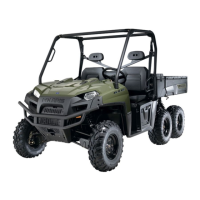
Clutch Bushing
Removal Tool (#5)
5. W orking from the top, install Driven Clutch
BushingRemovalTool(#5)(PN5020631) intothe
center of clutch sheave with smaller diameter
towardbushingto beremoved. Seeillustrationat
above.
PartShark.com
877-999-5686
 Loading...